Photos and blog by Tomas Wikers | @tomaswikers
So, you have gotten yourself an analog camera and aren’t sure what to do next? Do not worry—this guide will walk you through the basics. You will soon experience a whole new world within photography. There is another feeling in analog photos that cannot be described or compared to digital photos. You need to experience it. It is also a more authentic experience and feeling to it. Once you have tried it and experienced it, you will understand what I am talking about.
What type of film should I use?
Alright, you have got your analog camera—congrats! The next thing you will need is film. The two most common types are 135 (35mm) and 120. Which one to get depends entirely on your camera, so check that first.
Color or black and white? You can shoot with either, but it is mostly a matter of taste. For this guide, let us focus on black and white film—especially since it is easier to develop yourself if you decide to give that a try.

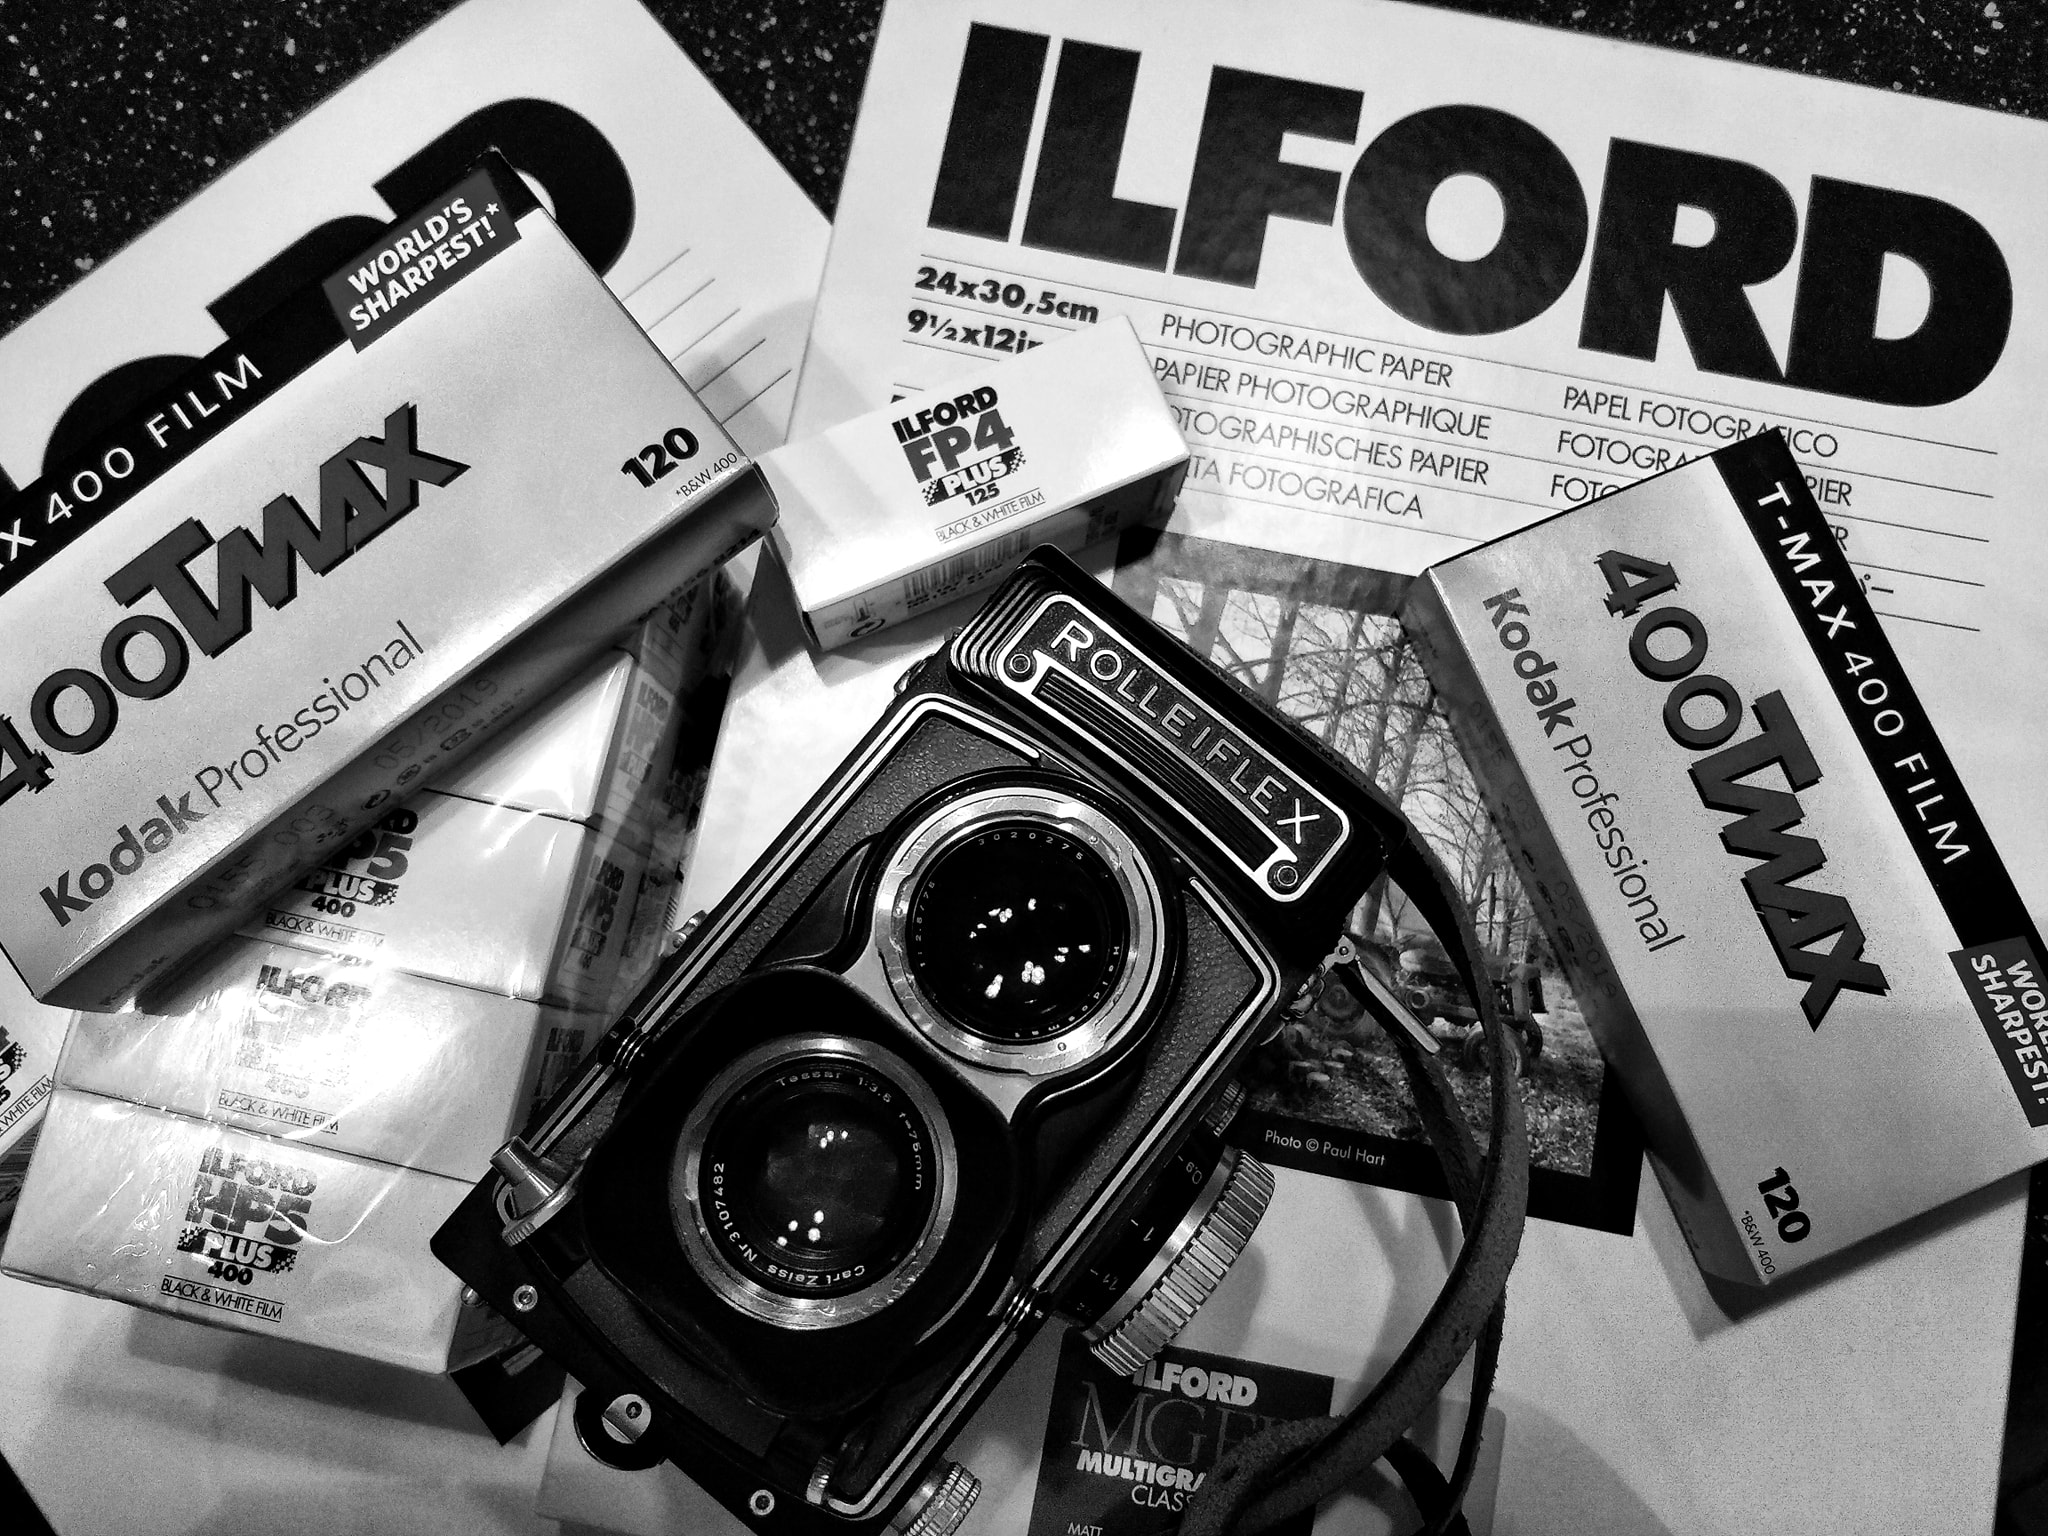
For black and white films, here are some solid recommendations:
- Ilford HP5: A classic with great shadows and contrast that is very forgiving and great to work with. One of my personal favorites.
- Ilford XP2 Super: Super forgiving and tough to mess up—perfect for beginners.
- Kodak Tri-X: is often referred to as a great film for new beginners. Great exposure latitude.
All of these are ISO 400, which works well in most situations.

ISO – which one should I choose? ISO is a key factor in how bright your photos will turn out. Here is a quick guide:
- Sunny days: Use a lower ISO like 50, 80, or 100.
- Cloudy or darker settings: Go for ISO 400 or 800.
- Very low light: You can try ISO 3200, but I personally find the results a bit too grainy—your mileage may vary!
Additional tools
Light meters can help you get the right exposure. They measure the light and recommend the best shutter speed and aperture settings for your film's ISO. While not essential, they are very useful, especially if you are just starting out. While most cameras have a light meter built in, it can be useful to have one.
Alternatively, if you have a digital camera, you already have a light meter! Just set it to manual mode, match the ISO to your film, and adjust the aperture and shutter speed until you are happy with the result. Then replicate those settings on your analog camera.
Learn how to slow down
Analog photography forces you to slow down, and that’s part of its charm. With a digital camera, you can take hundreds of shots, pick the best, and delete the rest. Easy, right? But with analog, every shot counts.
You only get 36 photos on a 135 roll or 12 photos on a 120 roll, so you will naturally become more thoughtful about your subjects. This slower pace makes you appreciate the art of photography on a deeper level.
Another format is half-frame which uses 35mm film. You could say it is a more “economical” type of format since film can be a bit expensive. With half-frame, you will get twice as many photos per roll since you get two images per frame. The images will also be in vertical format, which usually fits people who are more used to shooting photos with smartphones. Have a look at Pentax's latest camera, “Pentax 17”, unless you can find a used half-frame camera somewhere.
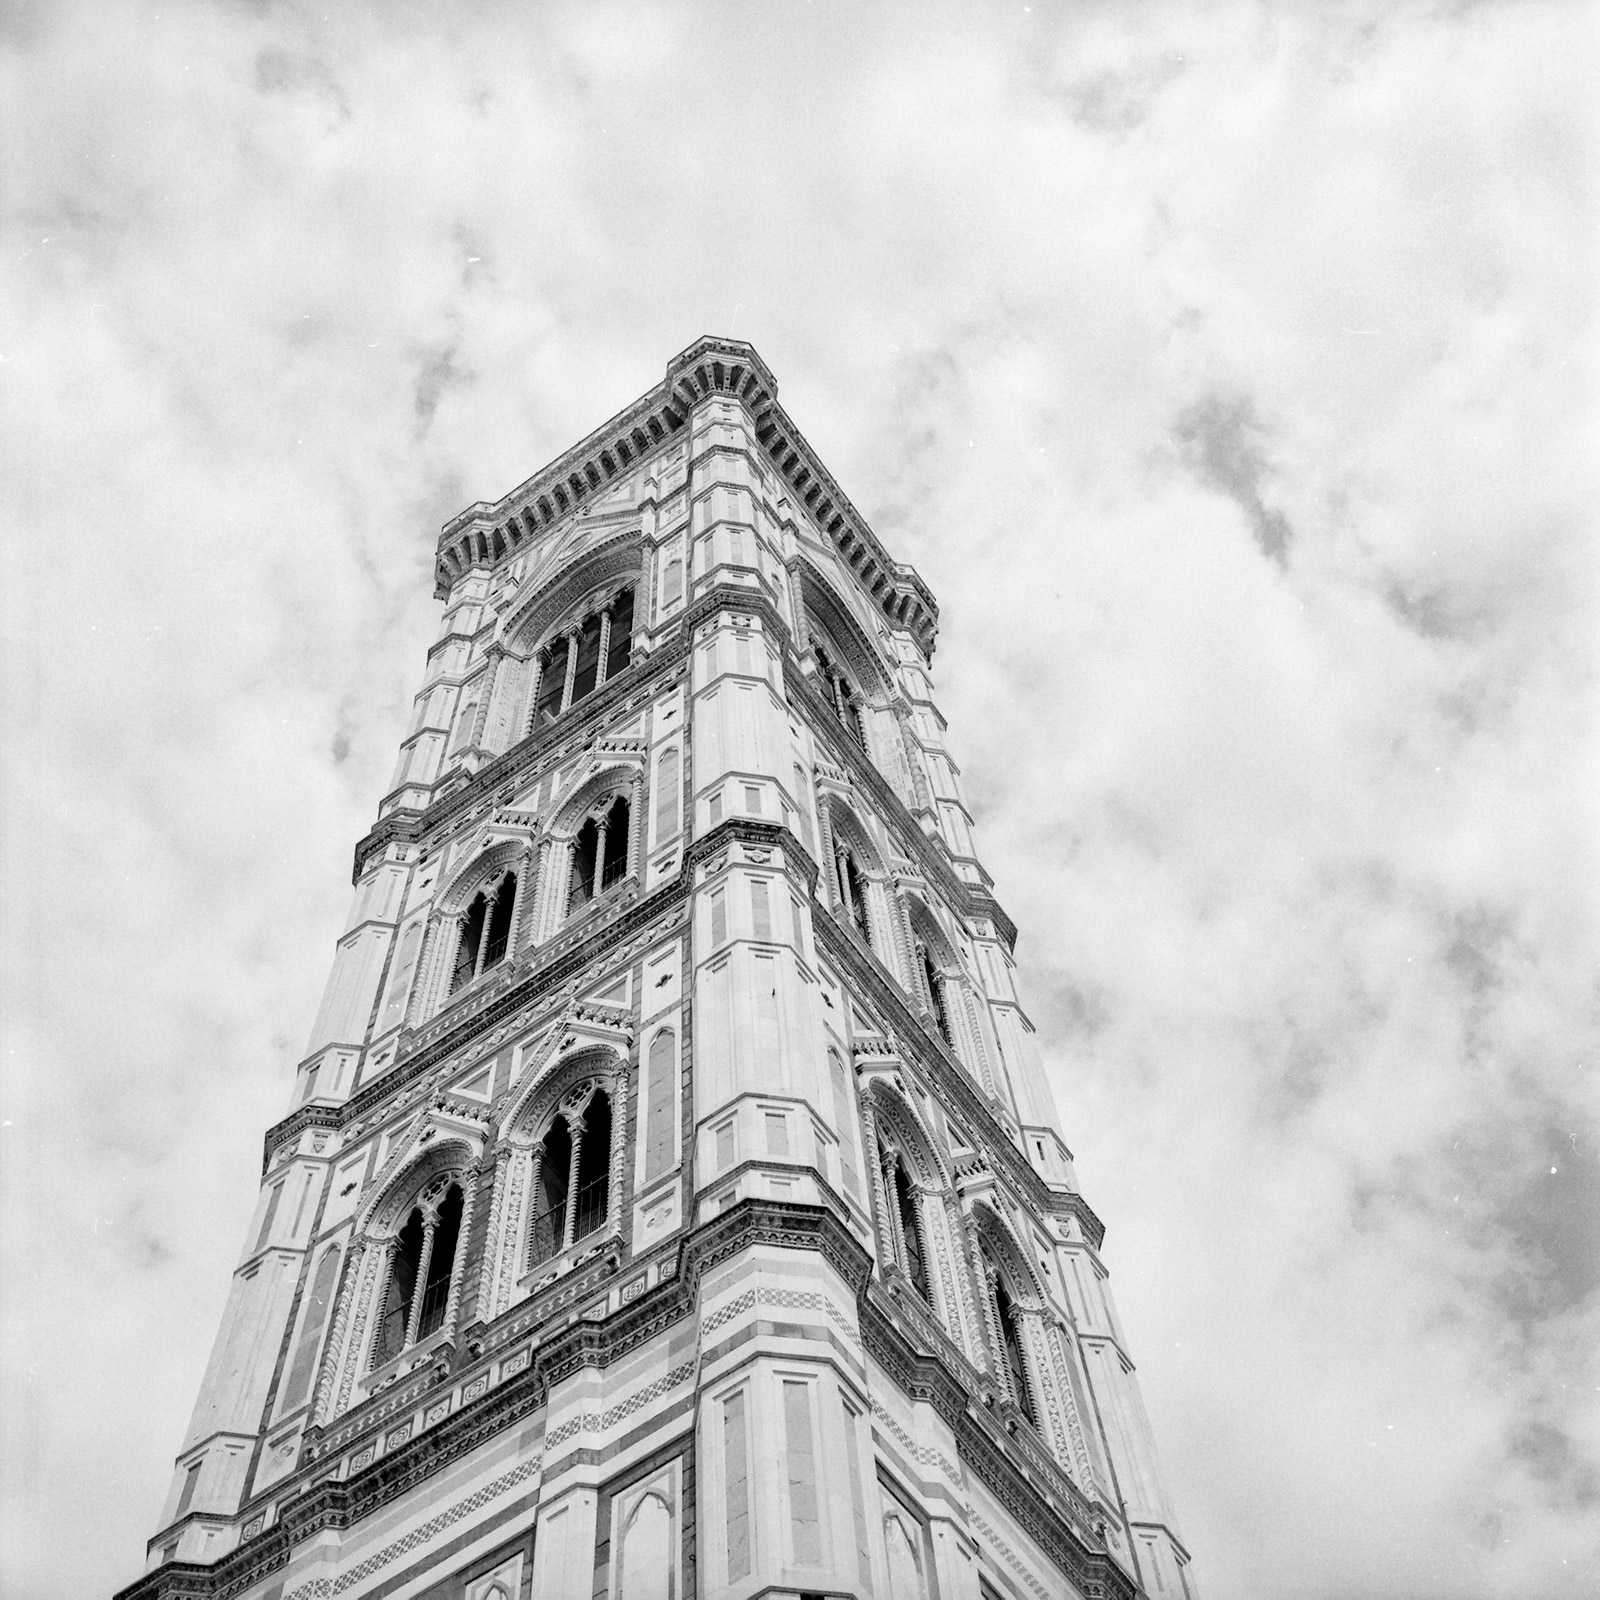
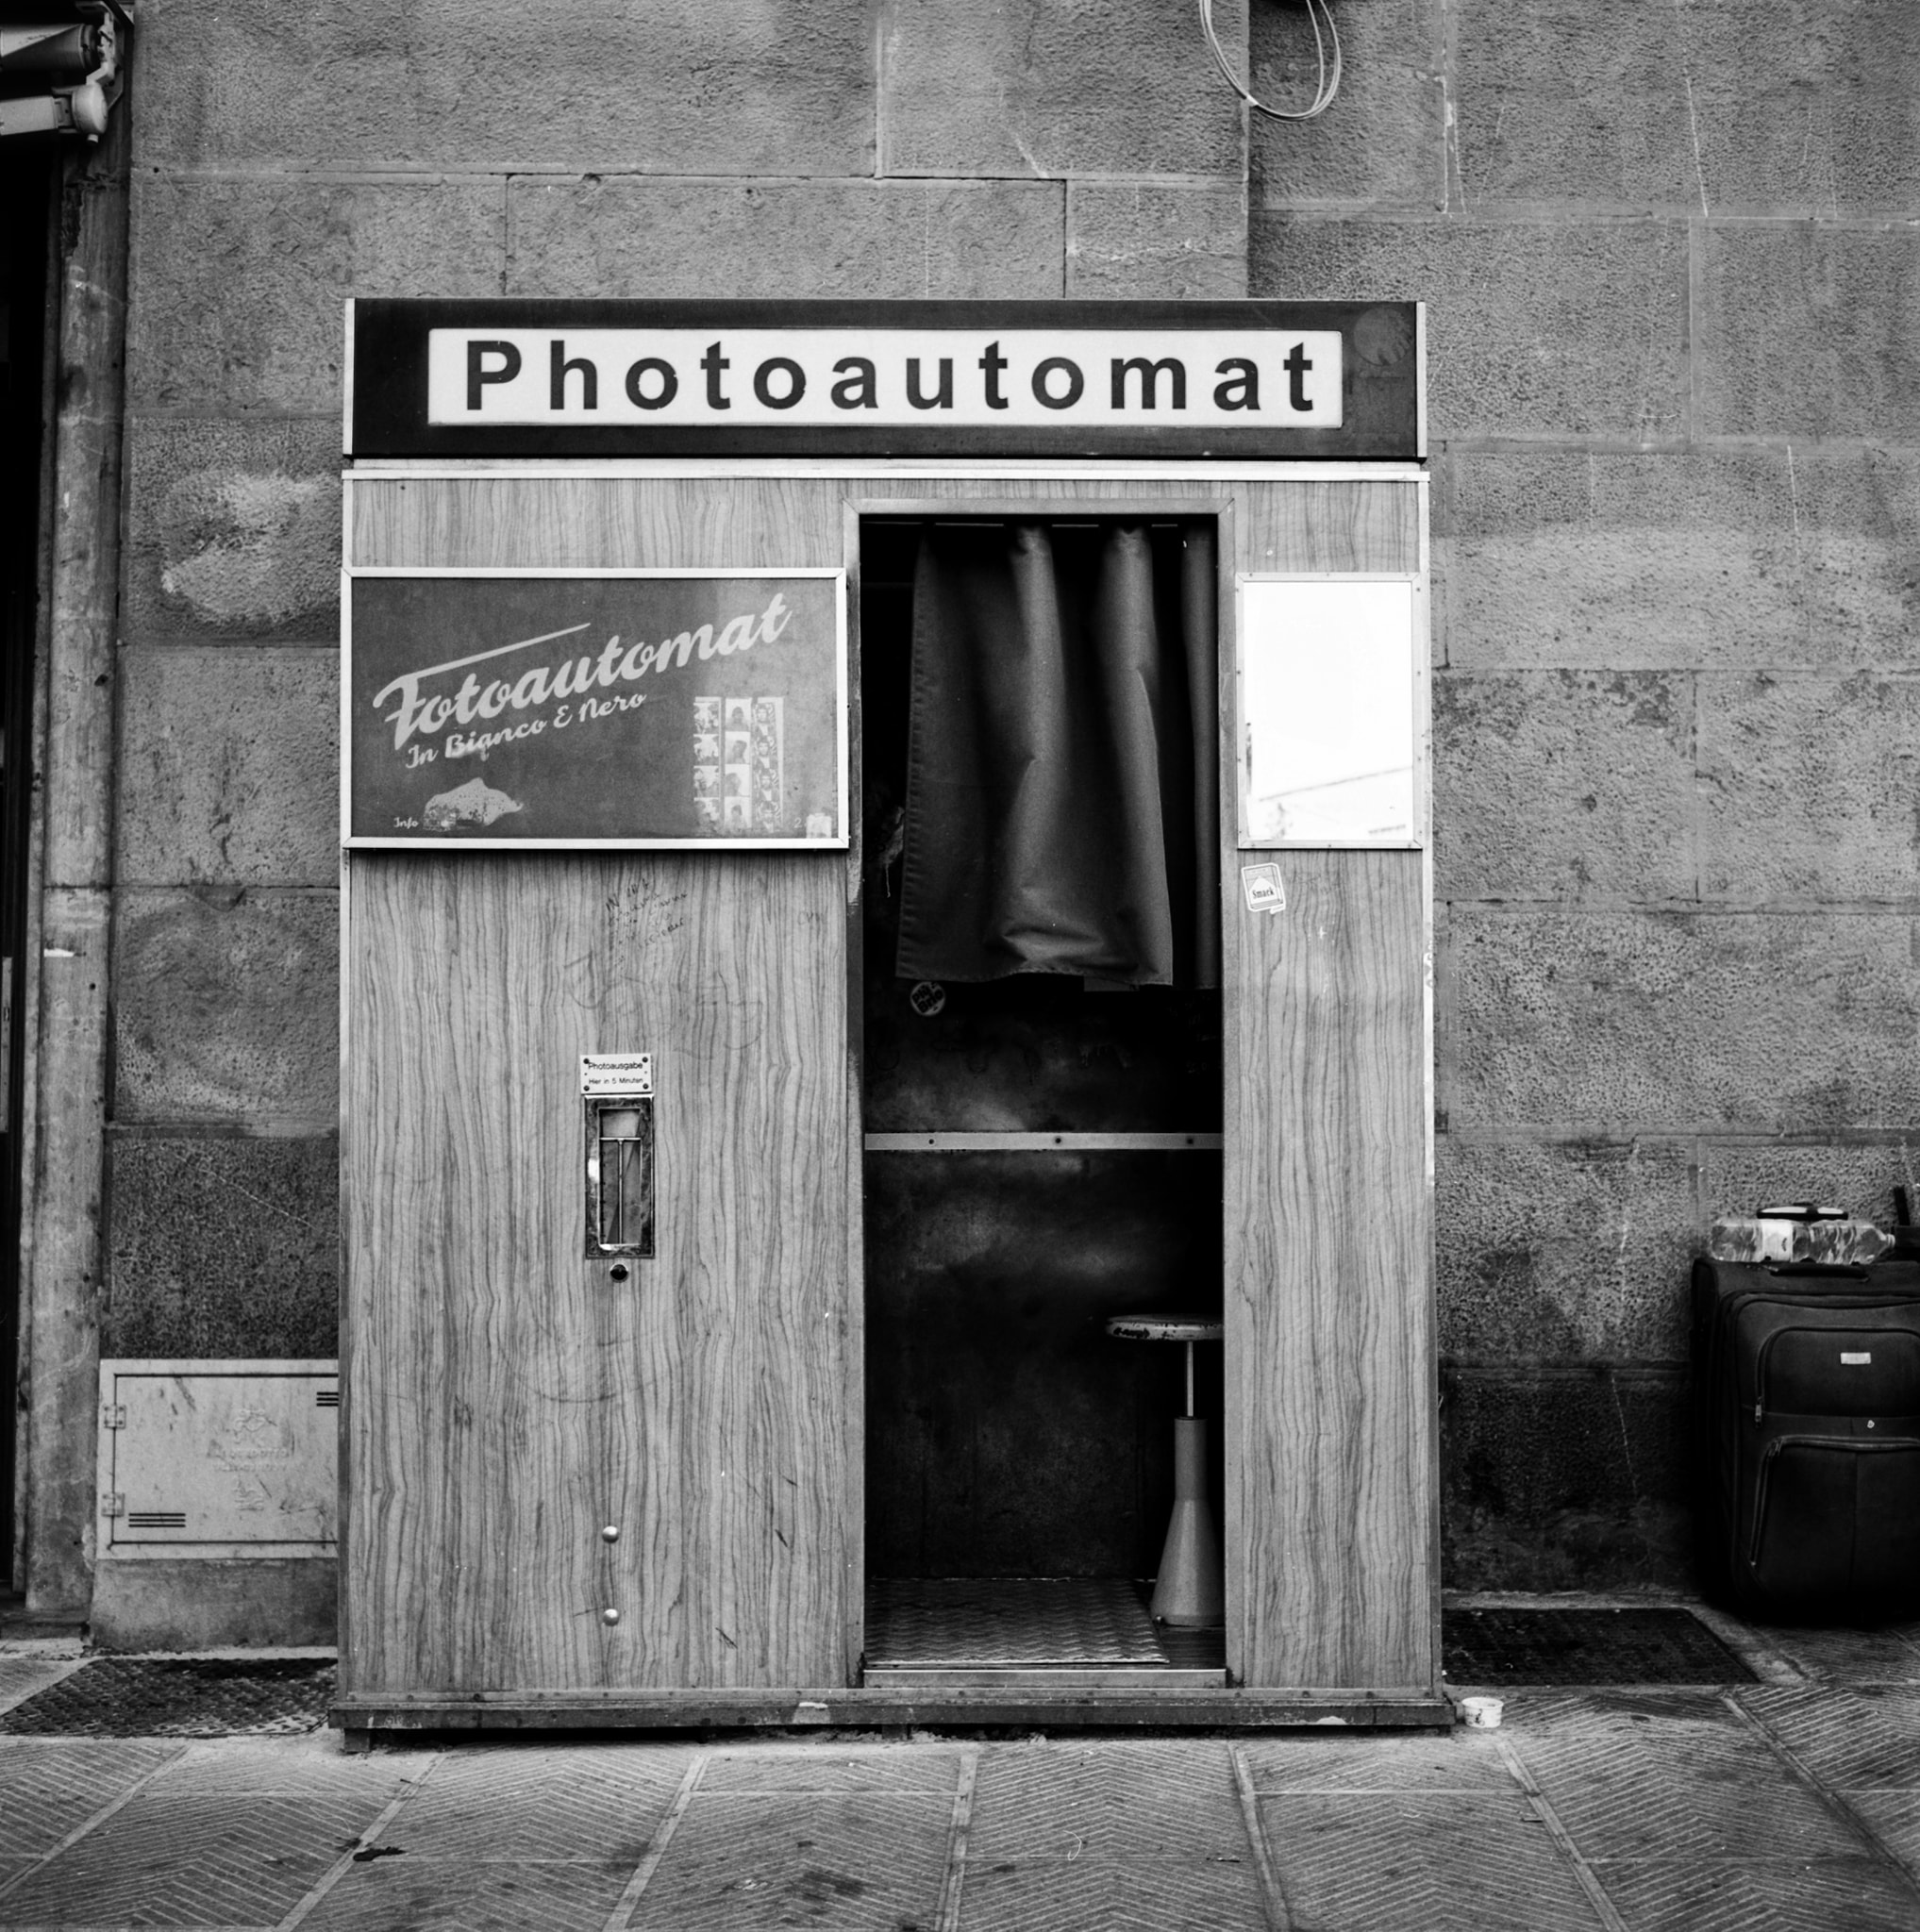
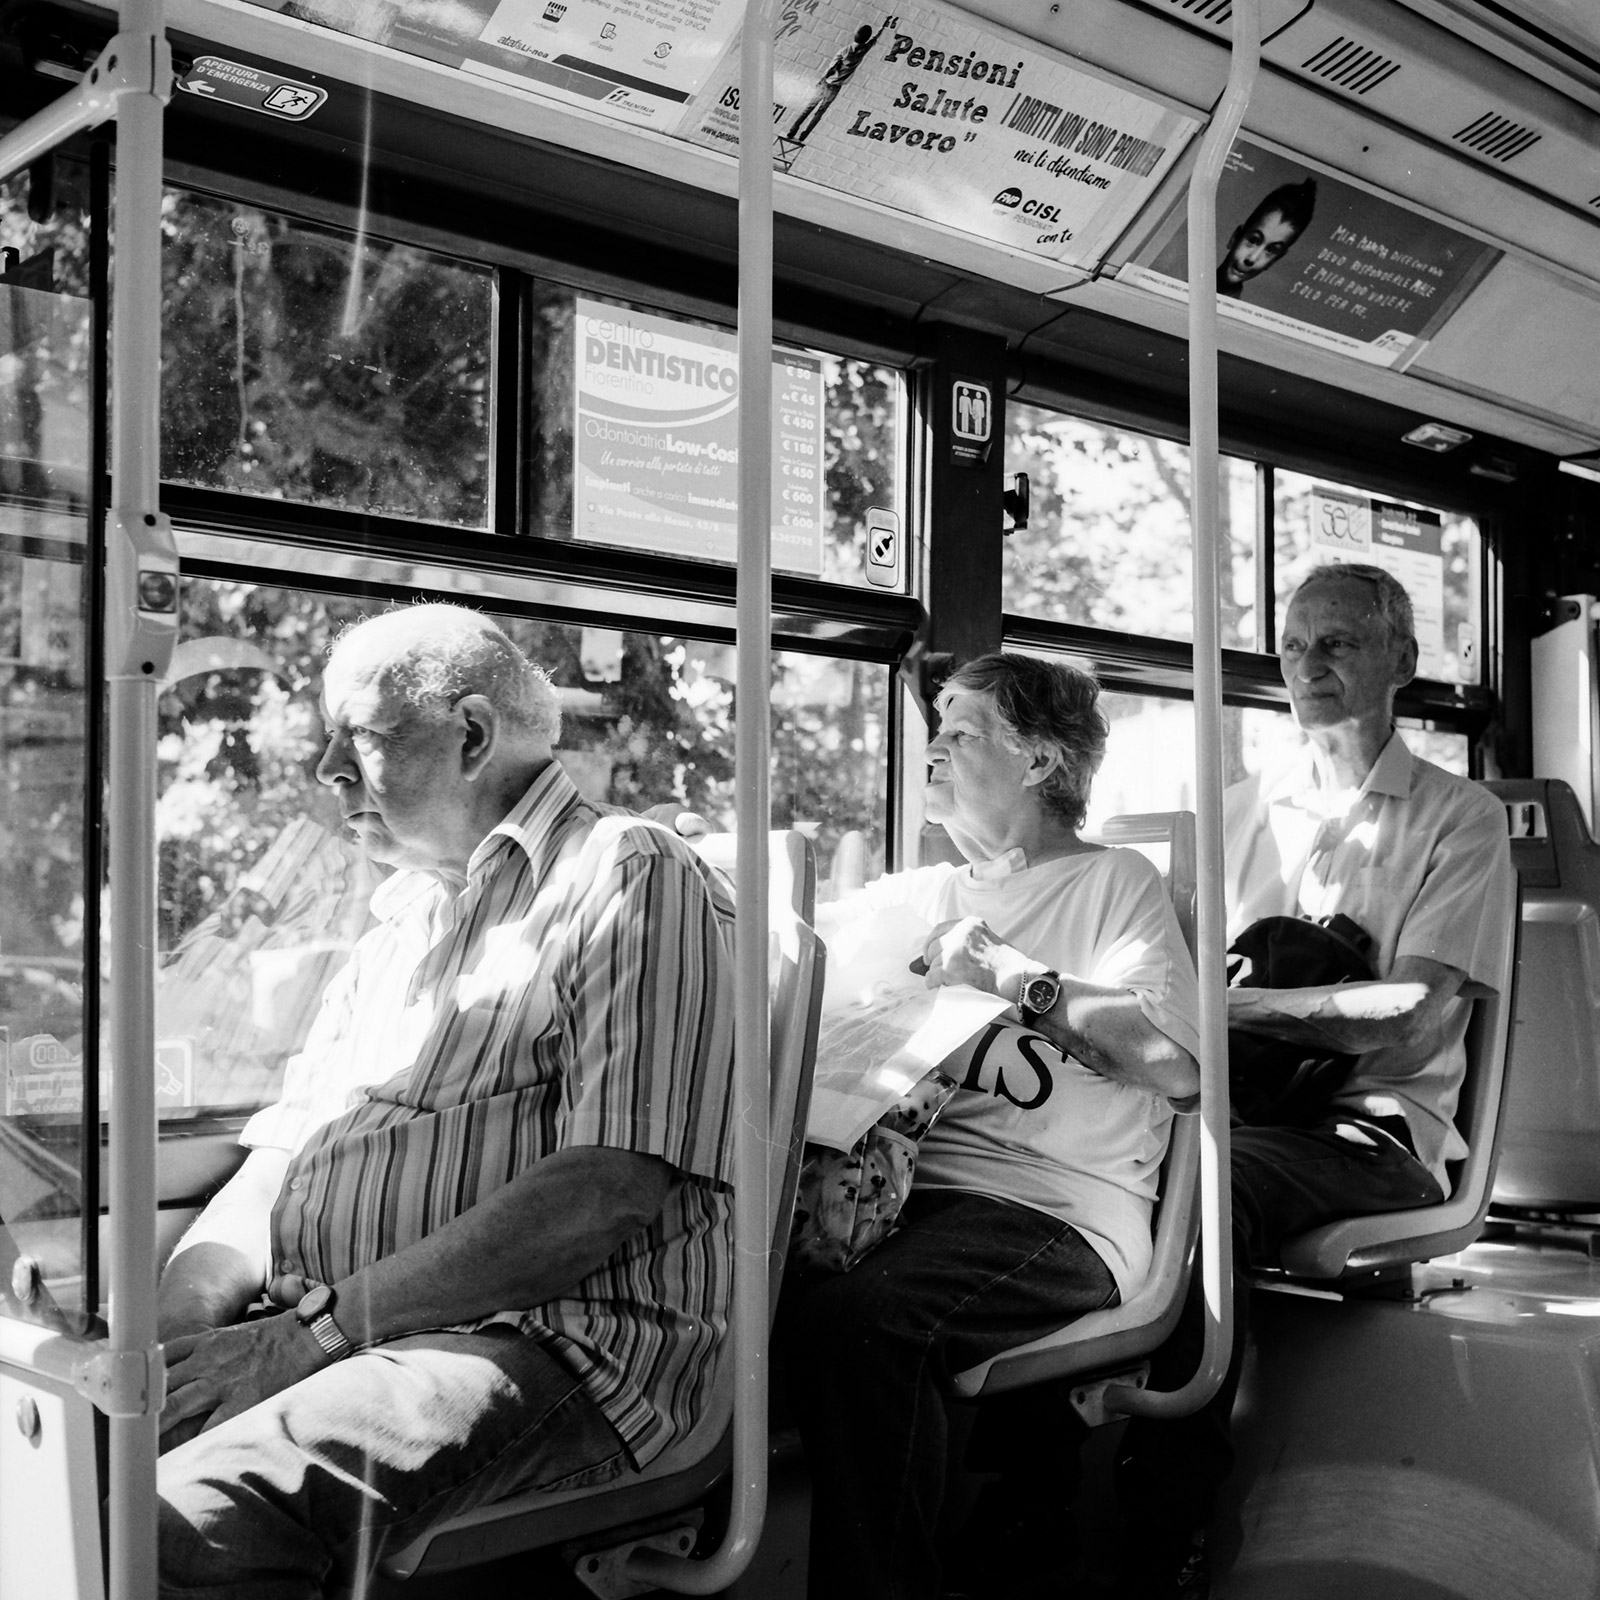
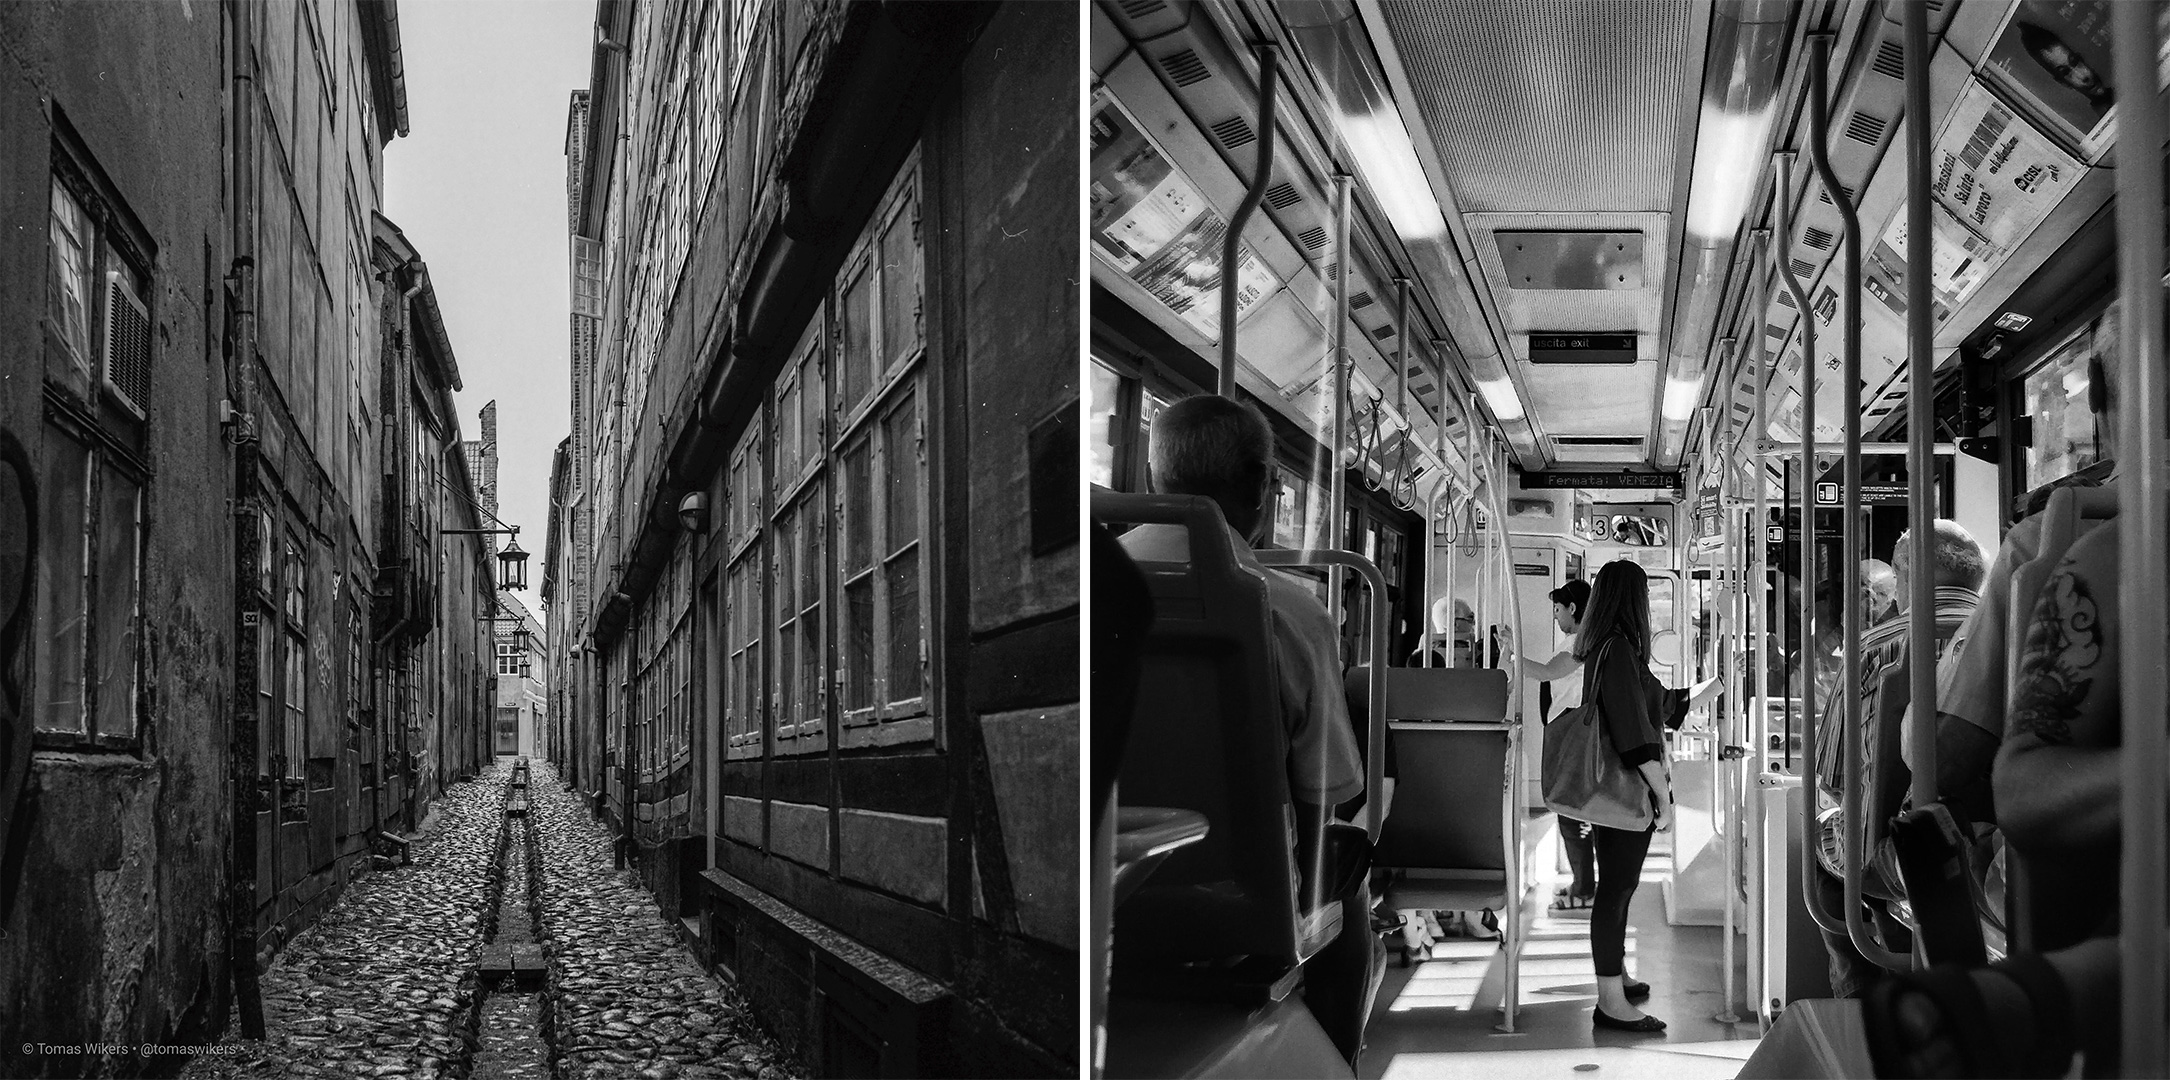
Some of my favorite shots from trips around the world have ended up framed and hanging on my walls. Try to envision your final photo before you take the shot—it could end up being your next masterpiece.
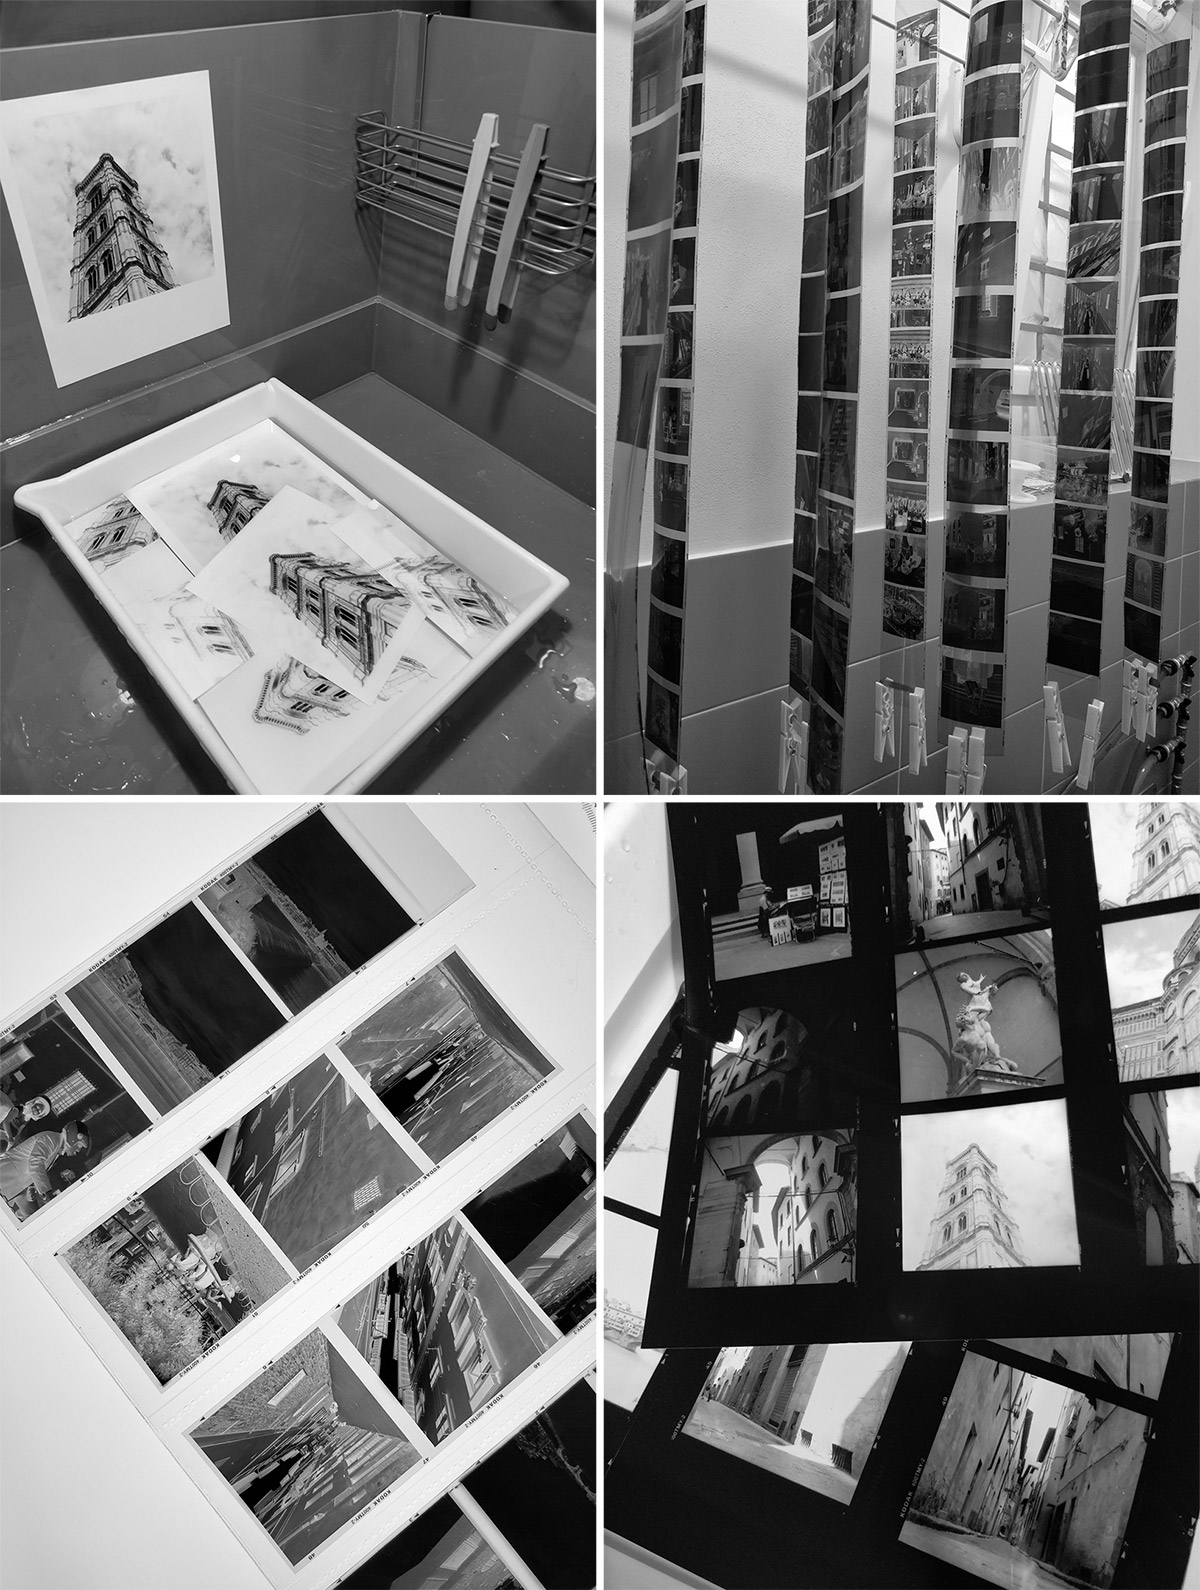
Developing the film
Once you have shot your roll, you can either develop it yourself or take it to a photo lab.
- Ilford XP2 Super can be developed at most labs that handle color film because it uses the C-41 process.
- Traditional black and white films (e.g., HP5, TMax, Tri-X) require a different process, so you will need to check if your lab can handle them.
If you want to try developing film at home, there are products to make it easy:
- Ilford Simplicity Kit: Perfect for developing 1–2 rolls of black and white film.
- Ilford Paterson Film Starter Kit: Includes everything you need to process your first rolls—chemicals, a developing tank, and even measuring cylinders.
- Ars-Imago Lab-Box: Is a versatile, multi-format film developing tank designed to simplify the development process. It allows you to develop film from start to finish in full daylight, eliminating the need for a darkroom. This makes the development process easier and quicker.
Digitalizing the film
Okay, so you have now developed your film. In order to print it or perhaps post it on social media or share it with family and friends you need to digitalize it.
- Valoi easy35 & easy120: You screw it onto a macro lens, allowing you to scan your film with a digital camera. There is minimal setup, alignment or mistakes as the design ensures shading from light, perfect alignment, and a firm attachment to the camera.
- Pacific Image: One of the most effective and popular ways to digitalize your analog negatives is to use a dedicated film scanner. These scanners are capable of capturing fine details and subtle nuances present in film, preserving the essence of the original analog images.
If you completely fall in love with analog photography and start shooting a lot of film and wish to continue the journey, then it could be worth spending some money on a good scanner. You can of course ask the photo lab to do it in the beginning, but with time it will be more economical to get a scanner yourself. That is how I did it anyway.
Final words
Analog photography is a fun and rewarding way to grow as a photographer. Do not be discouraged if your first attempts do not turn out as expected. Slowing down and learning from each shot is part of the journey. And who knows—your next photo might end up framed and displayed on your wall.
So go ahead, grab your camera, and start shooting. You will not regret it!