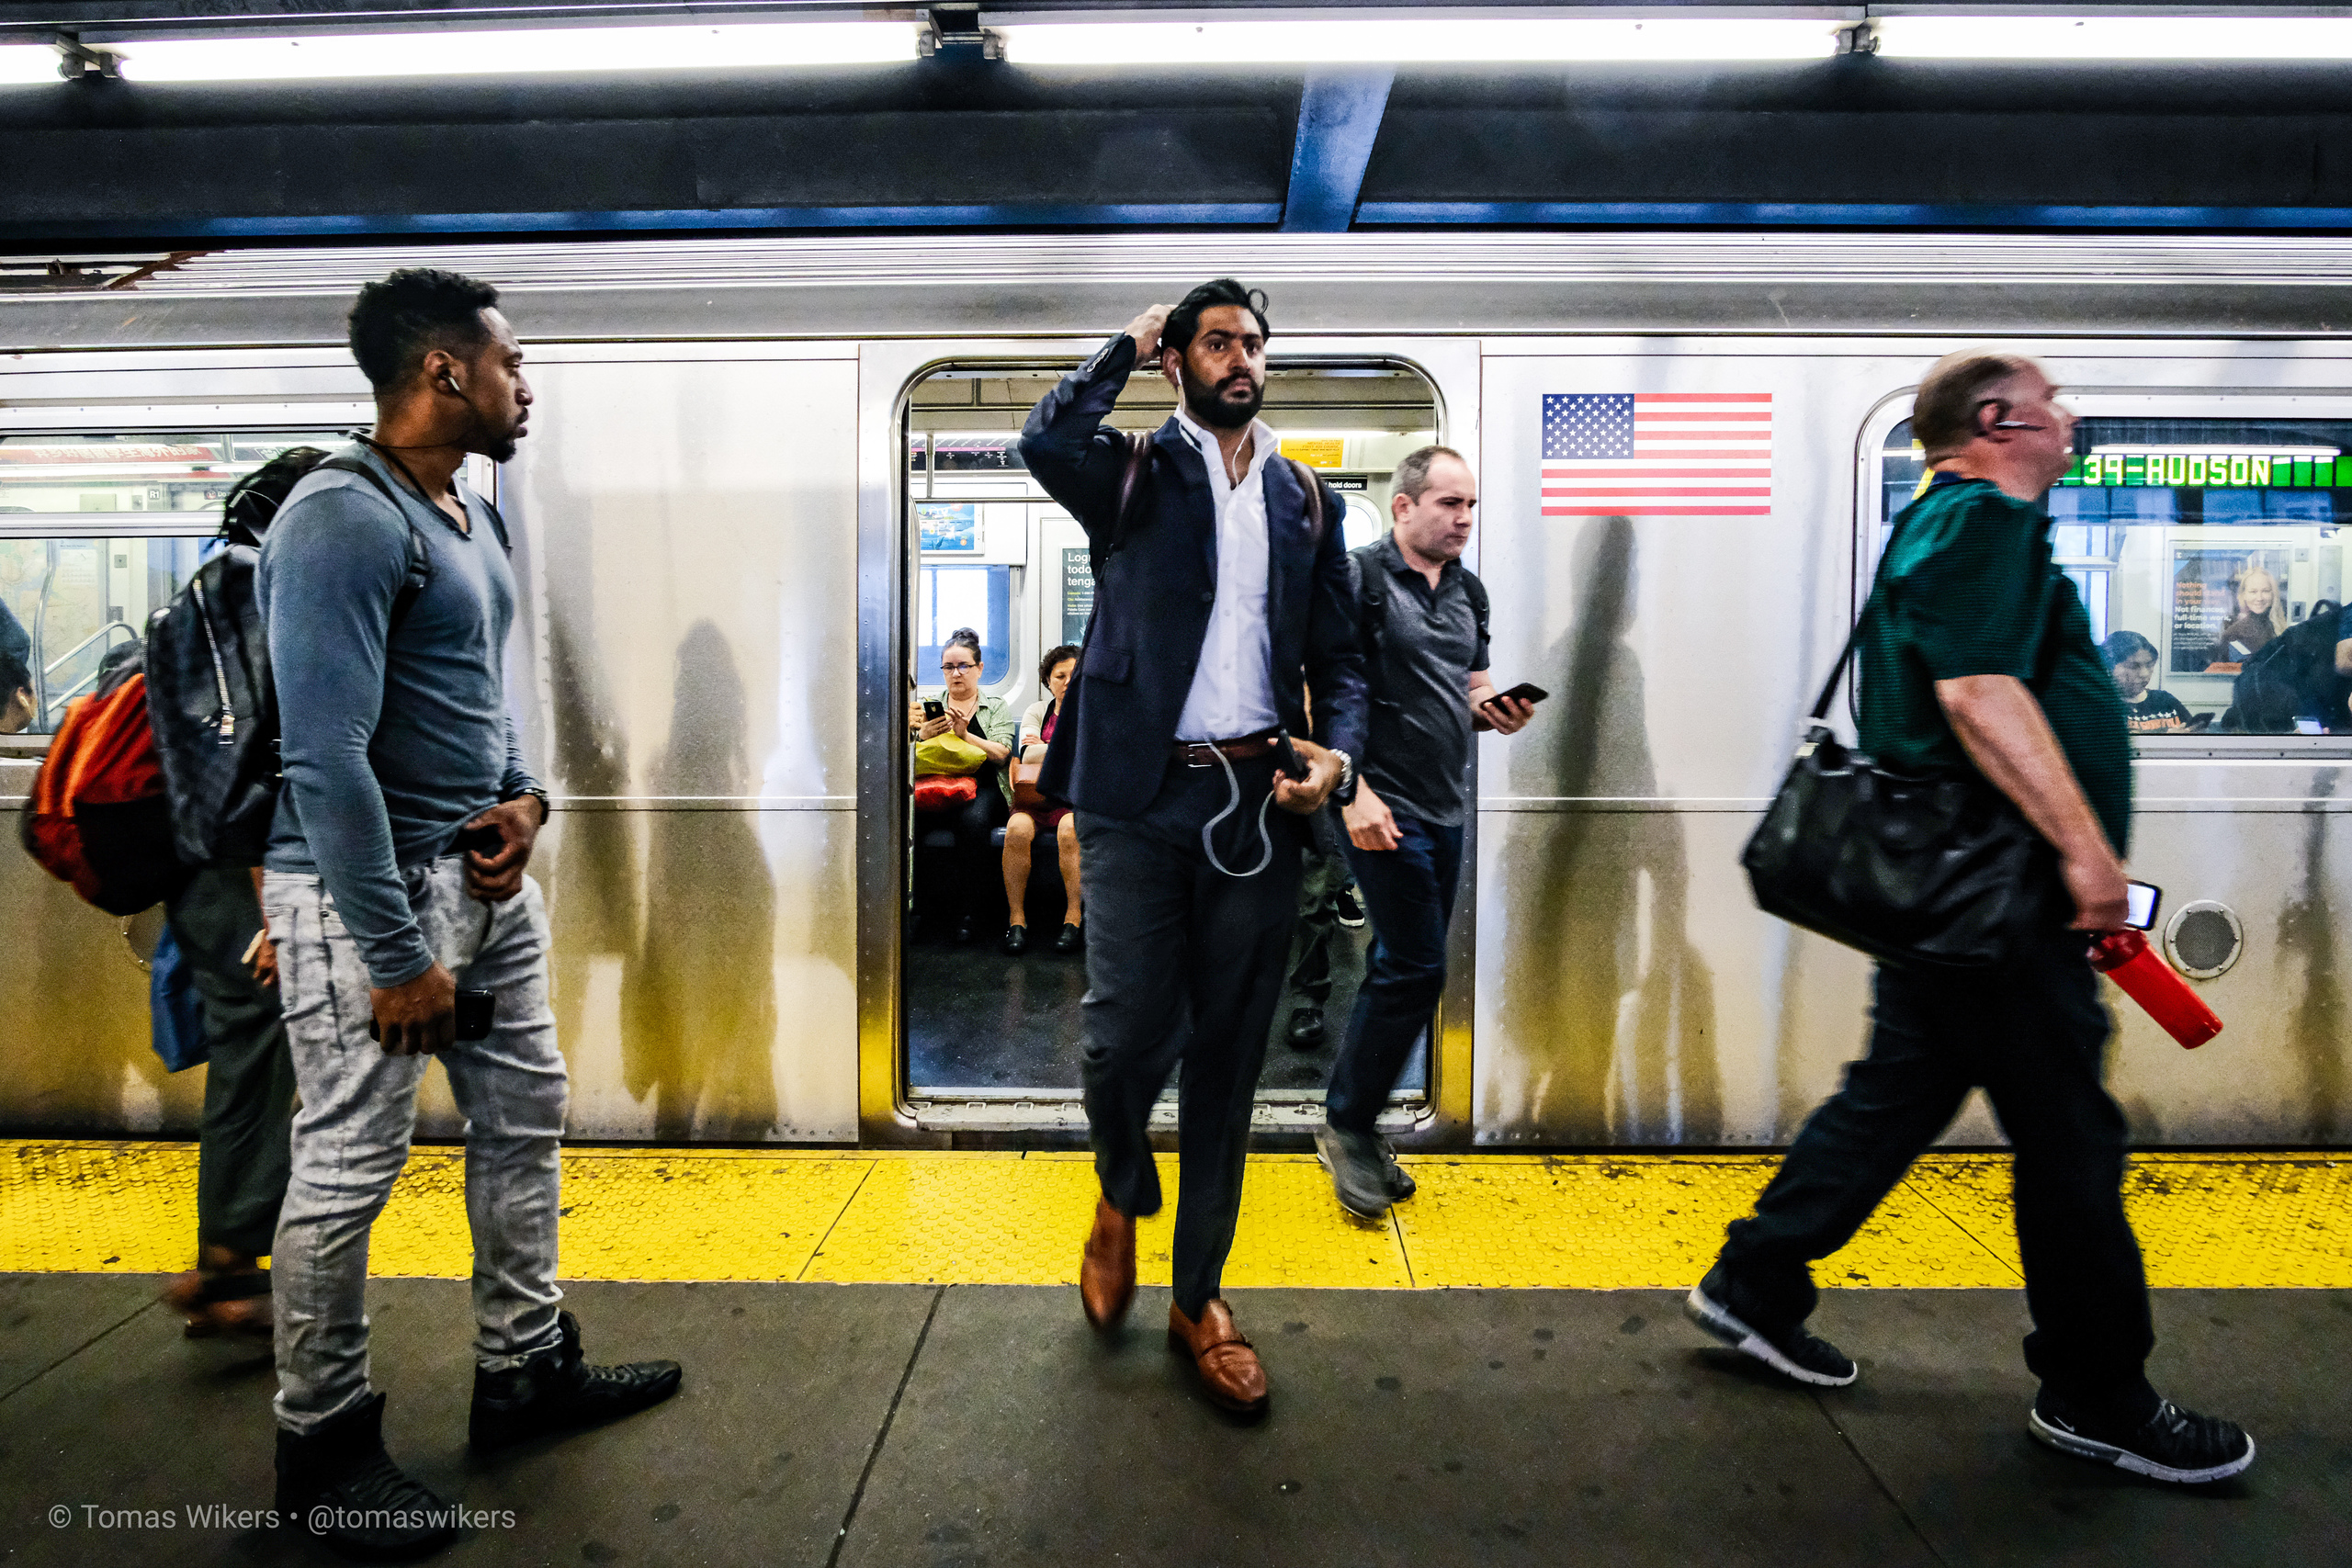
Street photography is a way of exploring, finding new perspectives and unique moments each day.
All photos by Tomas Wikers | @tomaswikers
To start with, a few words about camera choice
In street photography you usually want to blend in with the environment and not draw too much attention to yourself. I often use a compact point-and-shoot like Ricoh GR III or a compact mirrorless camera such as Fujifilm X-Pro2 with Samyang 12mm f/2 NCS. A 23mm or 35mm works fine too and are probably more synonymously with street photography. These cameras are nice to shoot with and easy to carry around. On the plus side, people think I’m a tourist and don’t bother. Sometimes I also use my Rolleiflex and that is a nice conversation starter as many people are fascinated by vintage analog cameras.
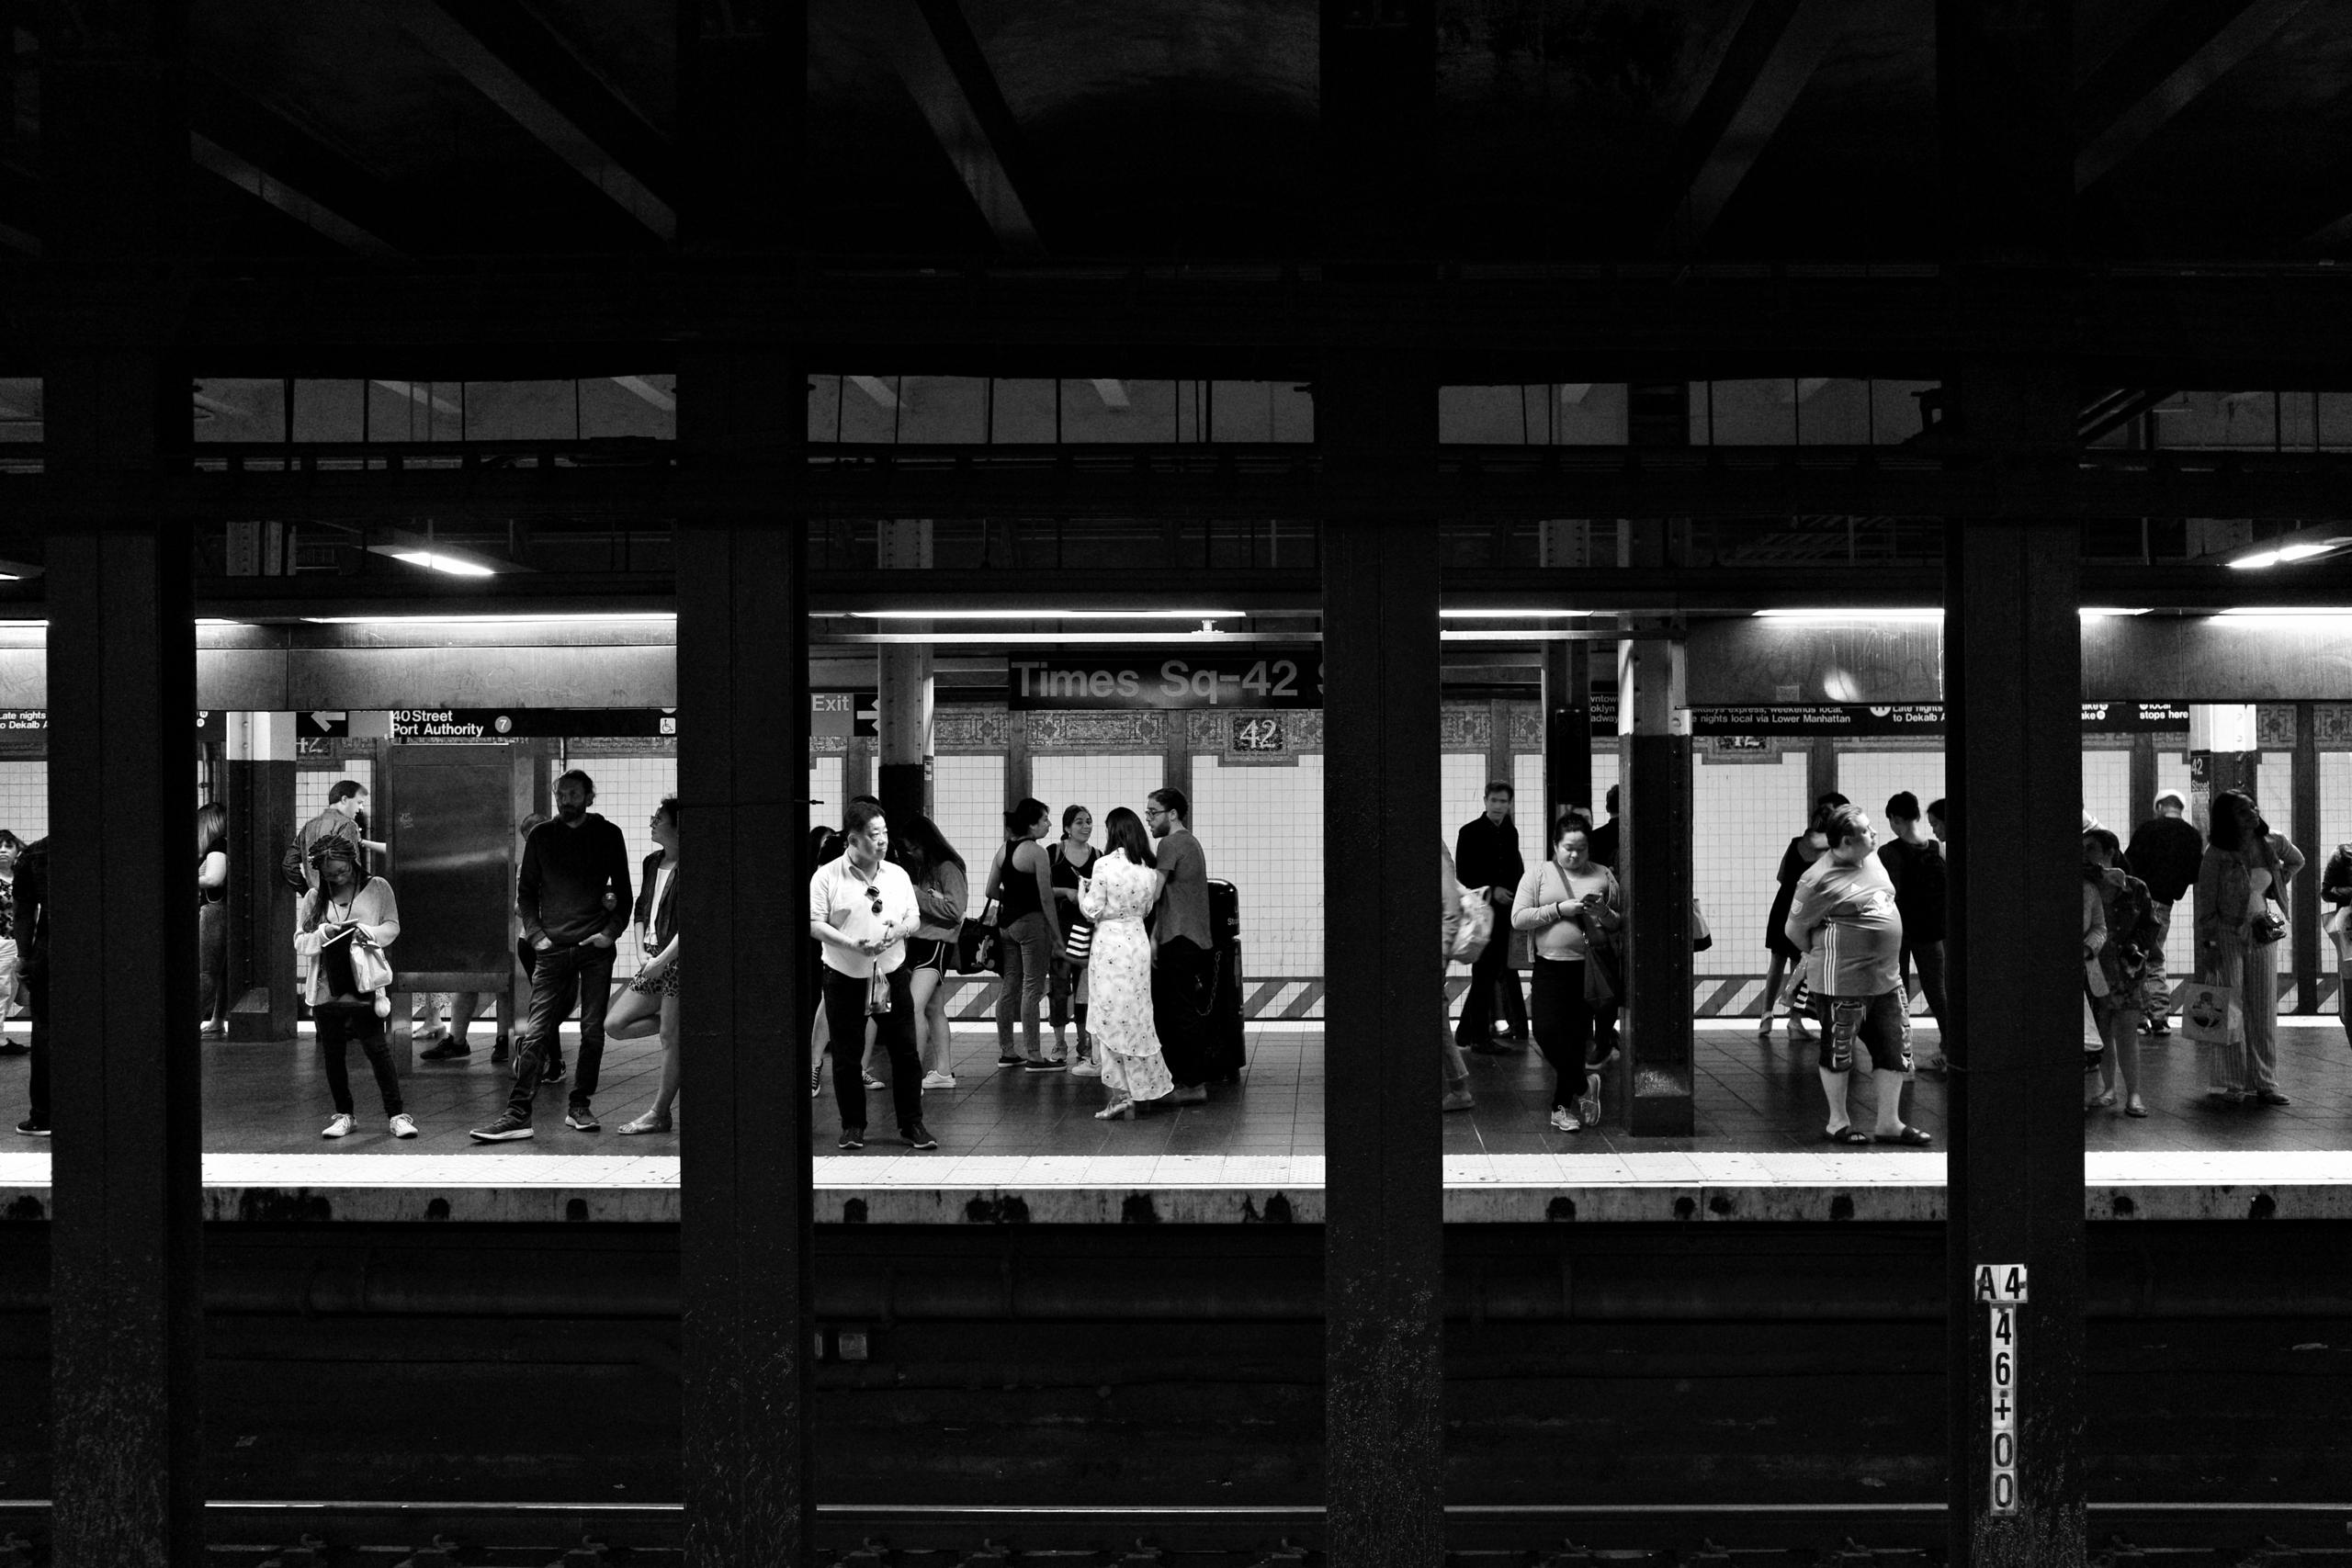
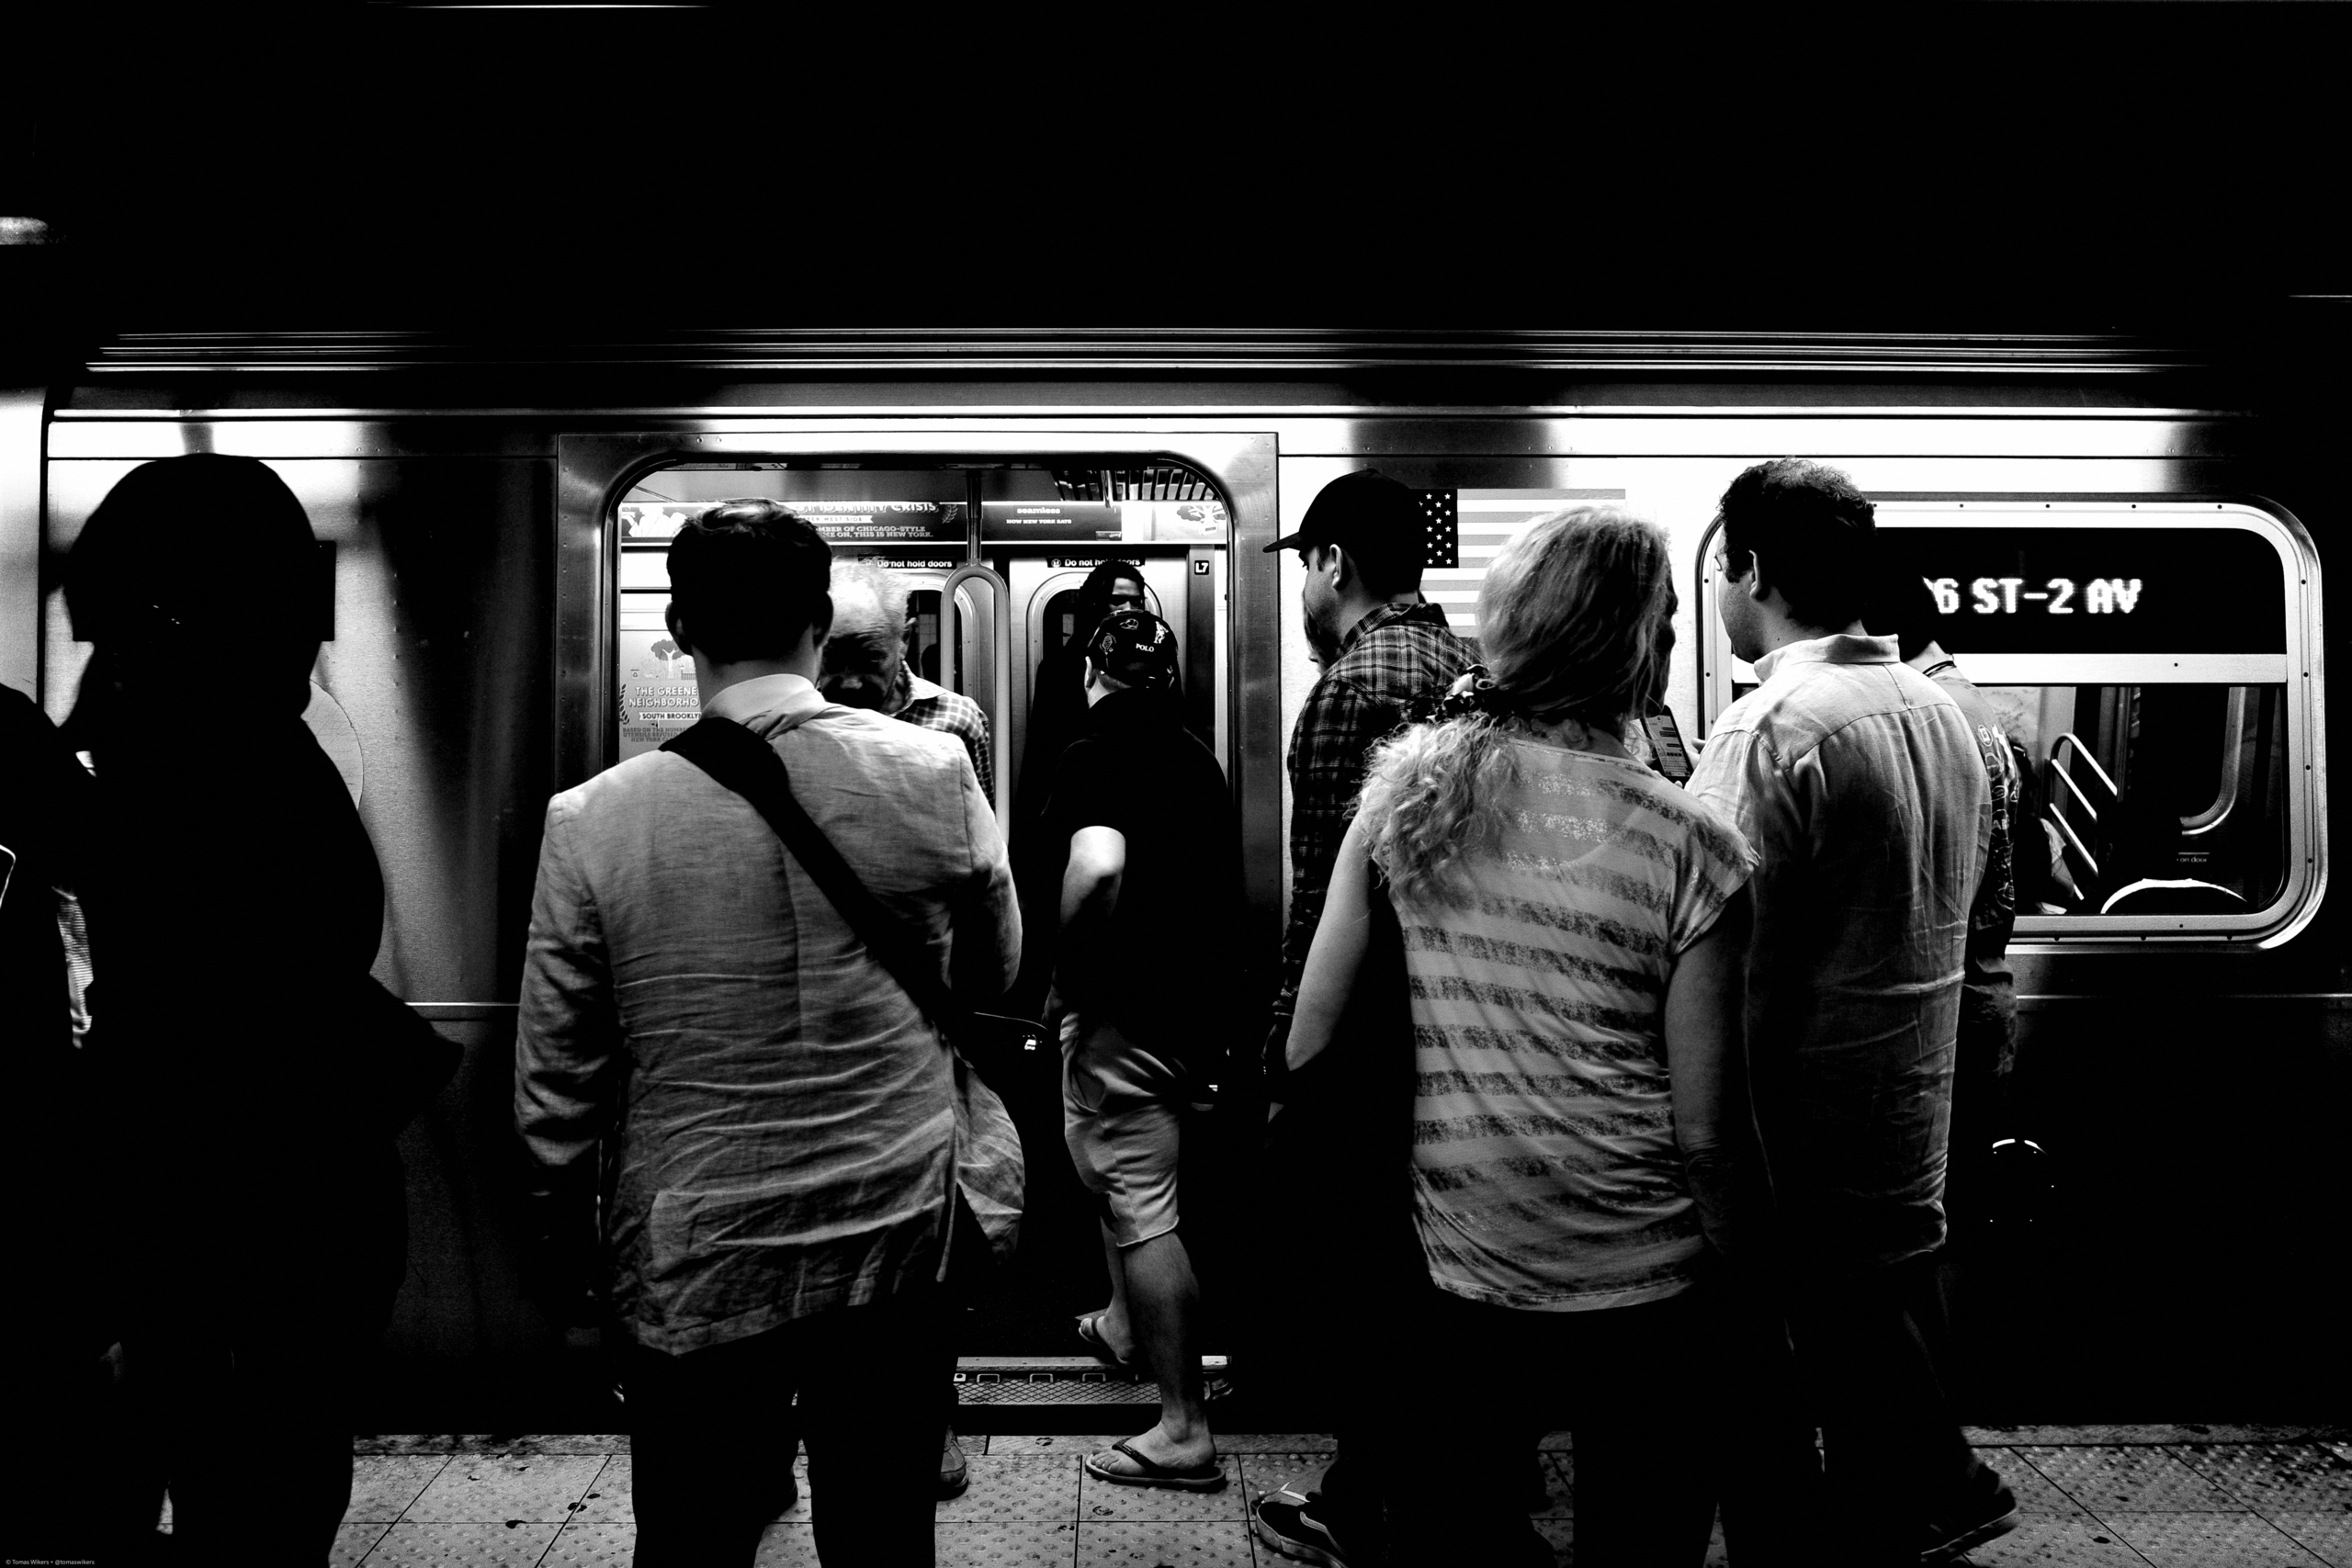
1. Subjects can be found everywhere
A street photograph does not necessarily have to be taken on a street or in an urban environment. Small, fun situations can occur anywhere where people meet – like in a park, in a cafe or in a hairdresser salon. Stay a few minutes and look around to see if something exciting happens. If not, move on and try another location and perhaps come back later.

2. Be one step ahead
Photography is about seeing, but in street photography you even must try to anticipate a situation before it actually happens. Interesting moments often occur suddenly and you have to be prepared. Make sure the camera is set to appropriate values for shutter speed, aperture, ISO and focus so that you can quickly lift it to the eye and just push the shutter button.
If you see that something interesting is happening and you need to start fiddle with the camera settings, well, the moment is gone. In street photo you only have a few seconds to decide and you need to be prepared. I usually shoot in aperture priority and set the aperture to something between f/5.6-8 and the focus between approximately 3-4 meters to infinity. I also have some pre-programmed modes that is suitable for street photo, but sometimes I also shoot in program mode to make it quick and easy.
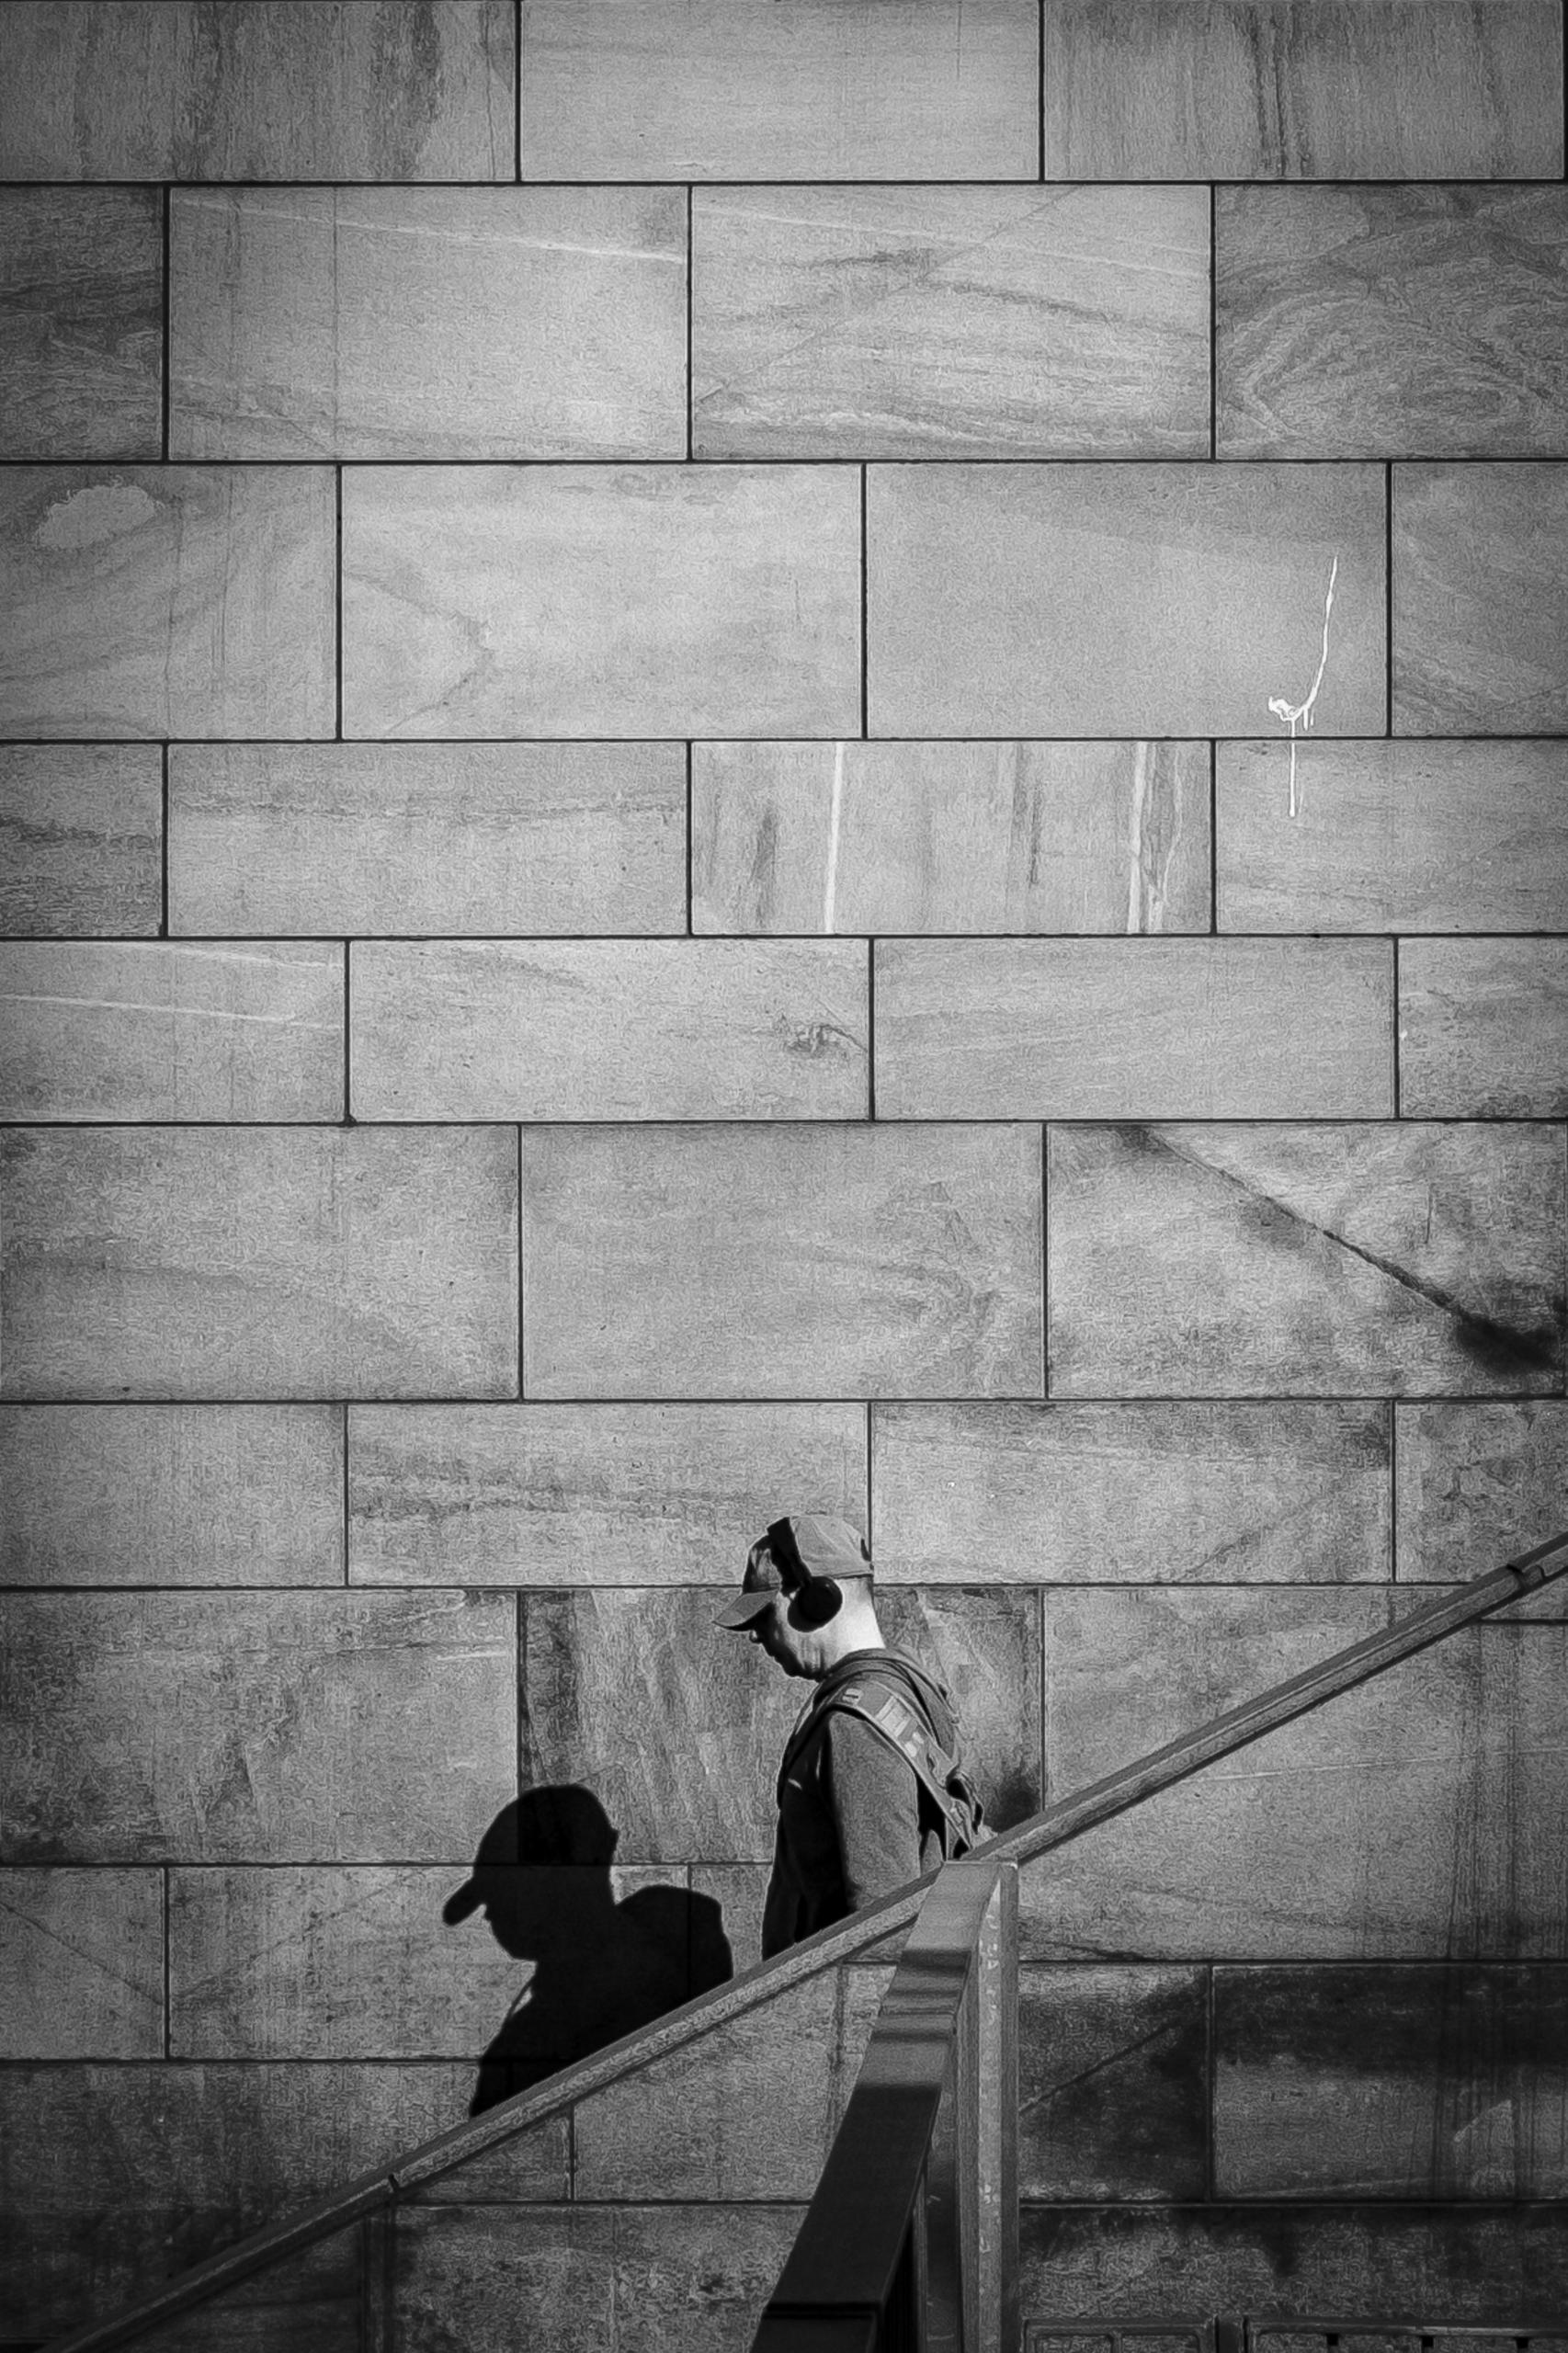
3. Take advantage of the background
Posters and murals can be used as backgrounds to support the story. But avoid disturbing elements in the background, such as poles, trees or street signs that look like they are growing out from people’s heads.

4. Be patient
Sometimes you need to wait a long time for a successful picture. Choose a subject in an environment or light that seems to have the potential for a successful image and just observe discreetly. If you are lucky, an interesting situation will eventually occur, making all the wait worth it.
5. Capture the motion
A photograph must not always be sharp. Images with motion blur often have a somewhat poetic expression since not all details are super-clear. When you shoot moving subjects, try panning with your camera and use a long shutter speed, such as 1/15 second. In this way, the background becomes blurred while the subject itself becomes reasonably sharp.
6. Bend down
Photographing on straight legs rarely gives the best perspective. A low camera angle means a better meeting with the person you want to photograph. When you bend down or slightly tilt to the side you also often get a more interesting composition. It can also be easier to get rid of disturbing elements in the background.
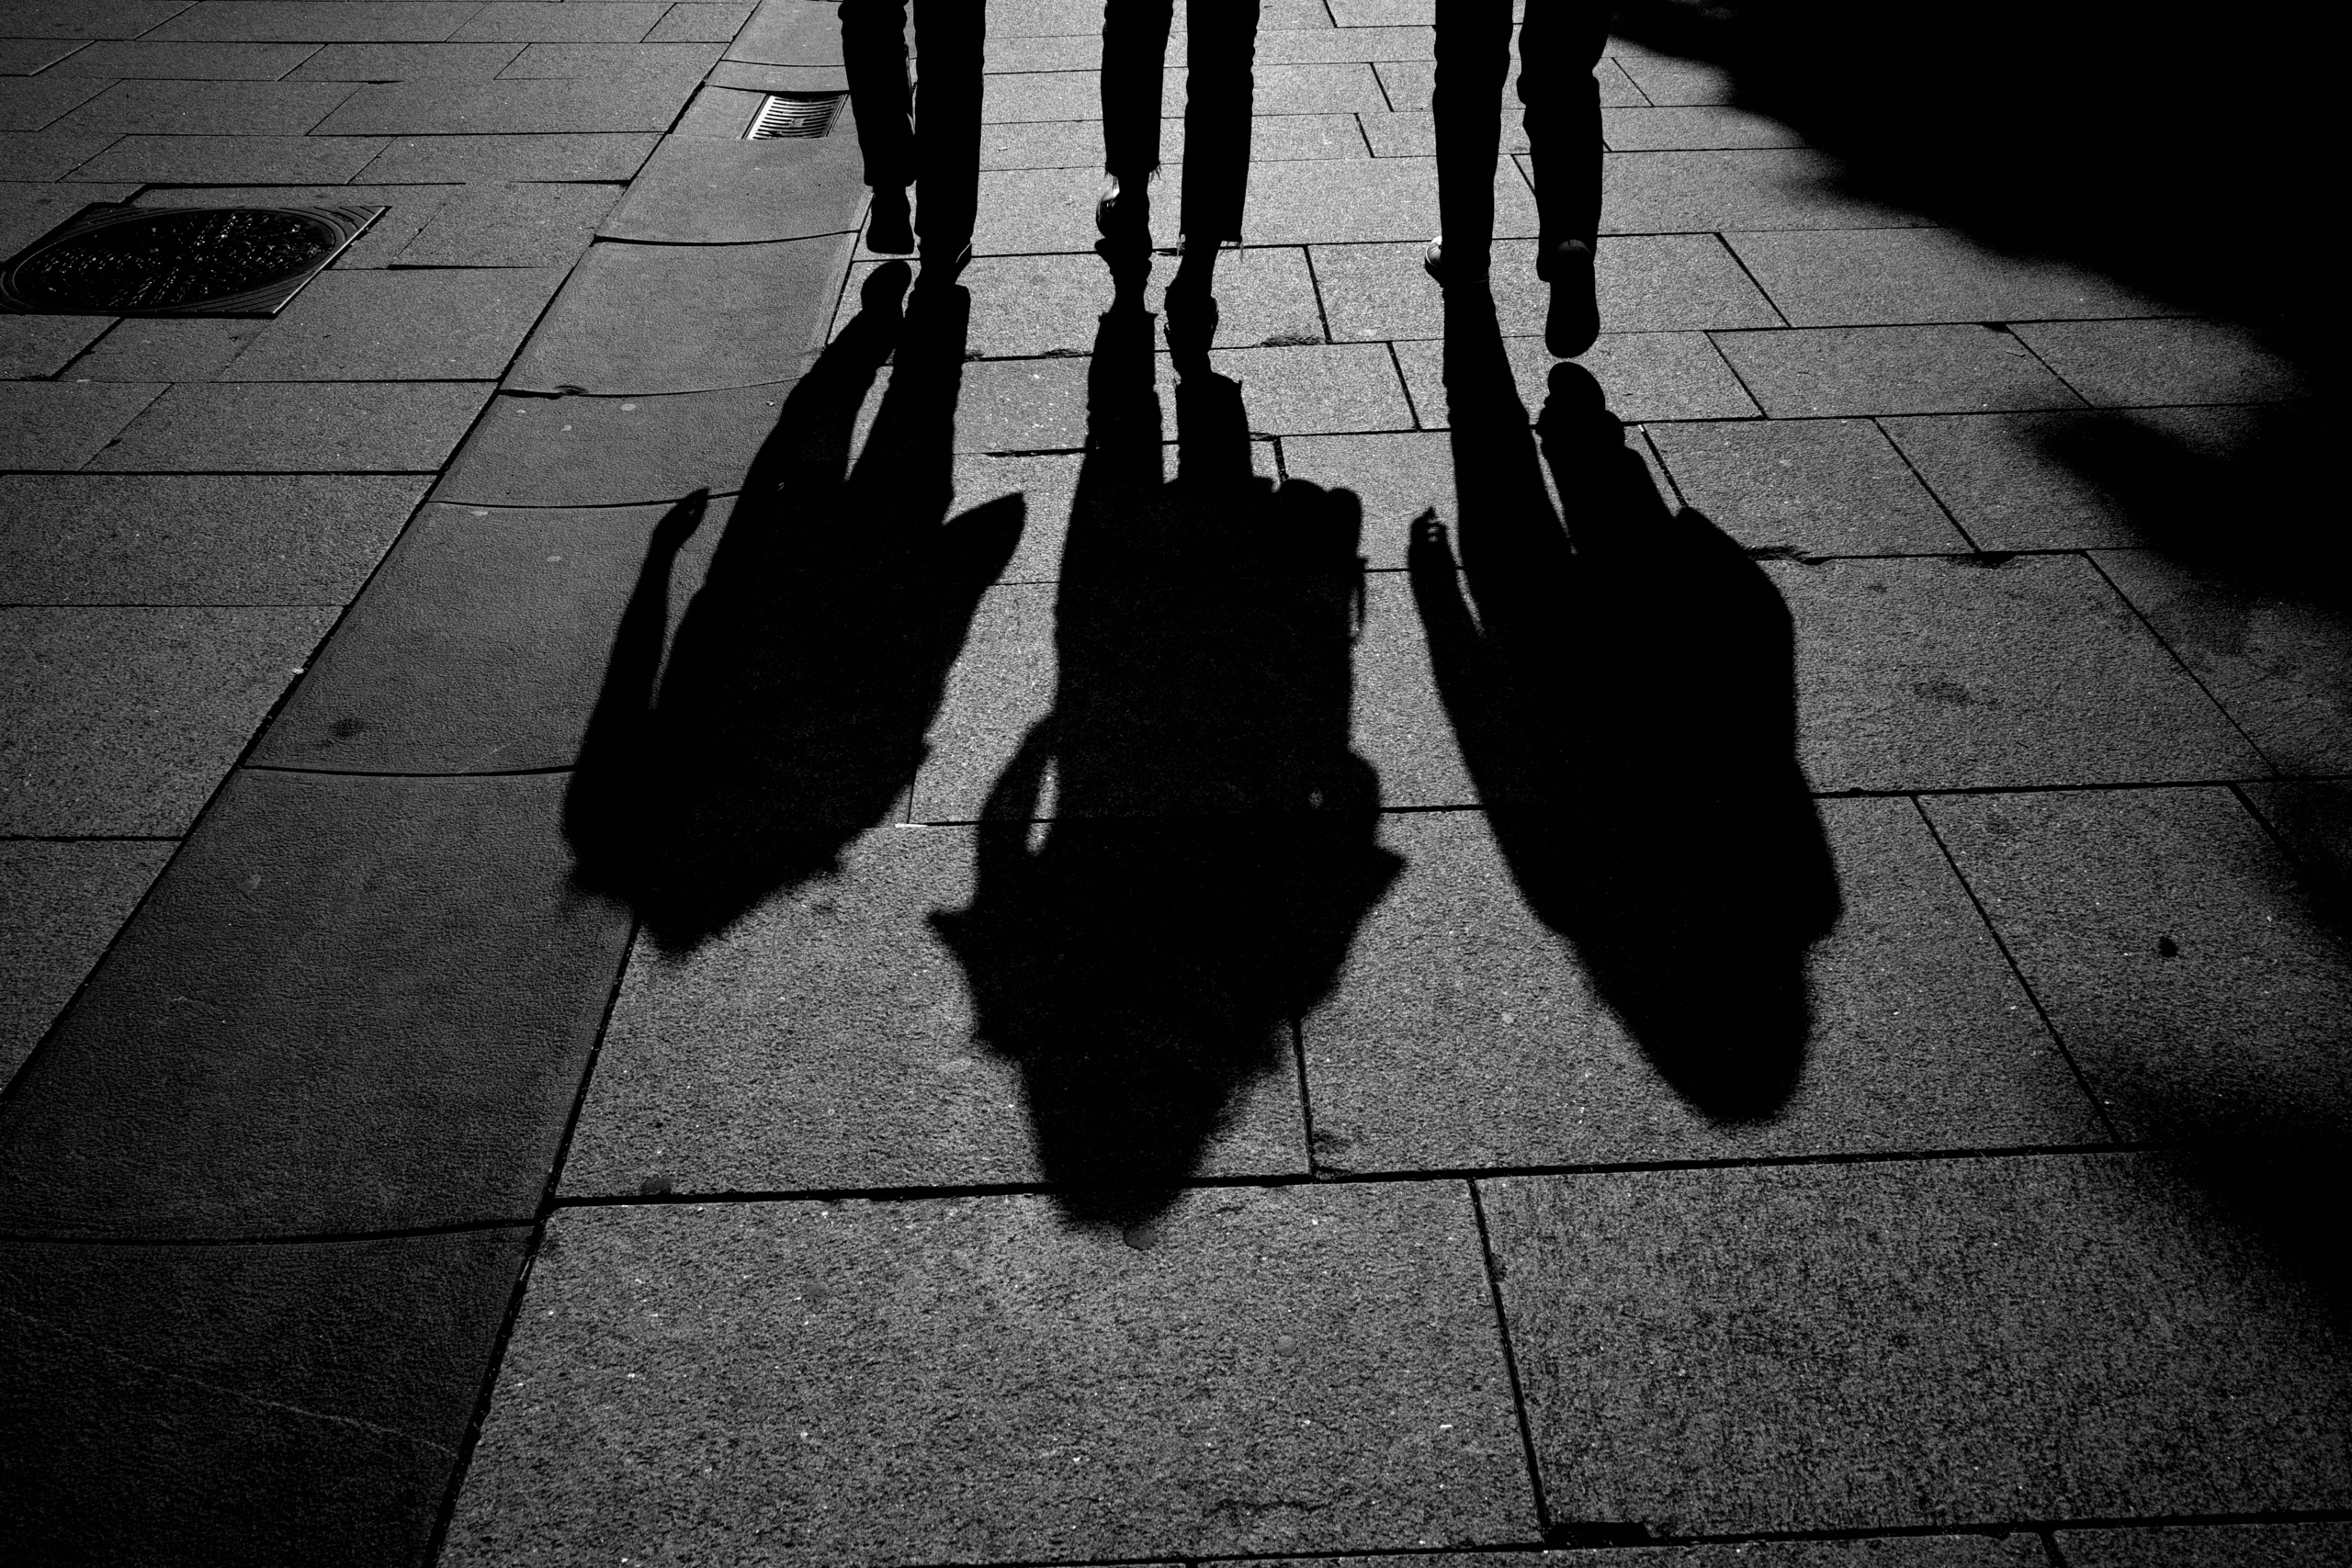
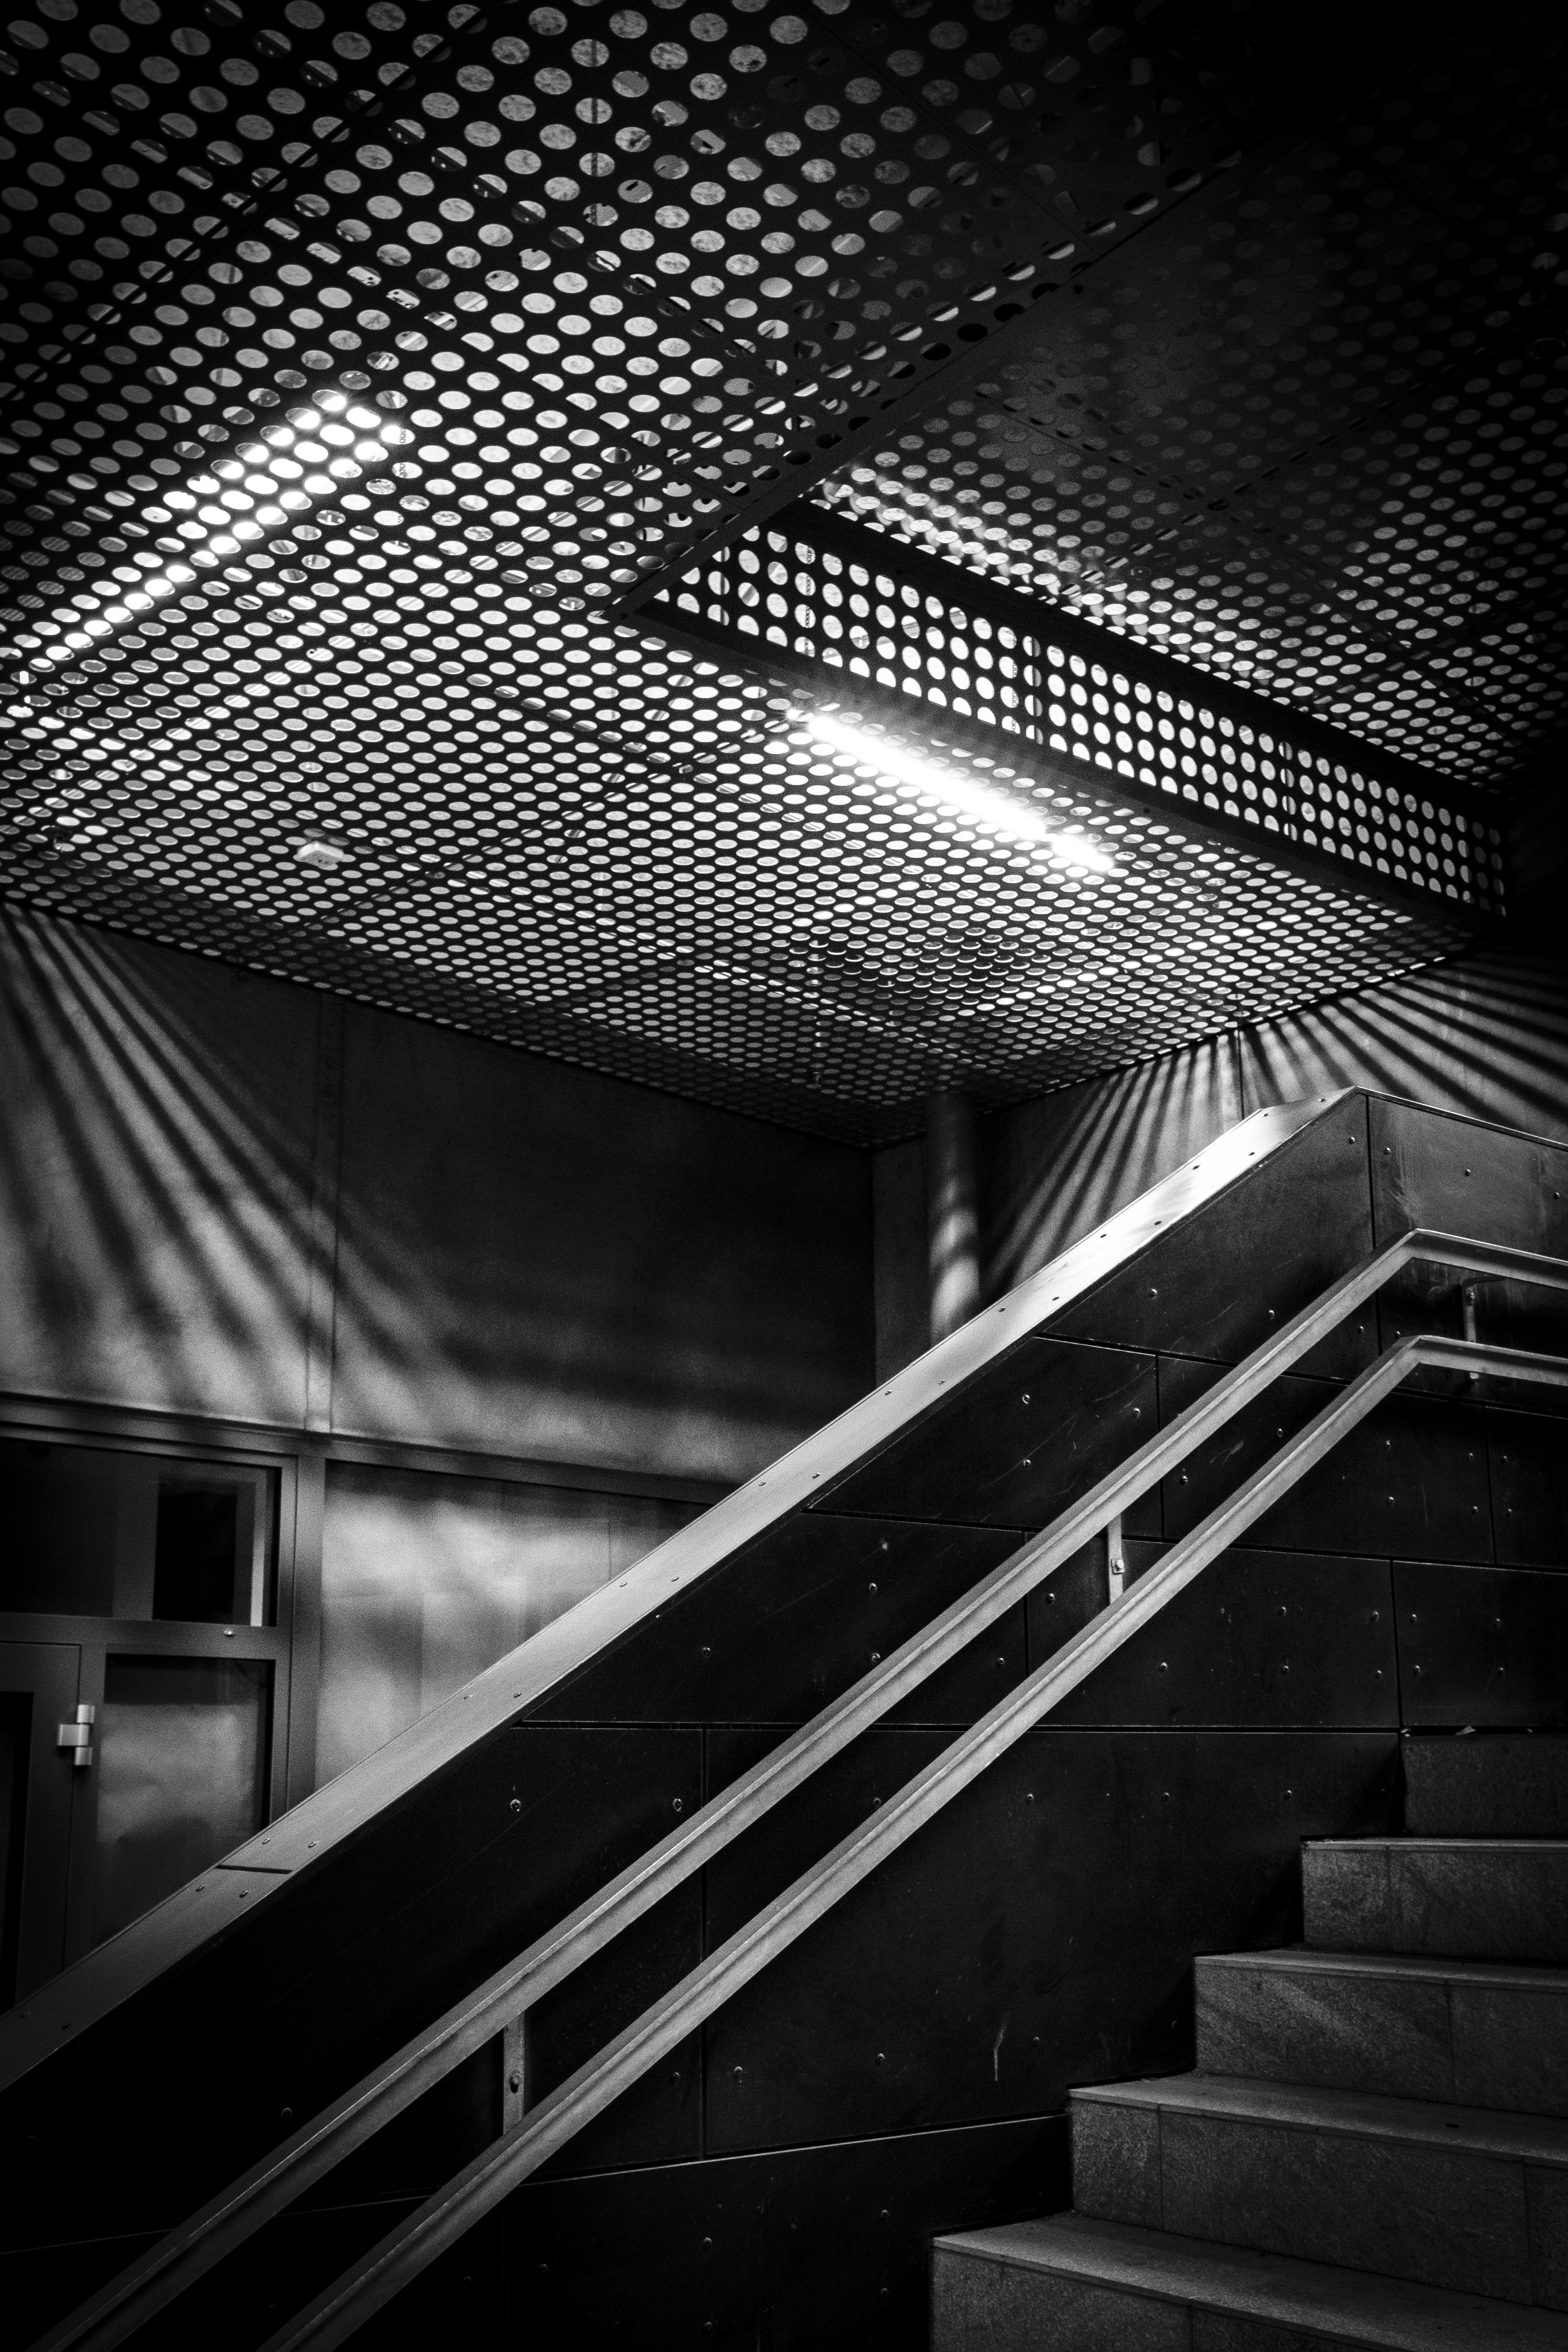
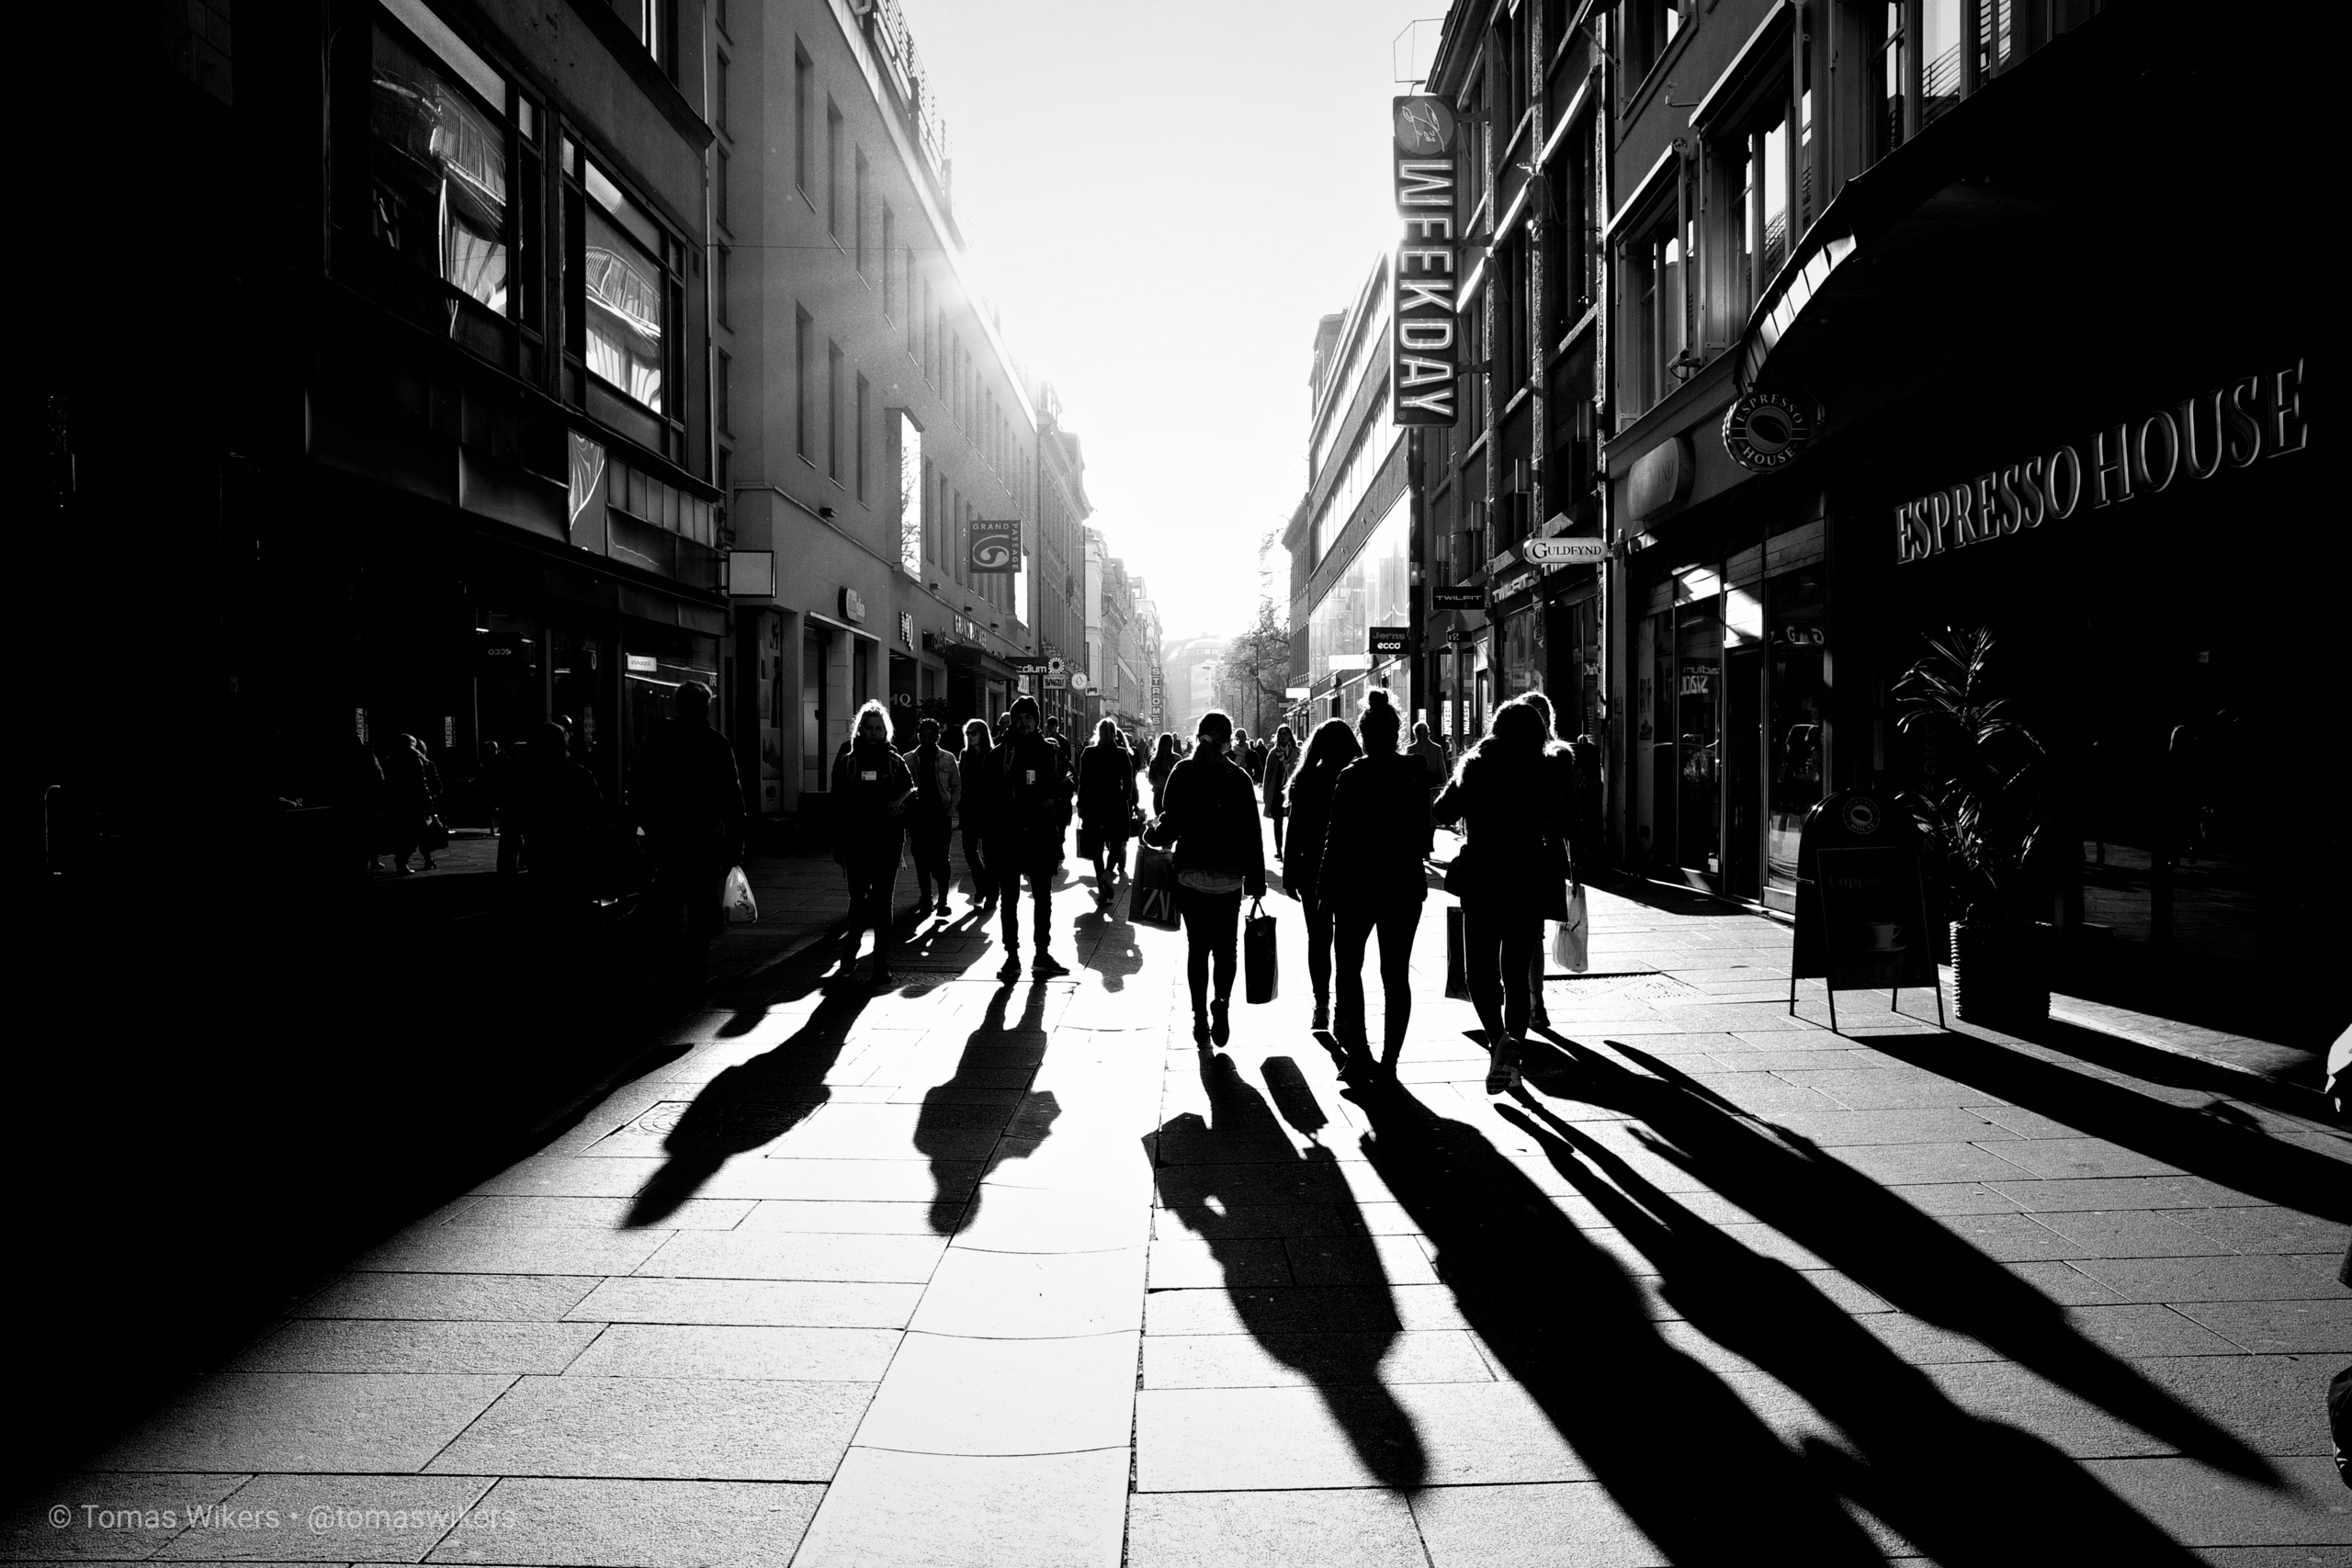
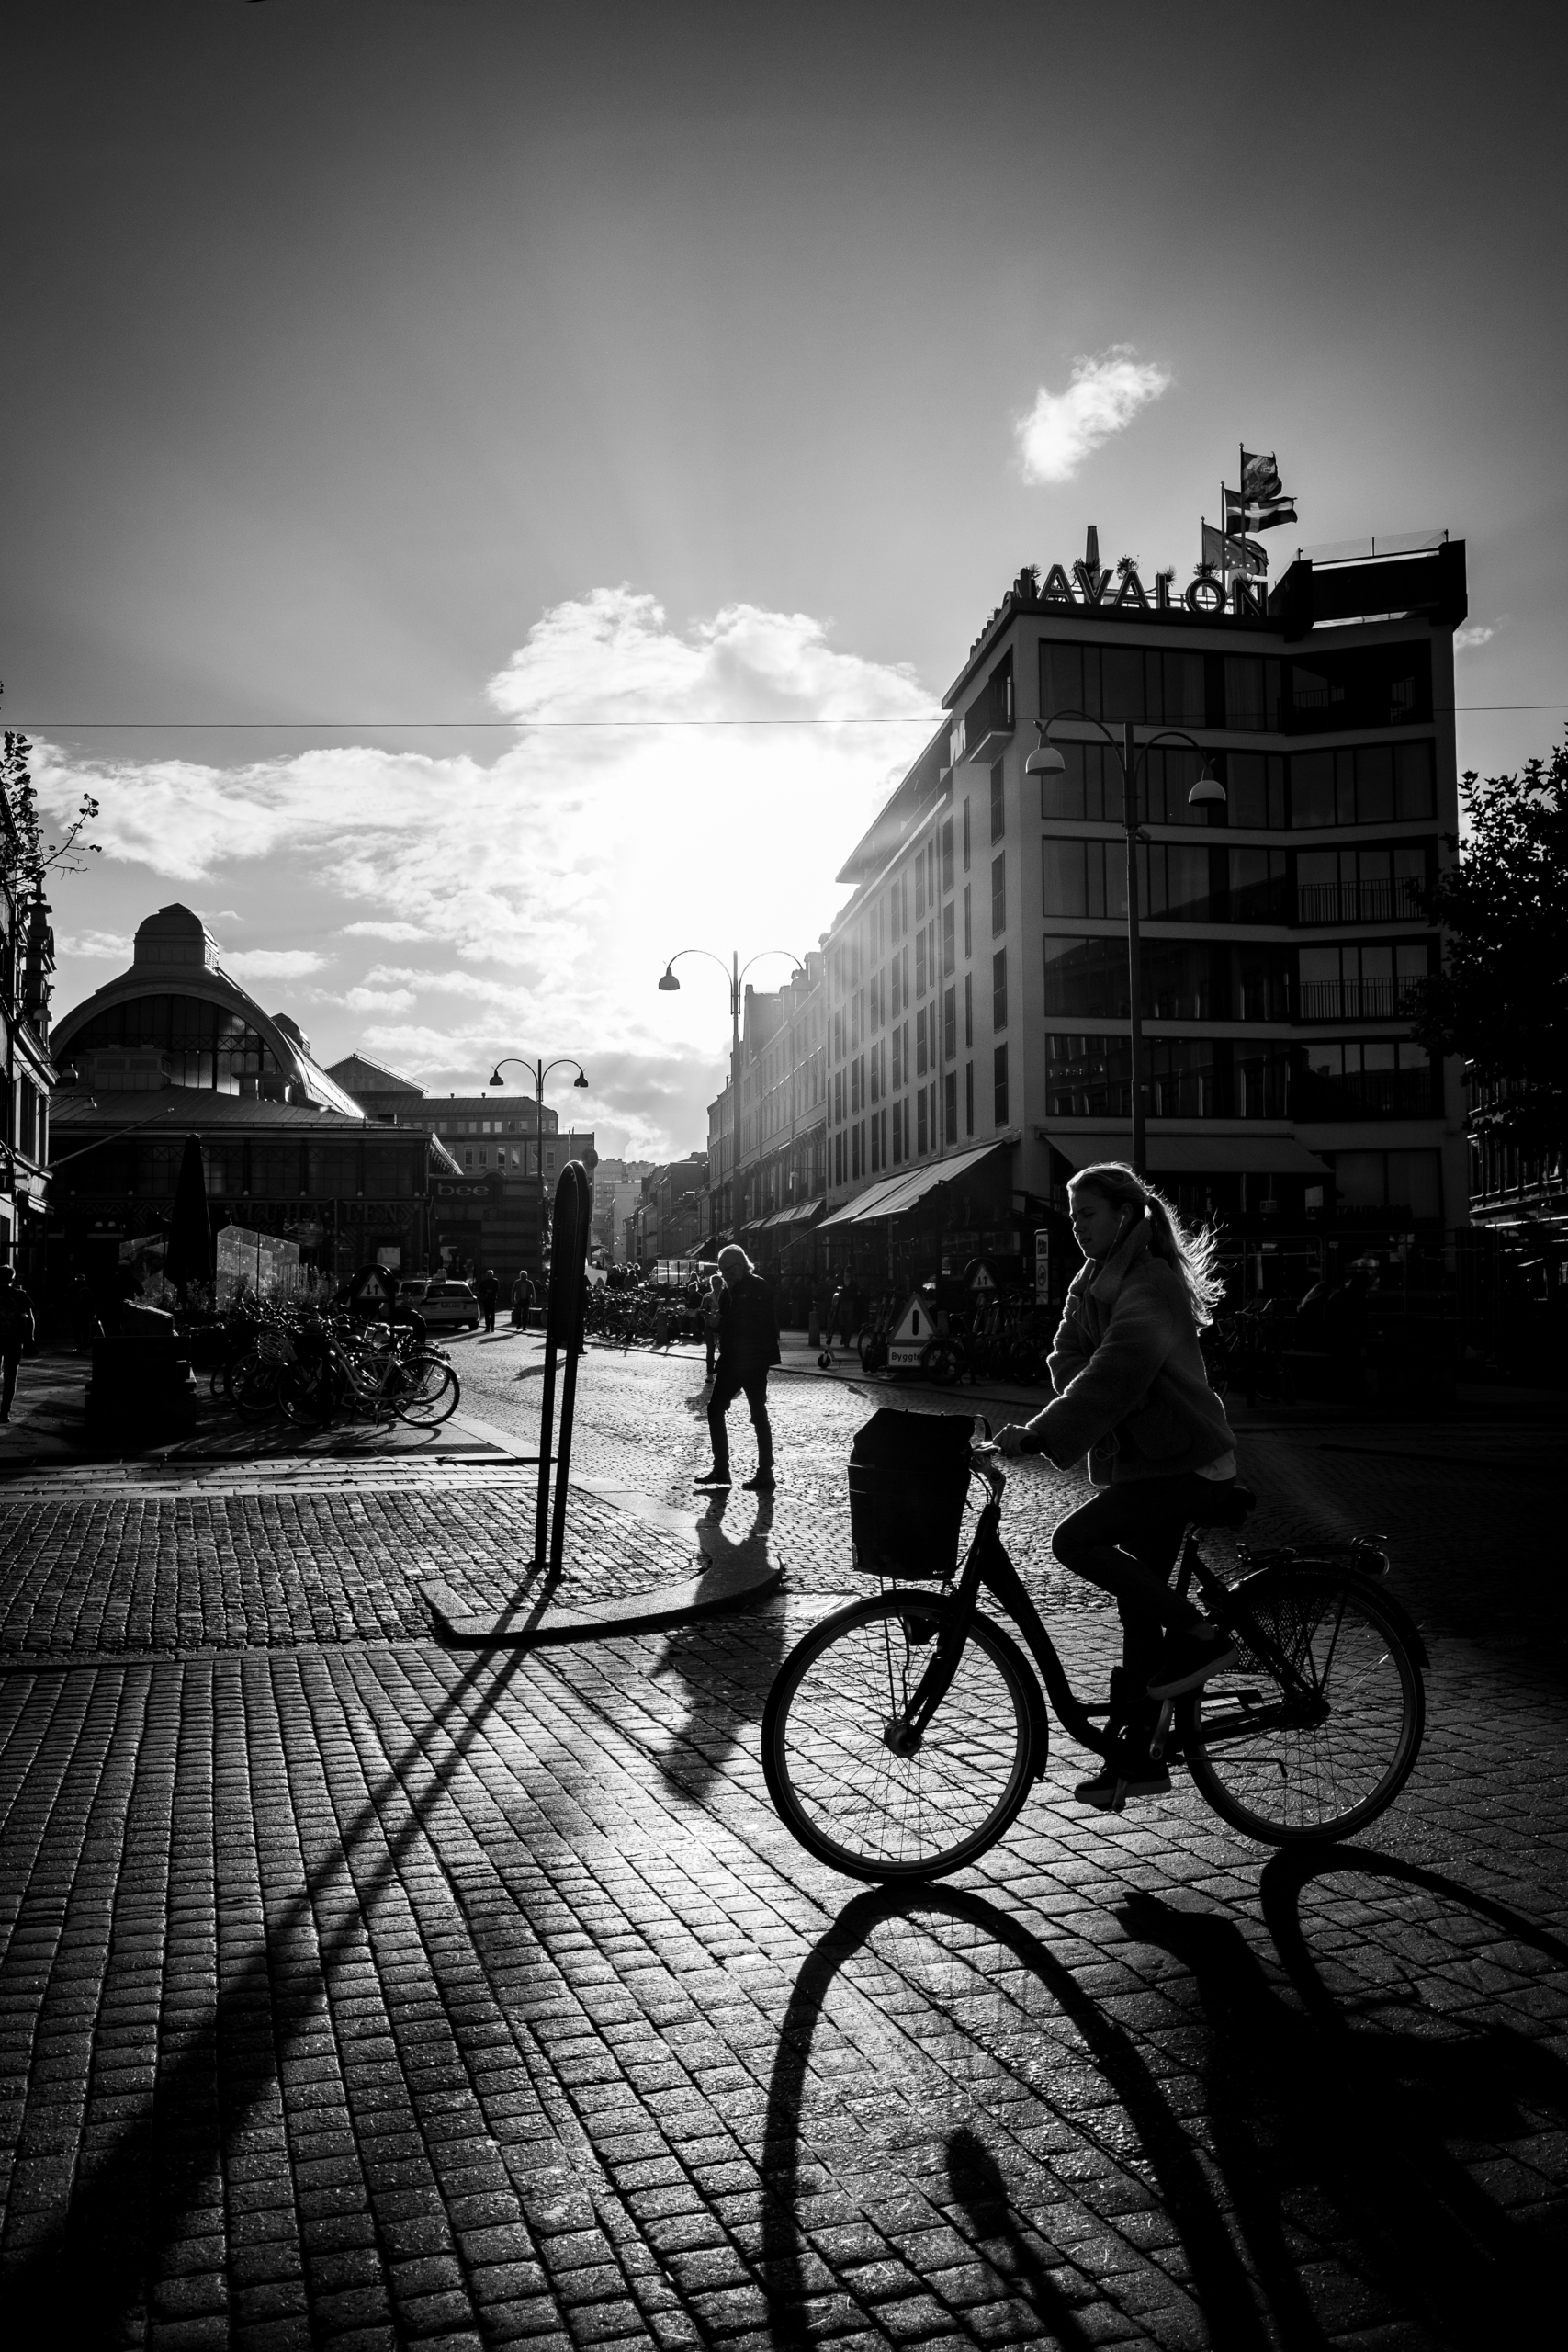
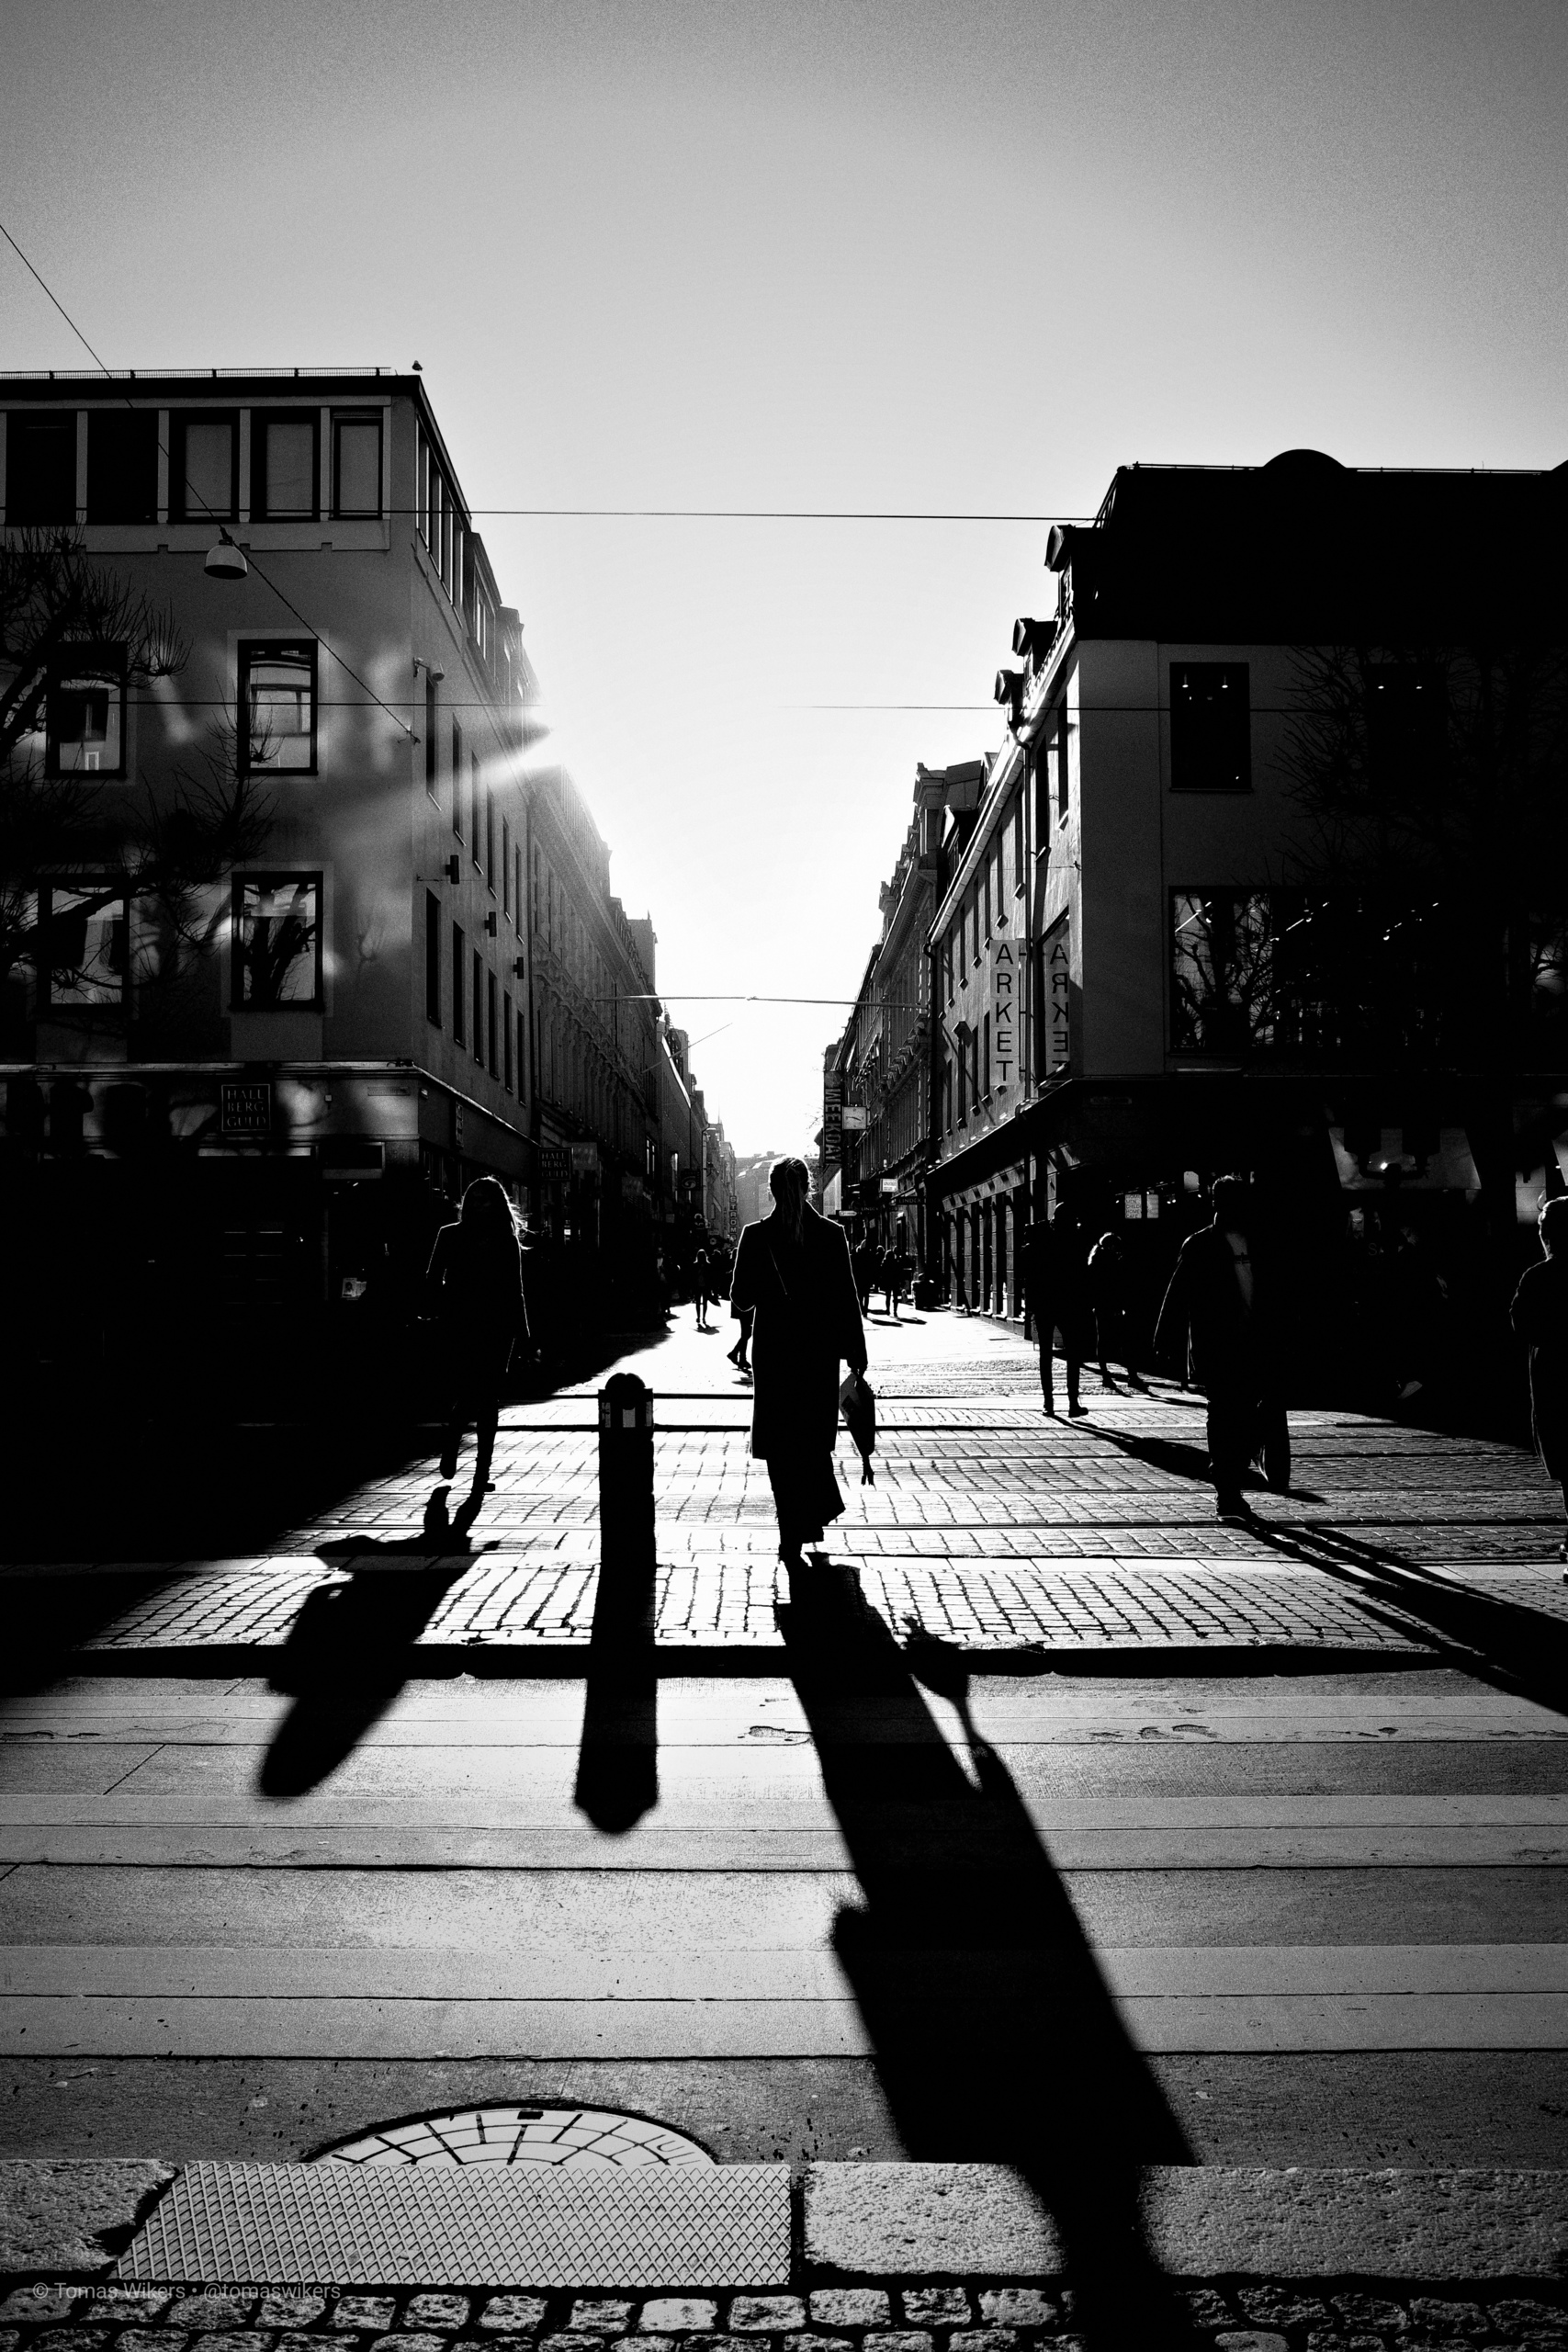
7. Light and shadow
The light is absolutely crucial in photography. Sun stripes and shadows can be beautiful composition elements and contribute with a sense of direction and mood. Take a couple of minutes to try different setups to make sure you get your perfect picture and that your own shadow doesn’t appear in the picture.
You often find the best light in the morning and late afternoon. Evening light and cloudy weather is great for bringing out fine tones. Shooting in bright sunlight should be avoided unless the subject specifically benefits from it (which it can). But beware of your own shadow!
8. Black-and-white or colour
Colour images are best when the colour is an important ingredient in the composition. A black-and-white image emphasizes the content and, more or less forces the viewer to see the motif in the picture. If you shoot in raw format, you can choose afterwards if the image looks best in colour or black-and-white. If you choose the latter, it is important to make a careful work in the digital darkroom, so that light, shadows, contrasts and small, fine shades of grey really come out right in the finished picture.