A brief introduction about me
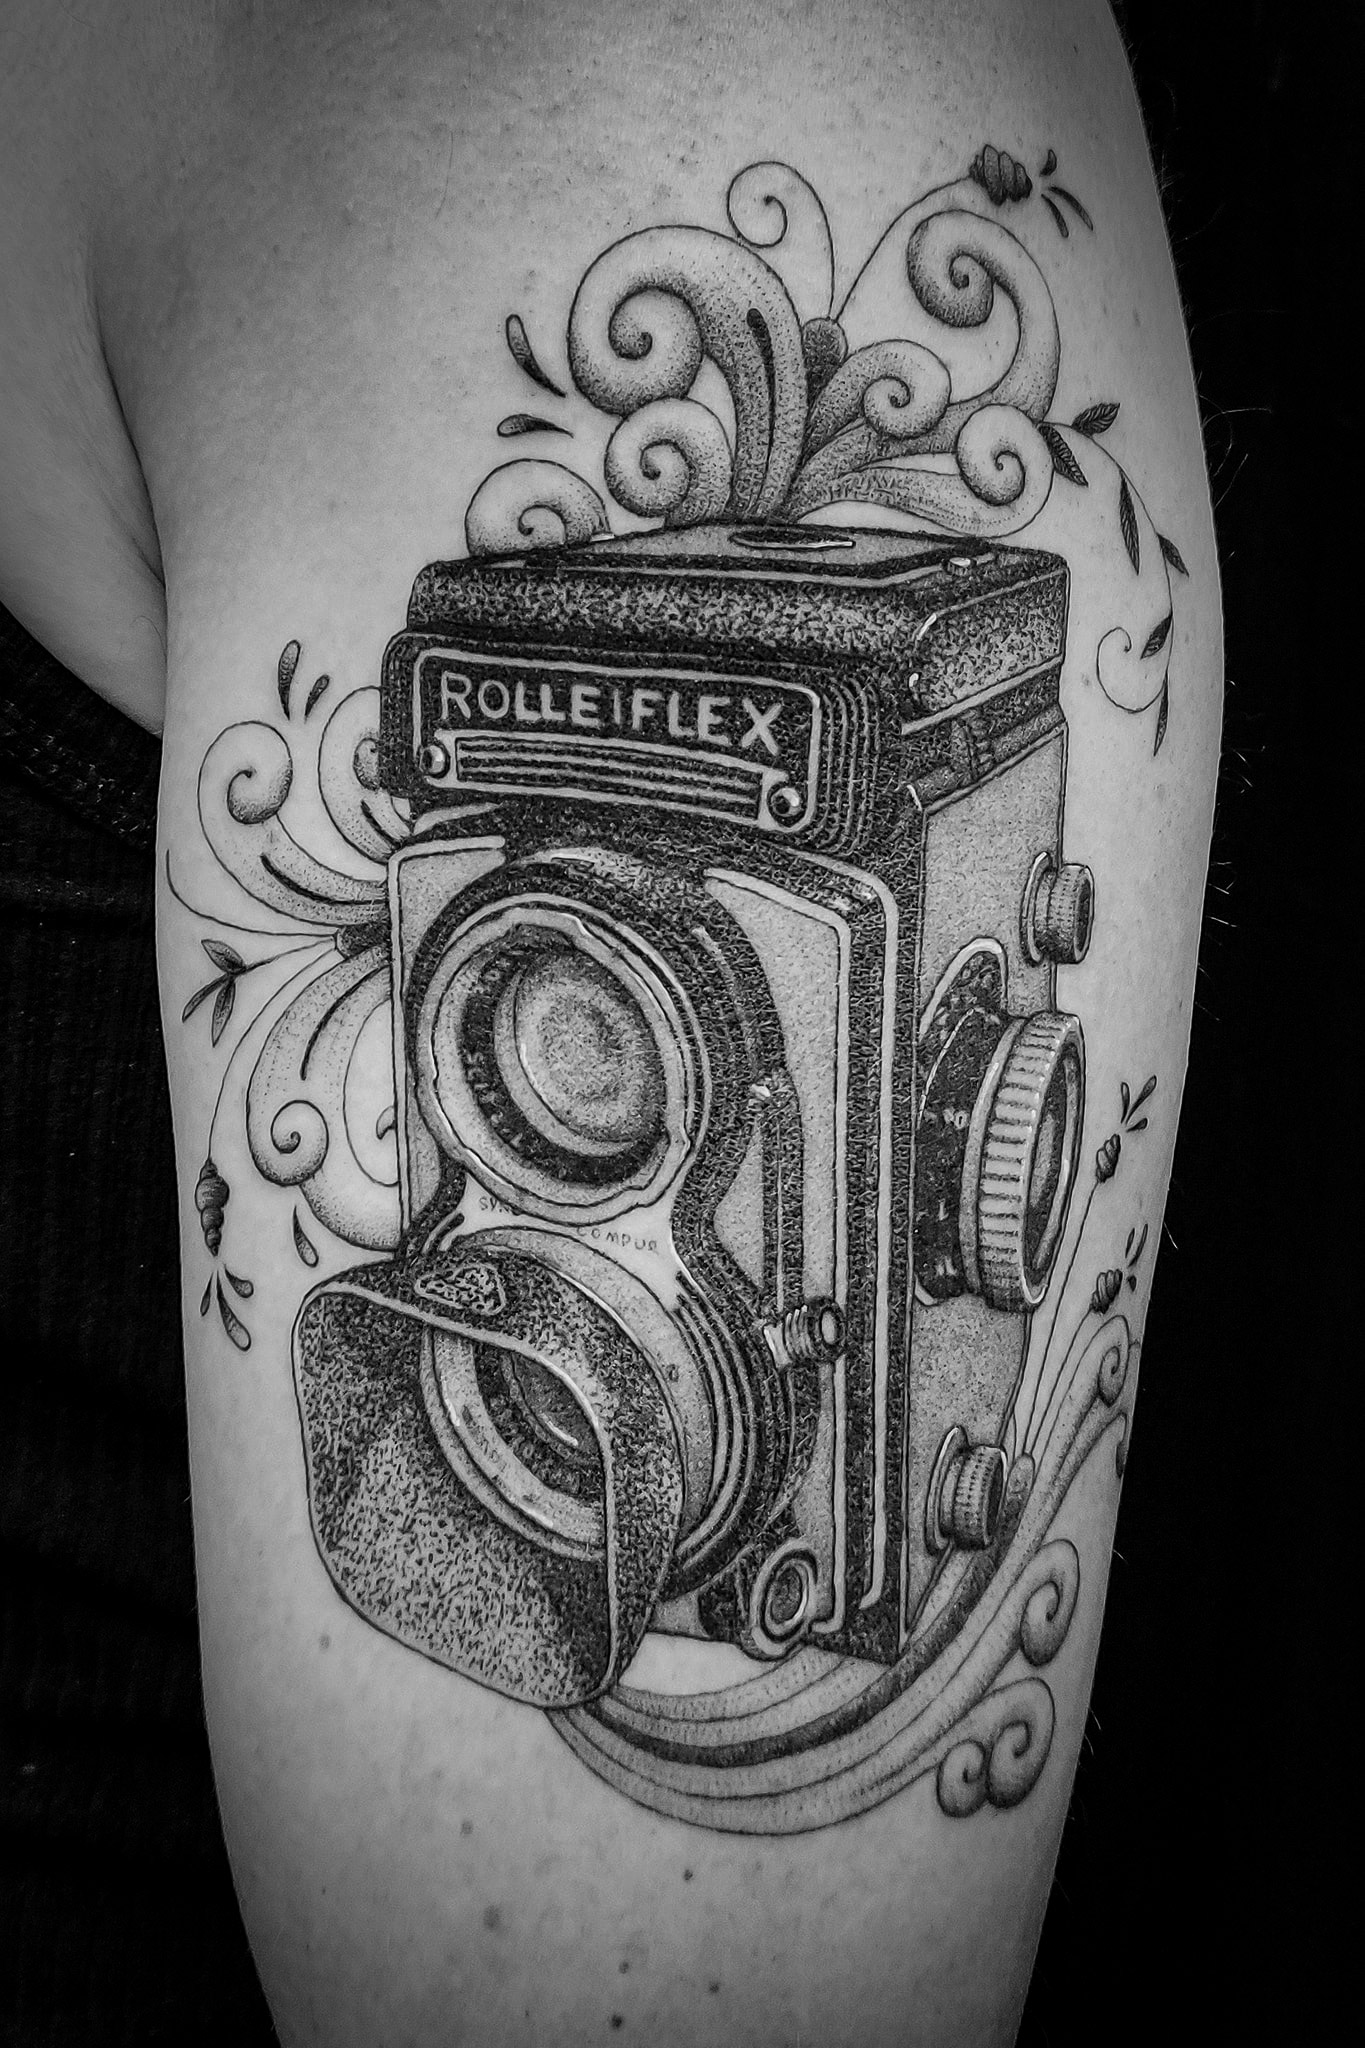
Hi! I’m Tomas. I work at the marketing department here at Focus Nordic and I have a genuine interest in analogue photography in the company. I even went so far that I got a huge tattoo of my Rolleiflex together with some Kurbits on my arm. Maybe crazy but the Rolleiflex symbolises my journey and genuine interest in photography and Kurbits since I’m from the region Dalarna, which reside in the middle part of Sweden.
Analogue photography is like its own part of the family and I like to try various types of photography such as landscape, nature, street, macro and so on to push myself and learn something new and get even better at it. Lately, I have become more and more interested in macro photography, which is much harder than I thought, but so fun when you finally succeed with the shot. Someday I maybe even get the courage to try portraits too.
Why I begun with analogue photography
I wanted to try something entirely new and develop my photography skills even further. Going back to the roots of photography so to speak. Plus, I’ve always loved the feeling in analogue photos. When you compare photos taken with a digital and an analogue camera you will notice the difference. The contrasts, tones and overall feeling in the photo is so different compared to a photo taken with a digital camera.
I have a nice Rolleiflex T 3.5/75 with grey leather, which was produced in limited numbers, normally a Rolleiflex comes with black leather. I bought it from an older gentleman, and it came with the original box, user manual, case, strap, and filters. Everything original and in pristine condition. It was only him and his dad that had been using it. Sparingly. So, I got lucky. I remember that he was very meticulous in his questions when I talked to him. He didn’t want to sell the camera to anyone who didn’t appreciate it and because of that, he had already turned down several potential buyers. This camera had meant so much to him and it had been a part of his life for so many years. Now I understand it, now it’s a part of me.
So I finally got this fine piece of German craftmanship and then I felt that something was missing. I didn’t know all the details and I felt it would be fun to learn the whole process, from taking the shot to develop the film and perhaps make a couple of prints to put on the wall.
All roads lead to Rome
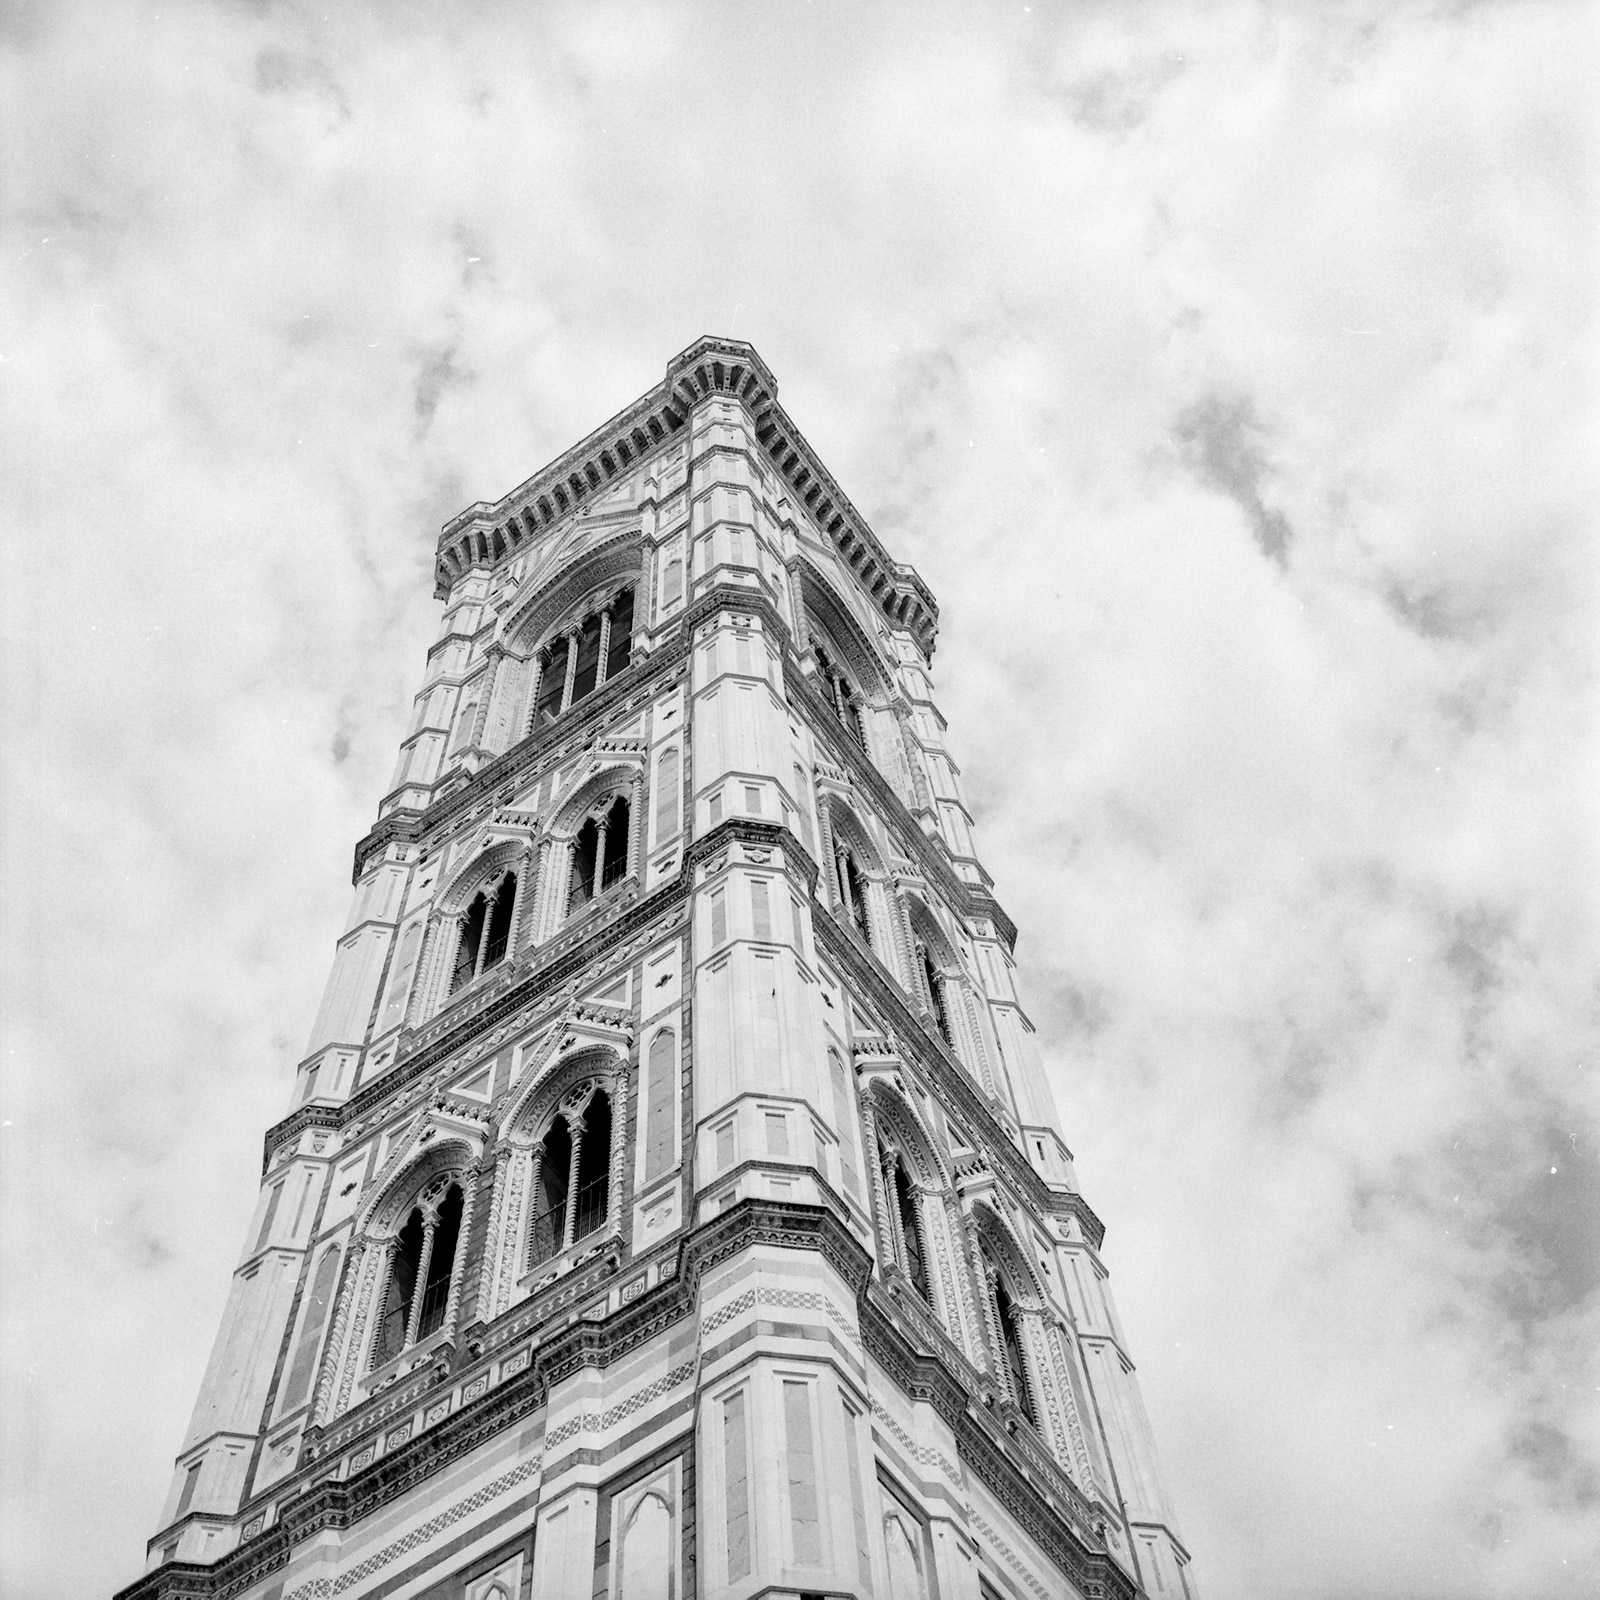
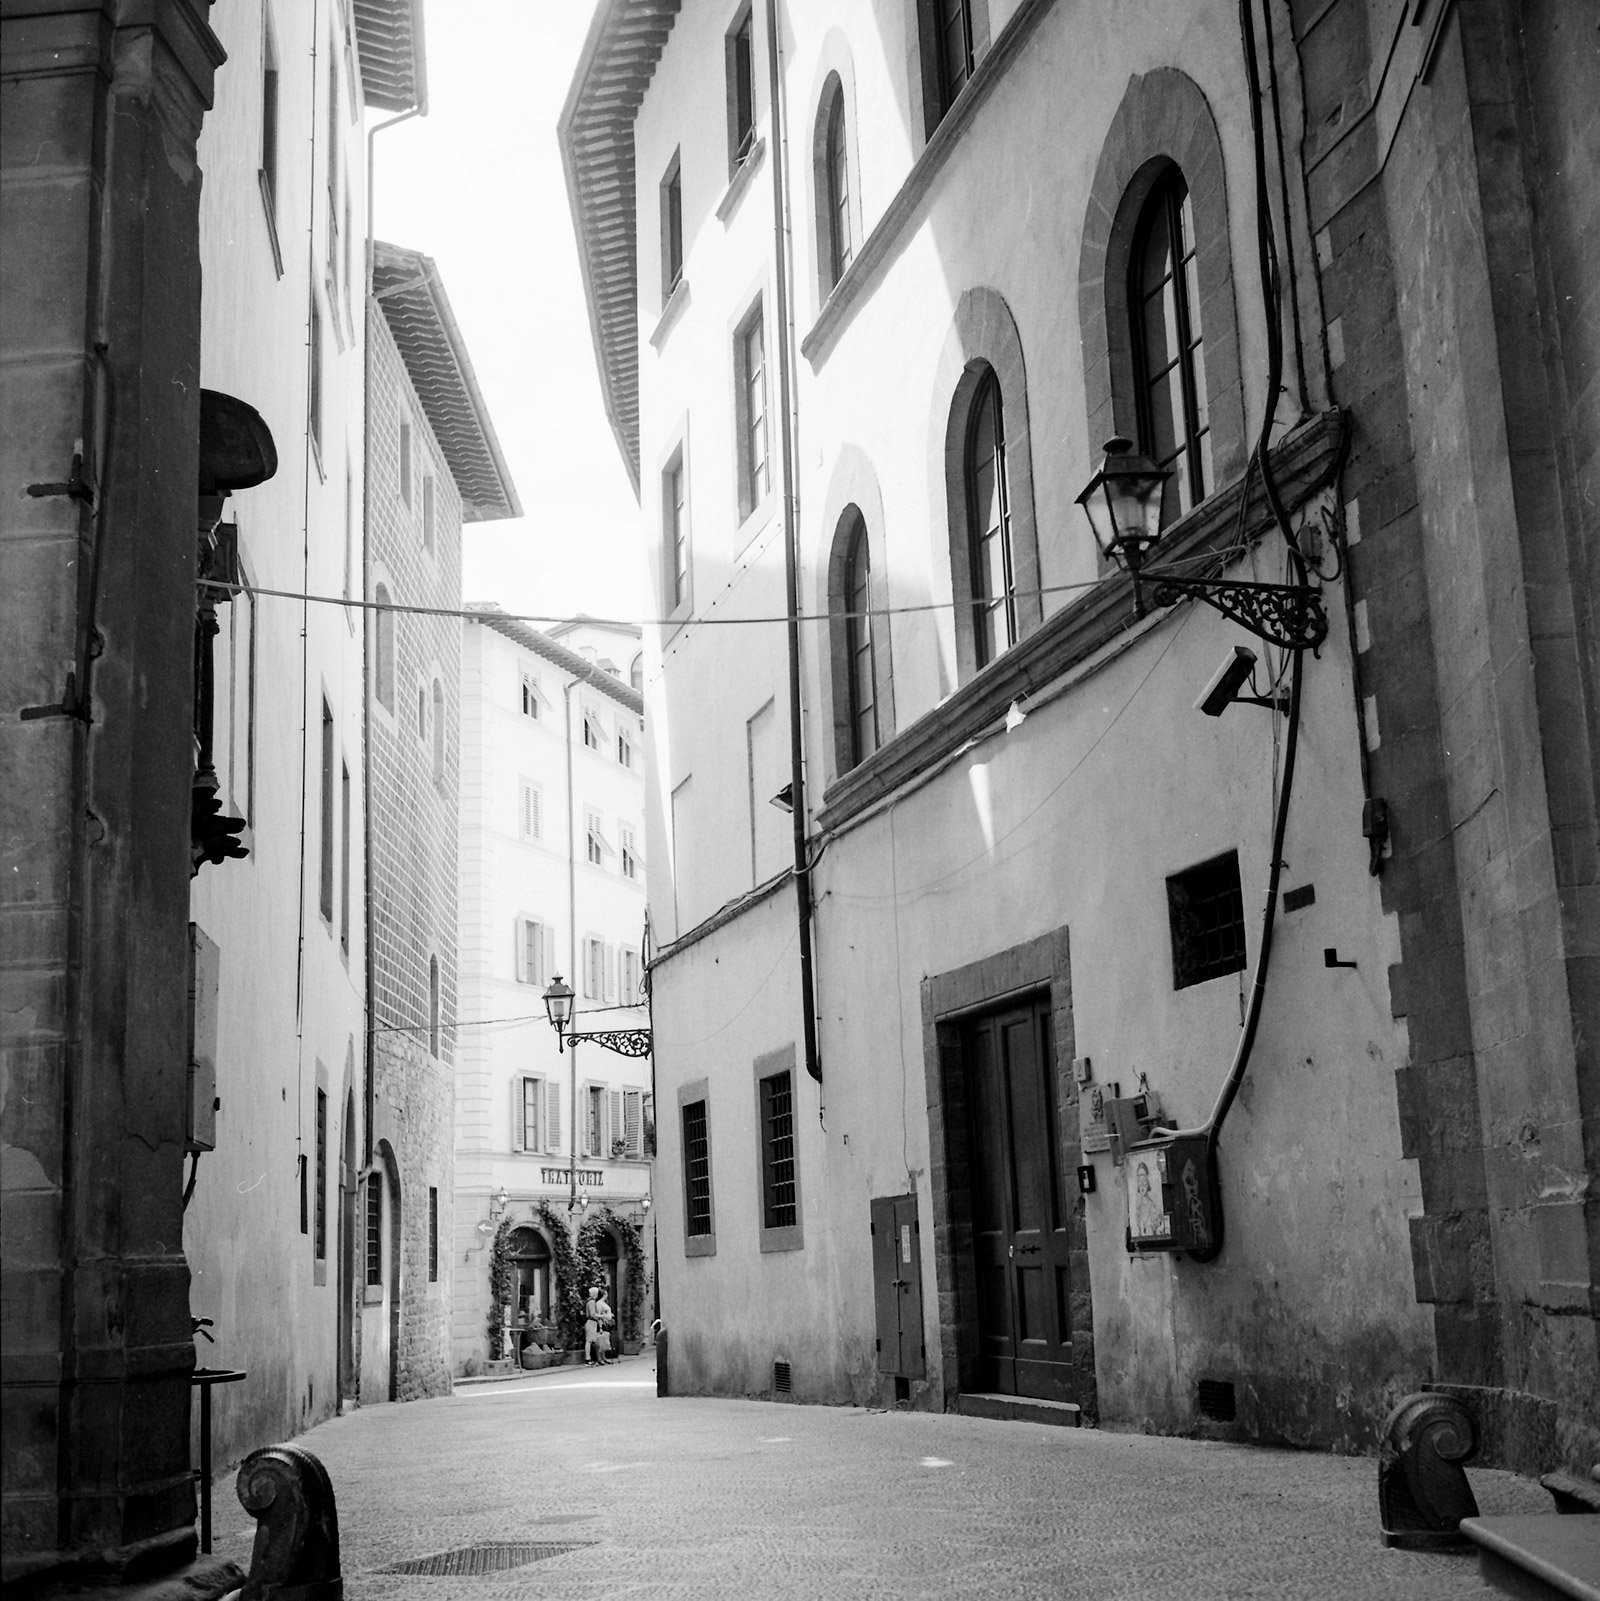
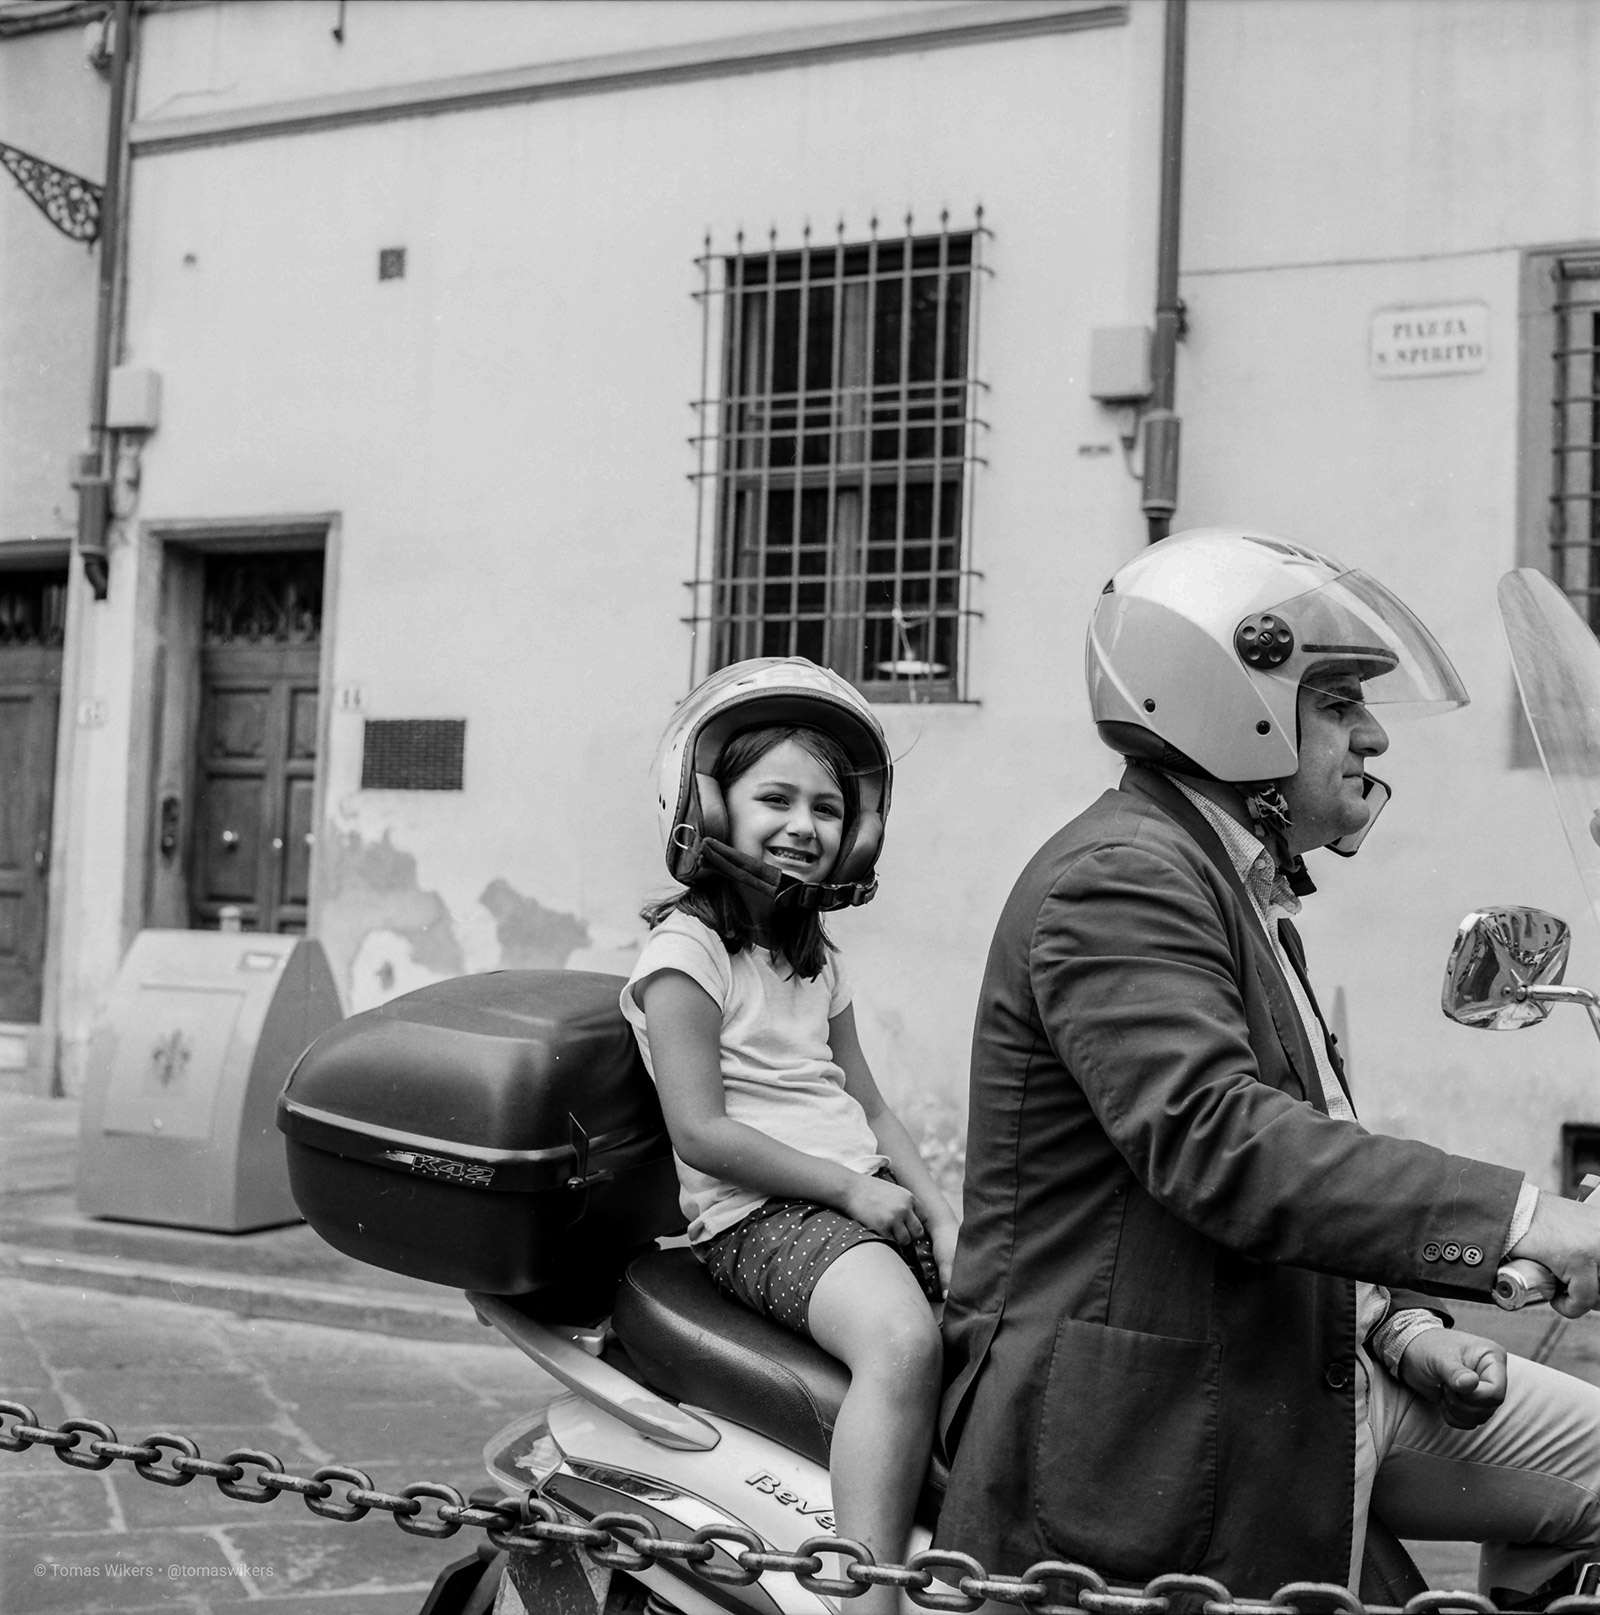
Or in this case, Florence to be more accurate. I started to look around on the web for a course or workshop where I could learn the whole process. I found some courses here in Sweden, but none of them really felt right for me. But suddenly I found a workshop in Florence, Italy. There were two photographers, one was from the United States and the other from Russia but lived in Florence and had her own darkroom studio. And the mix between those two meant it was going to be a weeklong workshop in analogue photography and darkroom work. I thought about it for a couple of days and decided to go for it. I had some vacation days left anyway and thought it would be a great opportunity to hit two birds with one stone so to speak.
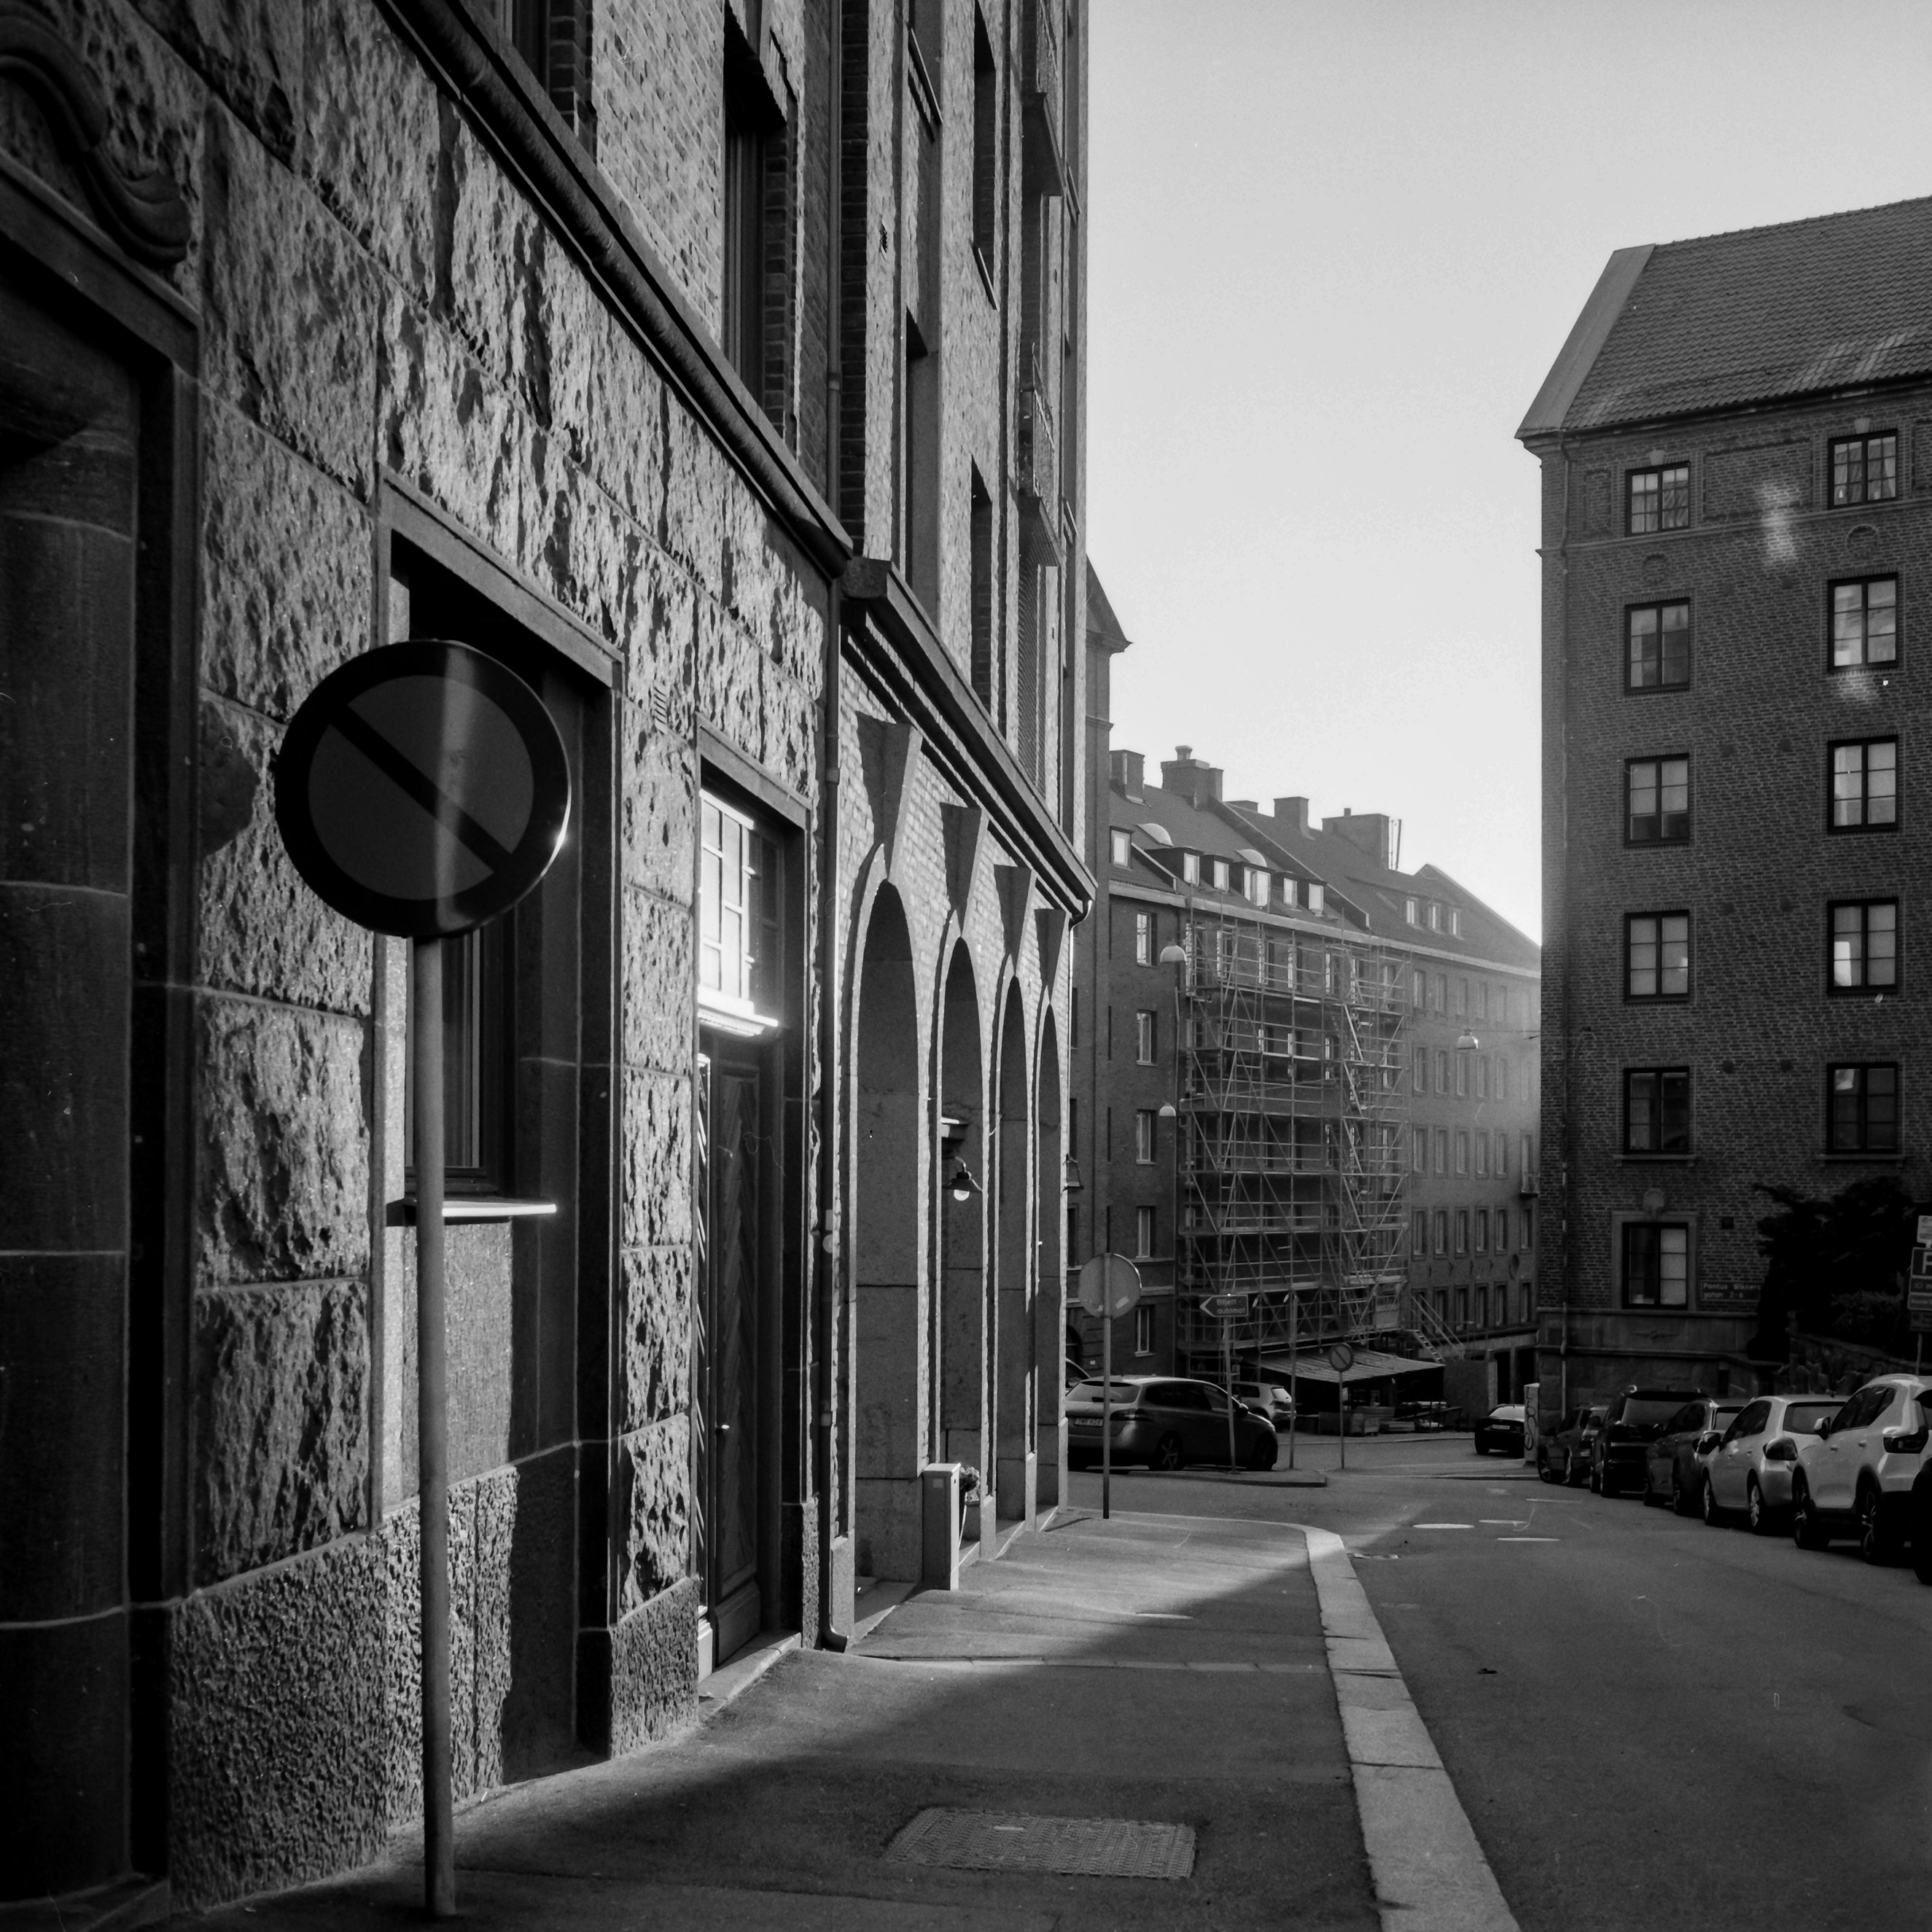
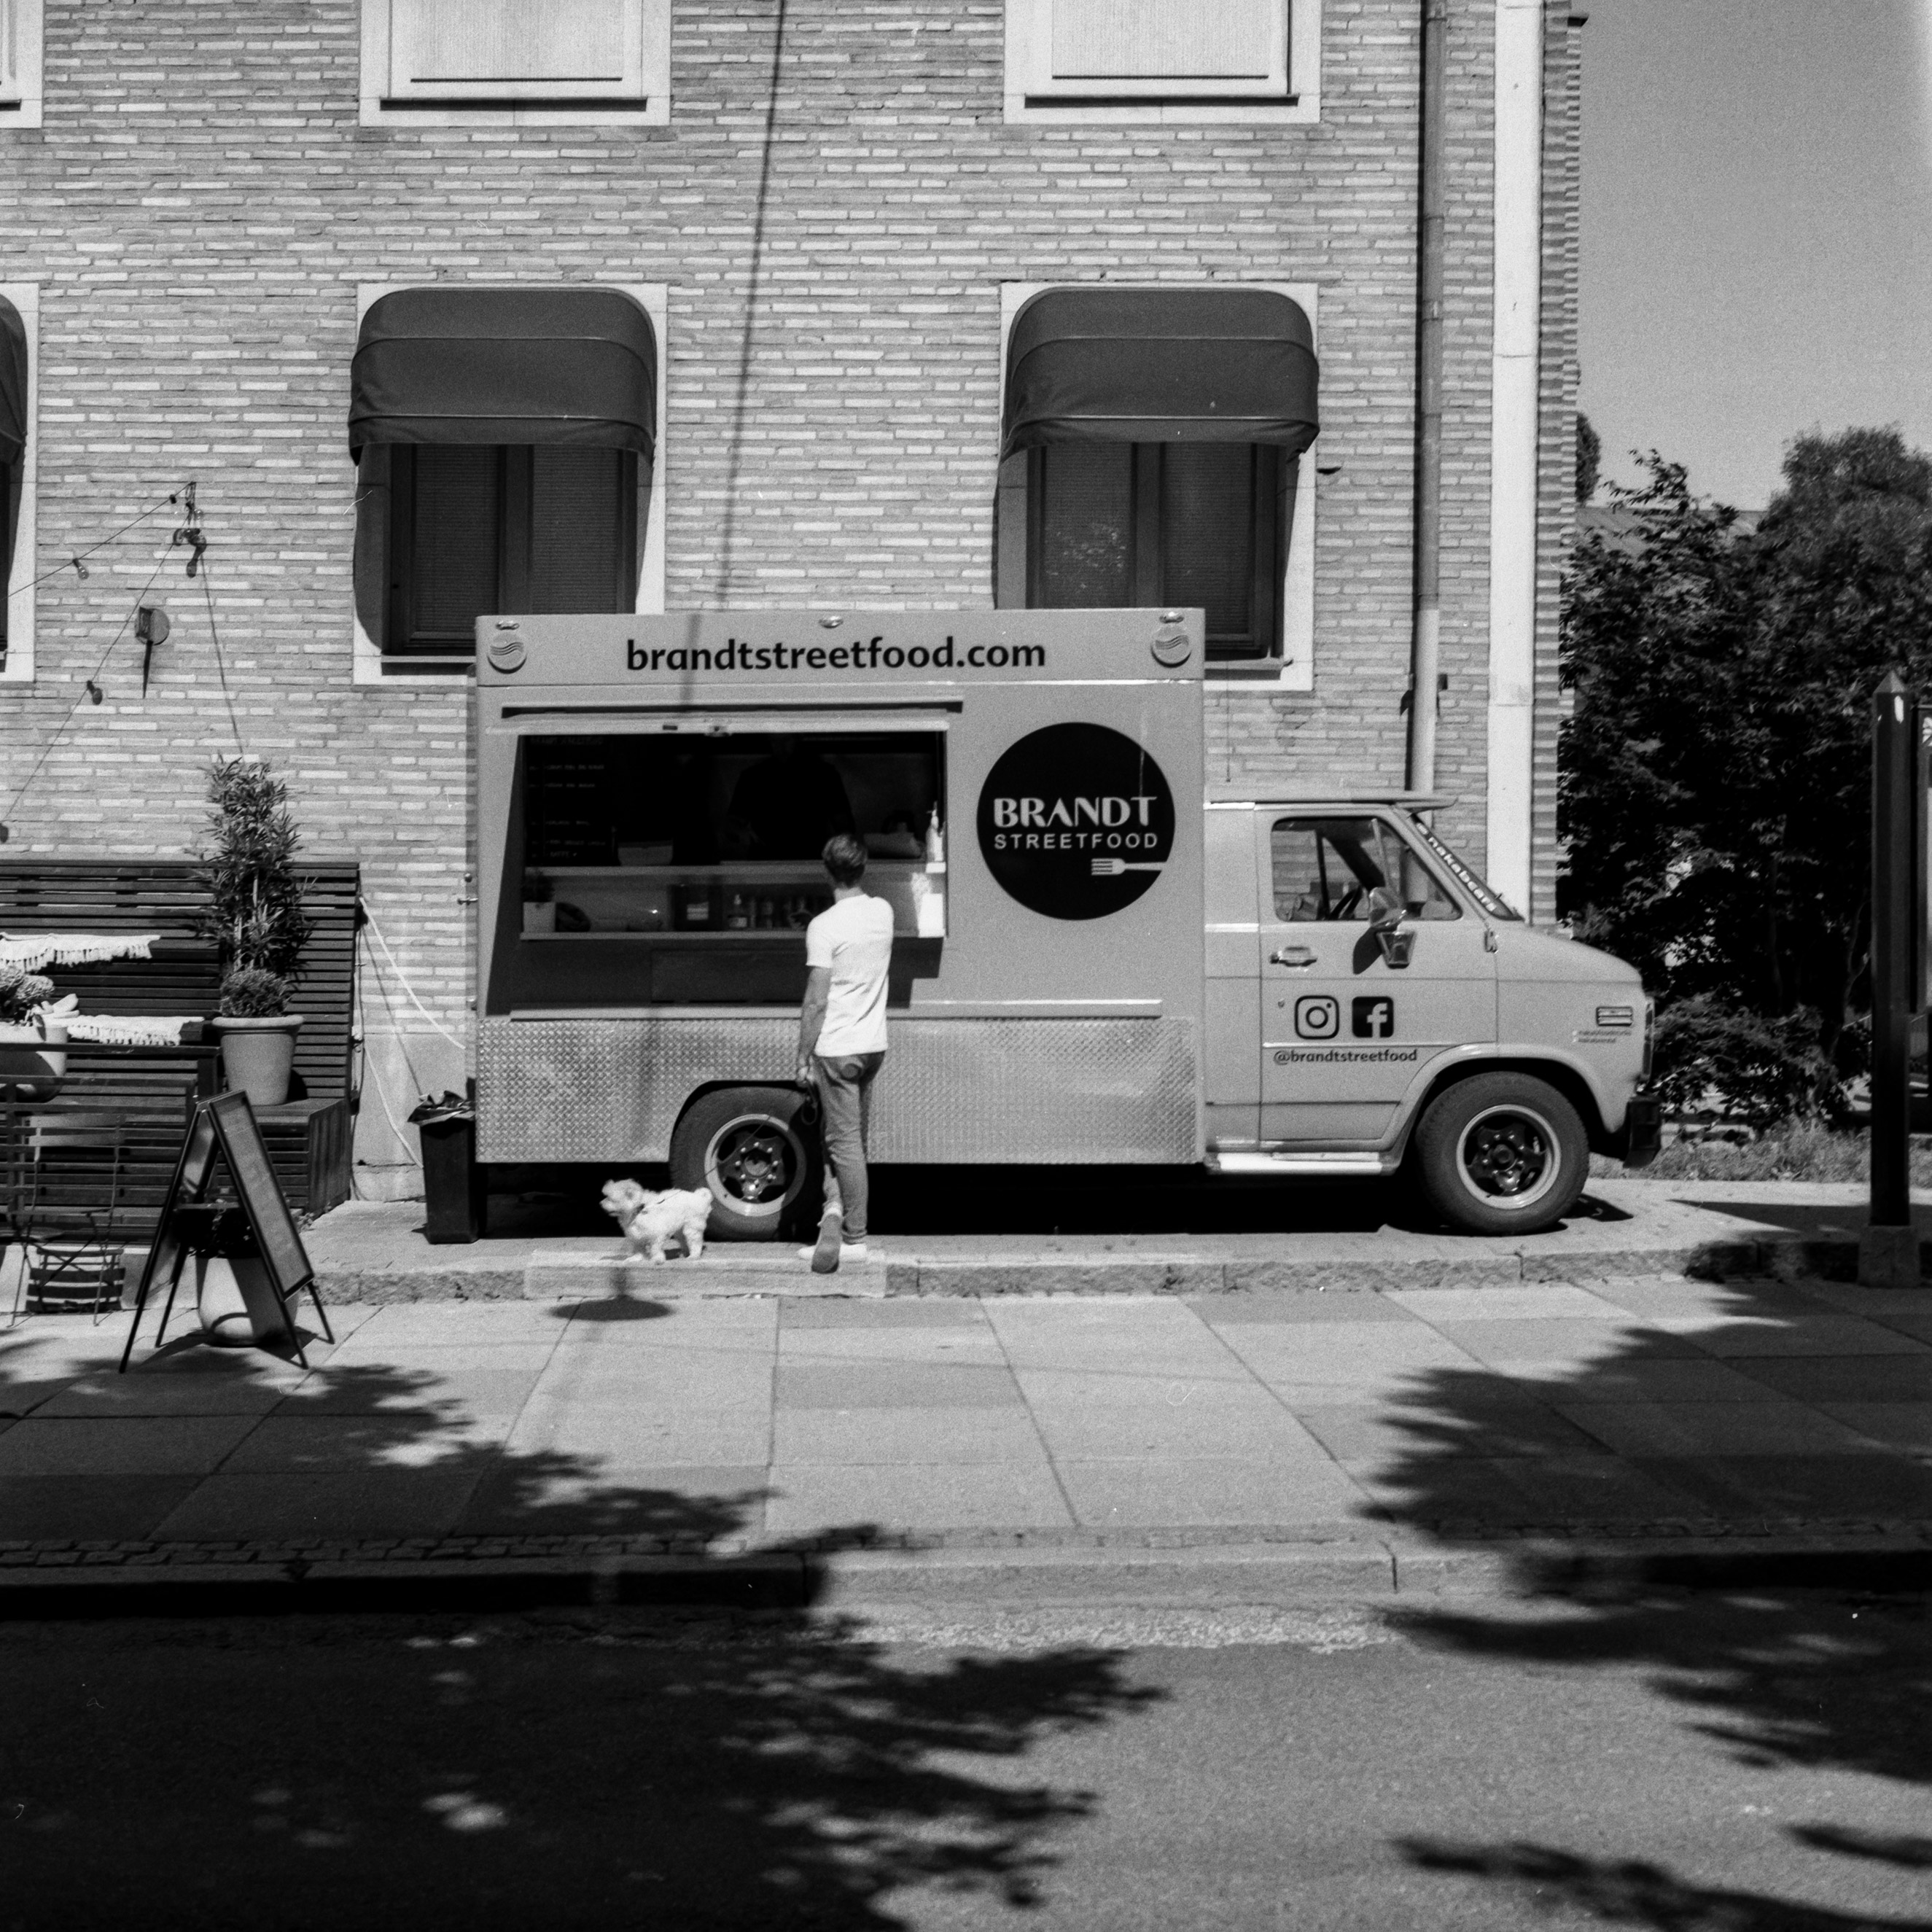
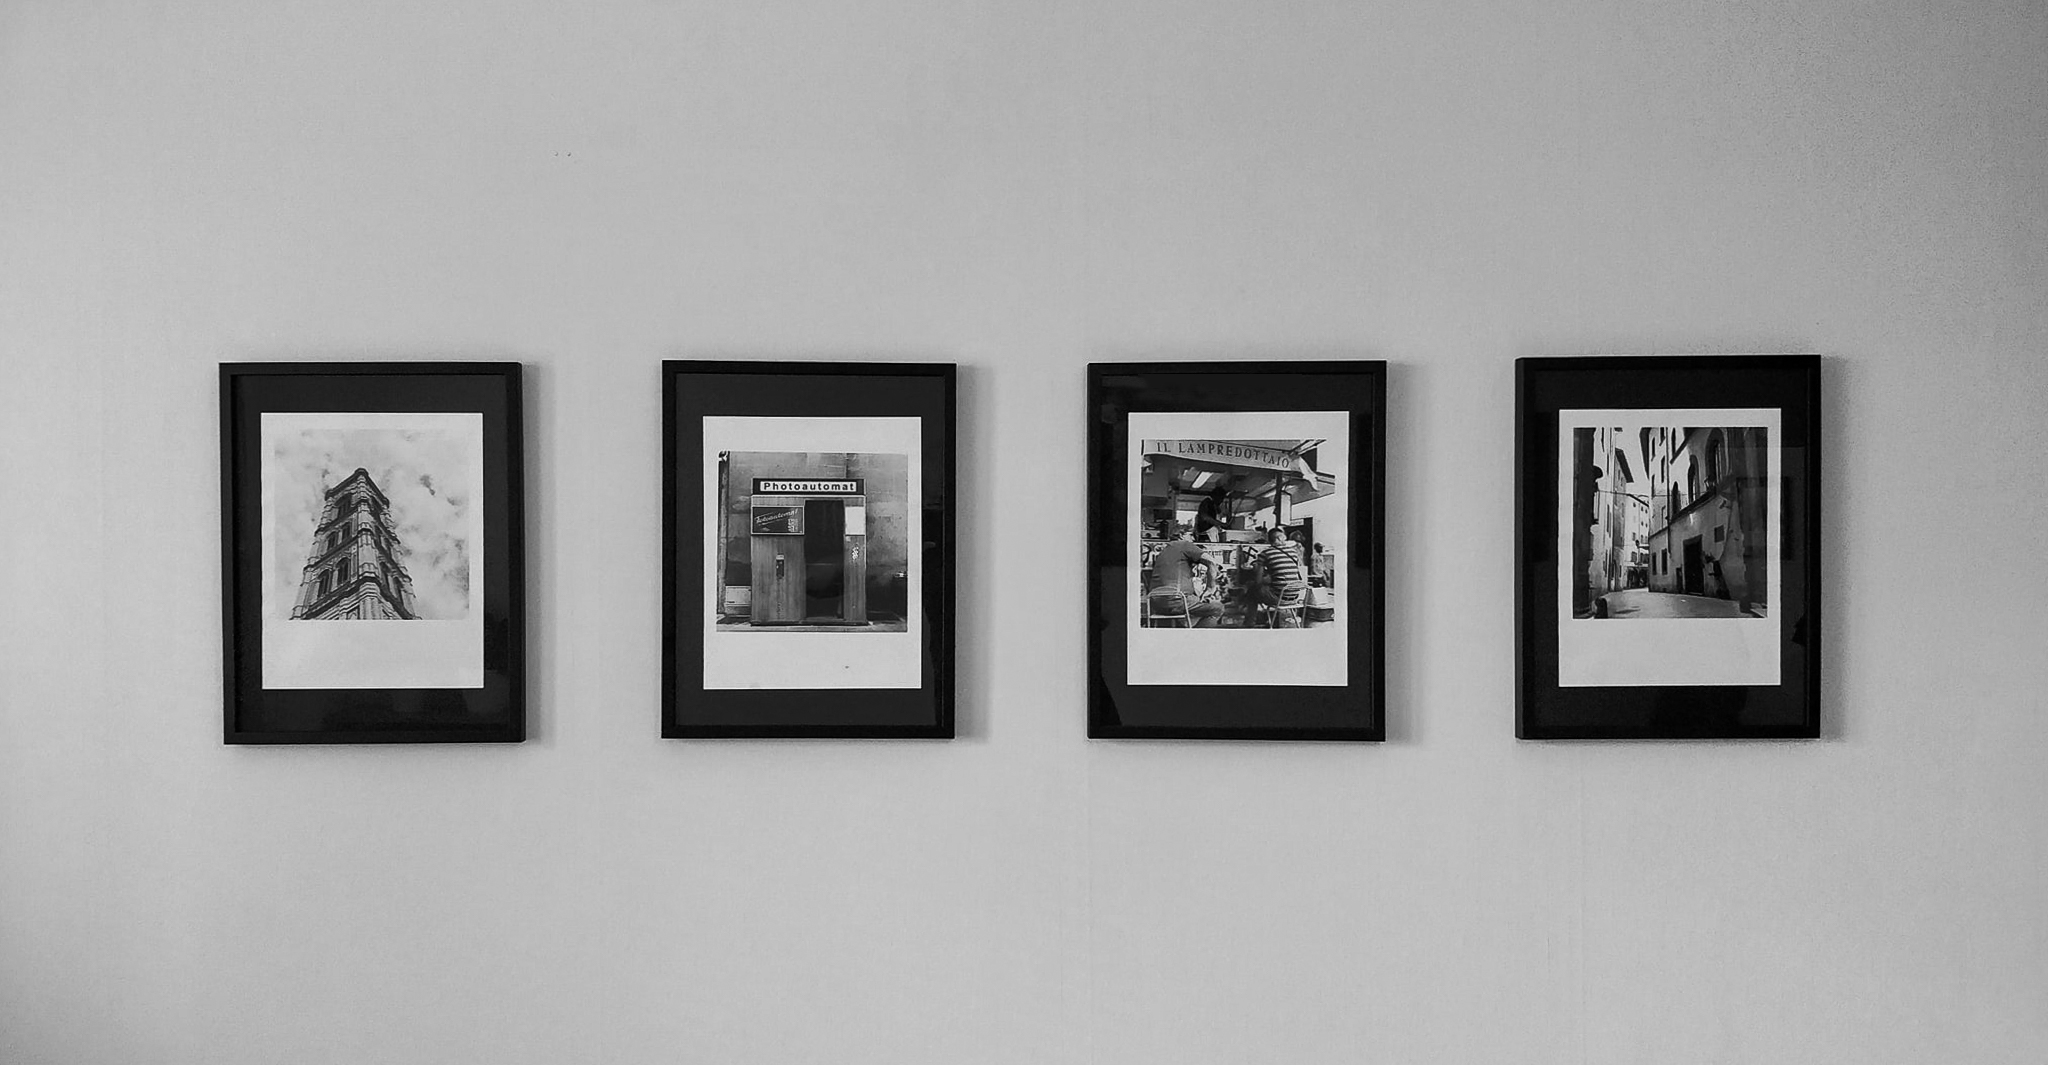
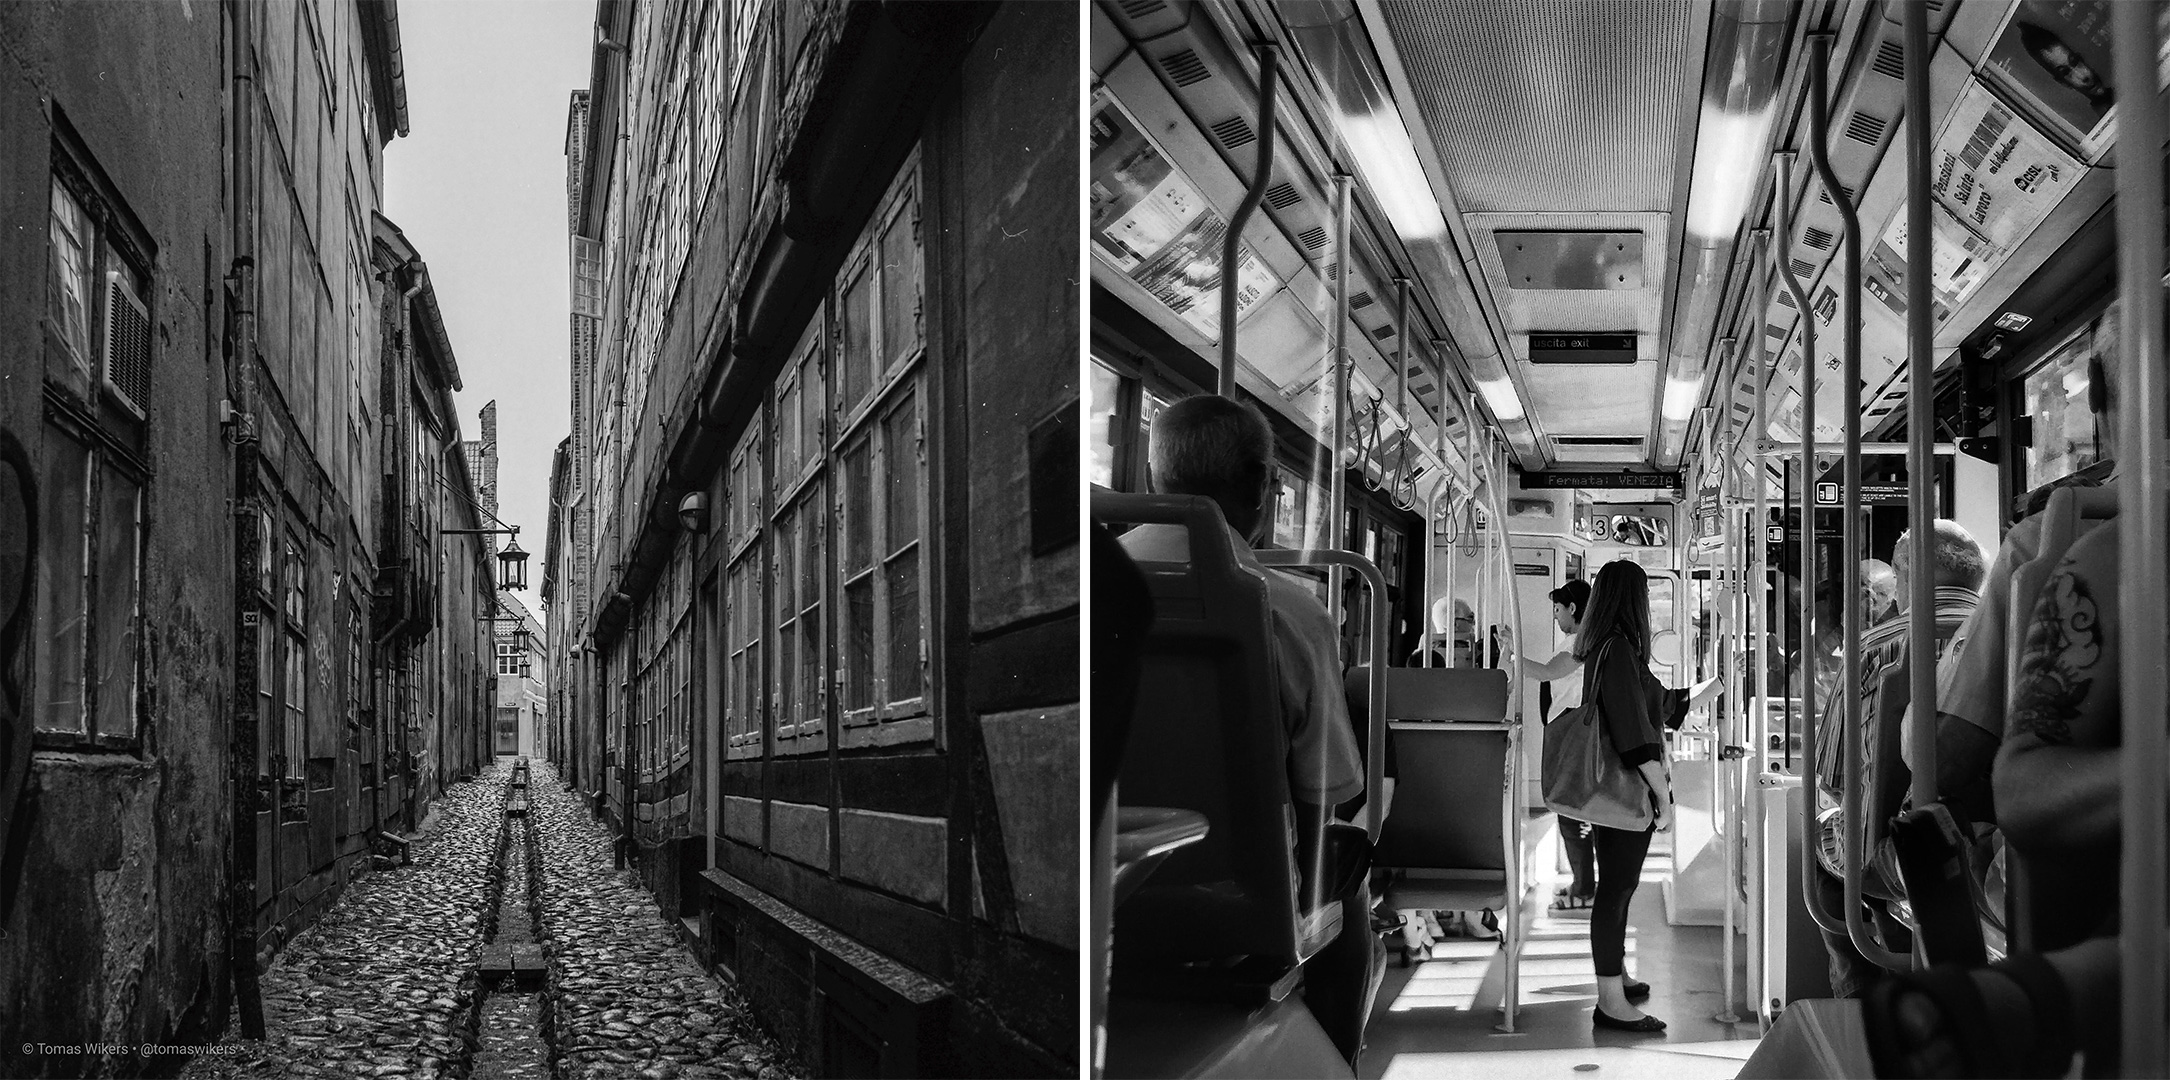
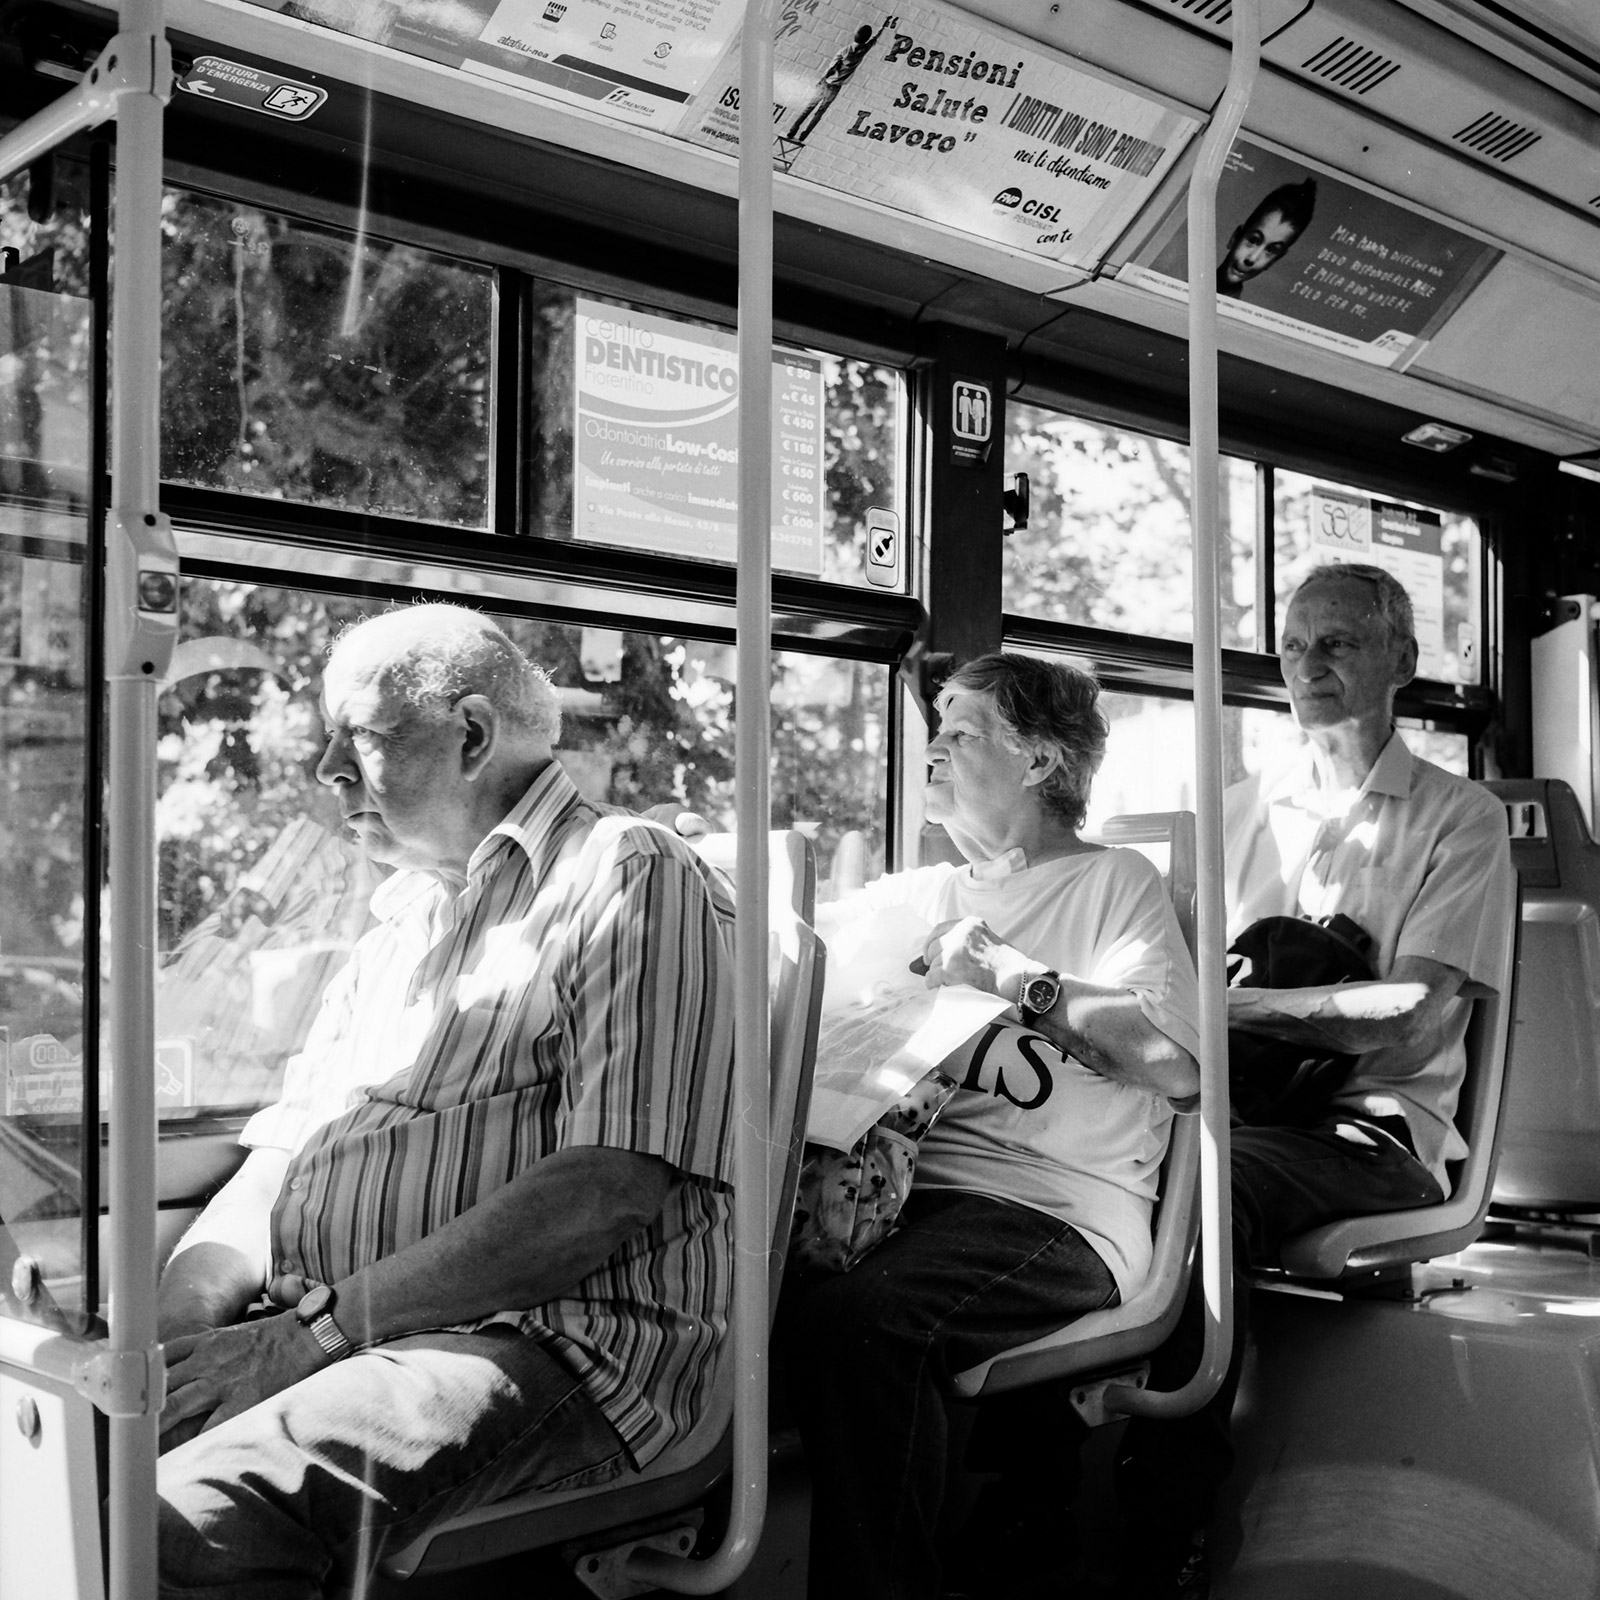
And off to Florence I went with my Rolleiflex and a bag filled with rolls of film and darkroom paper. I had a total blast this week. We were six participants besides the two course leaders. It was me, one from Germany, one from Chile and three from the United States. I was the only one that was a complete beginner in analogue photography, the others had done this for years and they shared all their knowledge with me.
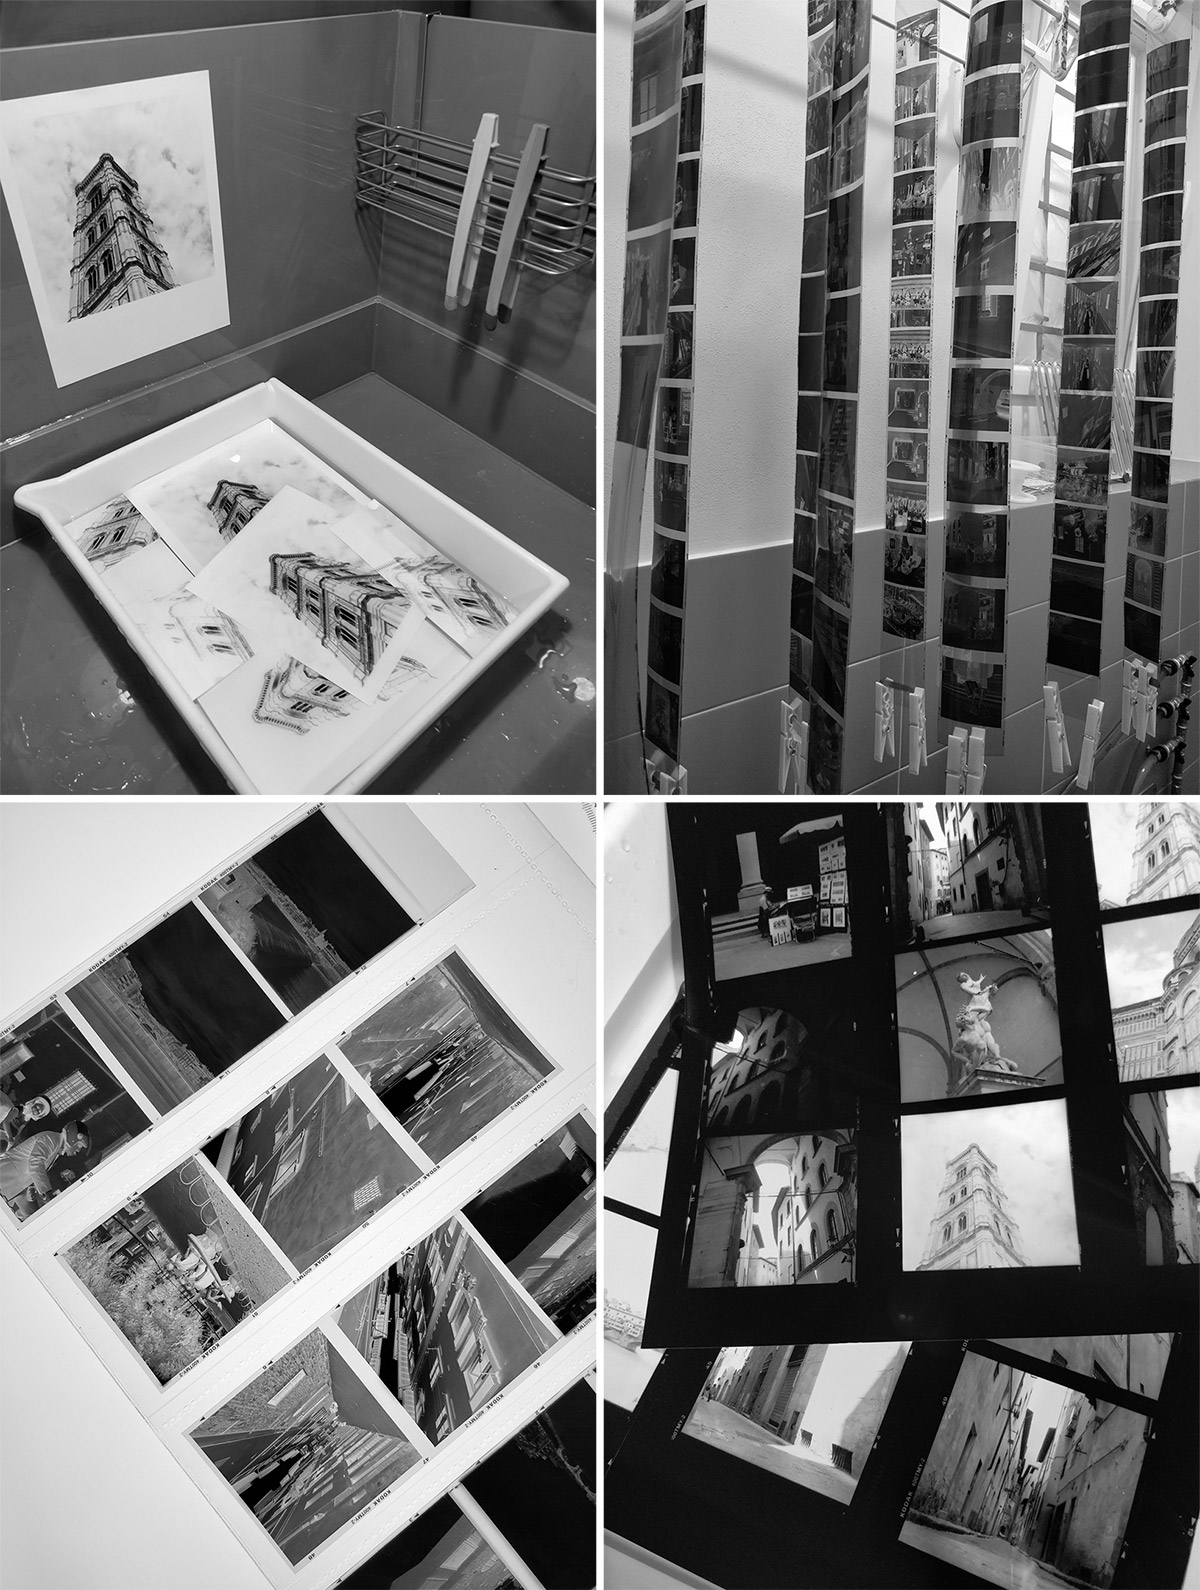
We started with the basics, which means I had to learn how to load the film into the Paterson Tank with my eyes closed, so I would know how to do it in the darkroom later. After that, we went out on the streets of Florence and finished a couple of rolls. The days to come consisted of walking around in Florence and shoot some rolls of film, and then return to the darkroom to develop the rolls, create contact sheets before picking the ones that could be printed, and then analyse and discuss the photos within the group.
The experiences I brought with me from this week, besides from the darkroom work, was probably that I learned how to better look at the big picture and try to think outside the box so to speak before taking the shot. And how to more efficiently decide which camera settings to use by looking at the surroundings, such as the amount of light and shadows that are available. Before this, I trusted the cameras ability to analyse the motif more, but after this, I feel more confident to do it myself.
Don’t leave home without your best friend
I learned this the hard way! Unfortunately, I didn’t have my Rolleiflex during my trip to Cuba. Just imagine the feeling it would have been walking around in the streets of Havana, Trinidad, Sancti Spiritus and Viñales with that camera, I have never missed my camera that much as I did on that trip. I did bring my digital camera with me but it wasn’t the same, so yes we all make mistakes.
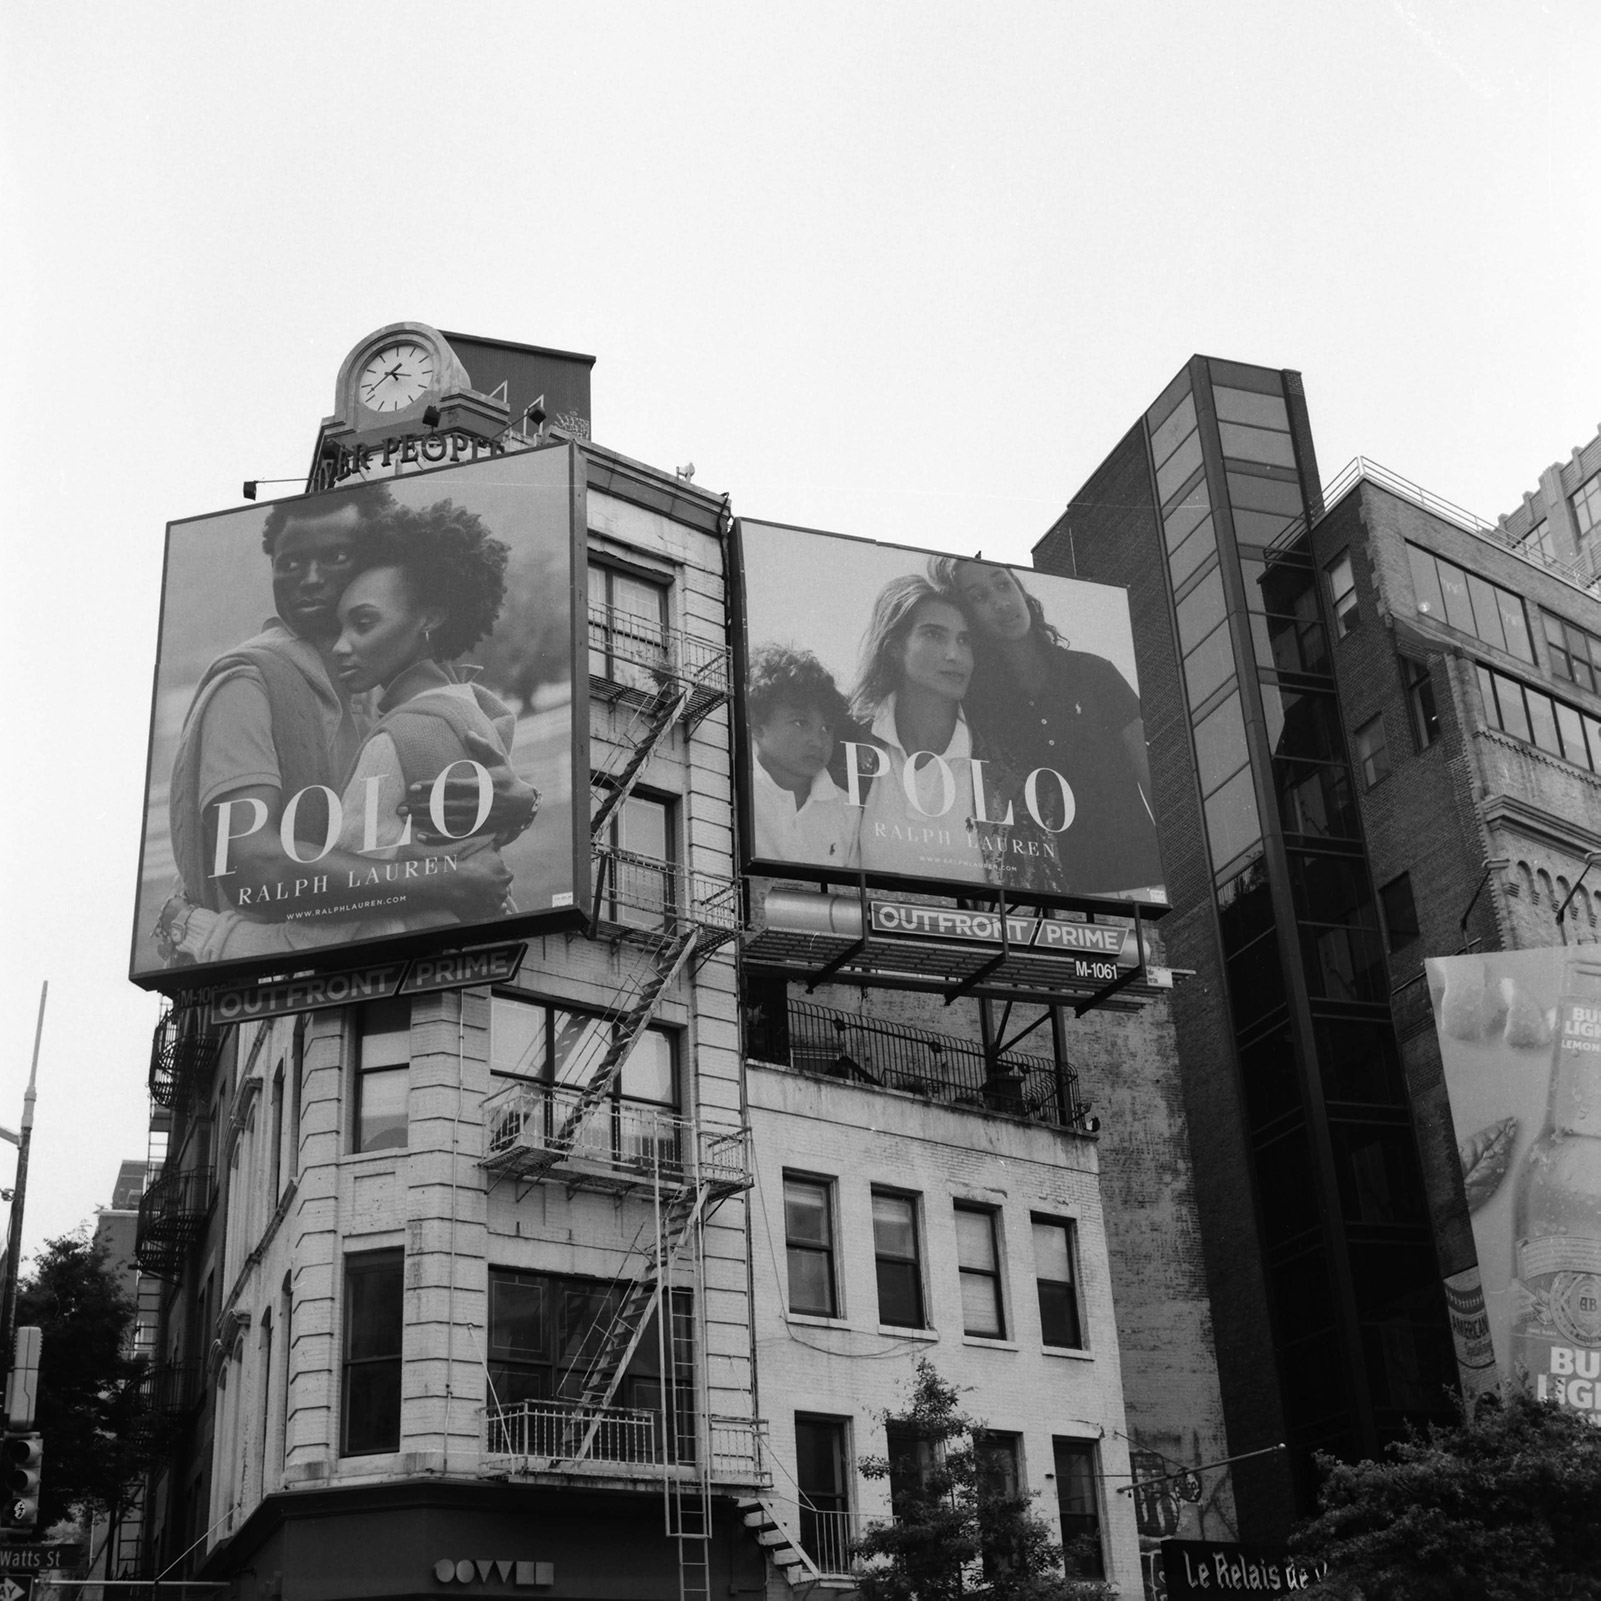
But one should always learn from one’s mistake so when I went to New York, the hometown of Vivian Maier, it sure was my travel companion during my whole trip.
What do you need to get started with analogue photography?
Analogue camera
If you are one of the lucky ones that have inherited granddads old 35mm camera? Or even better… a medium format camera such as Rolleiflex, Mamiya or a Pentax 6x7 (built and heavy like a tank, but super cool)? No luck with inheriting an old analogue camera? Don’t worry, it’s fairly easy to find one on the second-hand market. Such as flea markets, auction websites, privately or in a photoshop that sell vintage cameras.
Analogue film
Now that you have a nice working analogue camera there’s one missing piece to make it fully usable. A roll of film. Or more likely, several.

Colour or black and white film?
That is a question of personal taste. Some people tend to prefer shooting in colour and others prefer black and white. I would say, try them both and then decide which way to go. It also depends on the situation and what result you would like to achieve.
How do I know when I should go with colour or black and white?
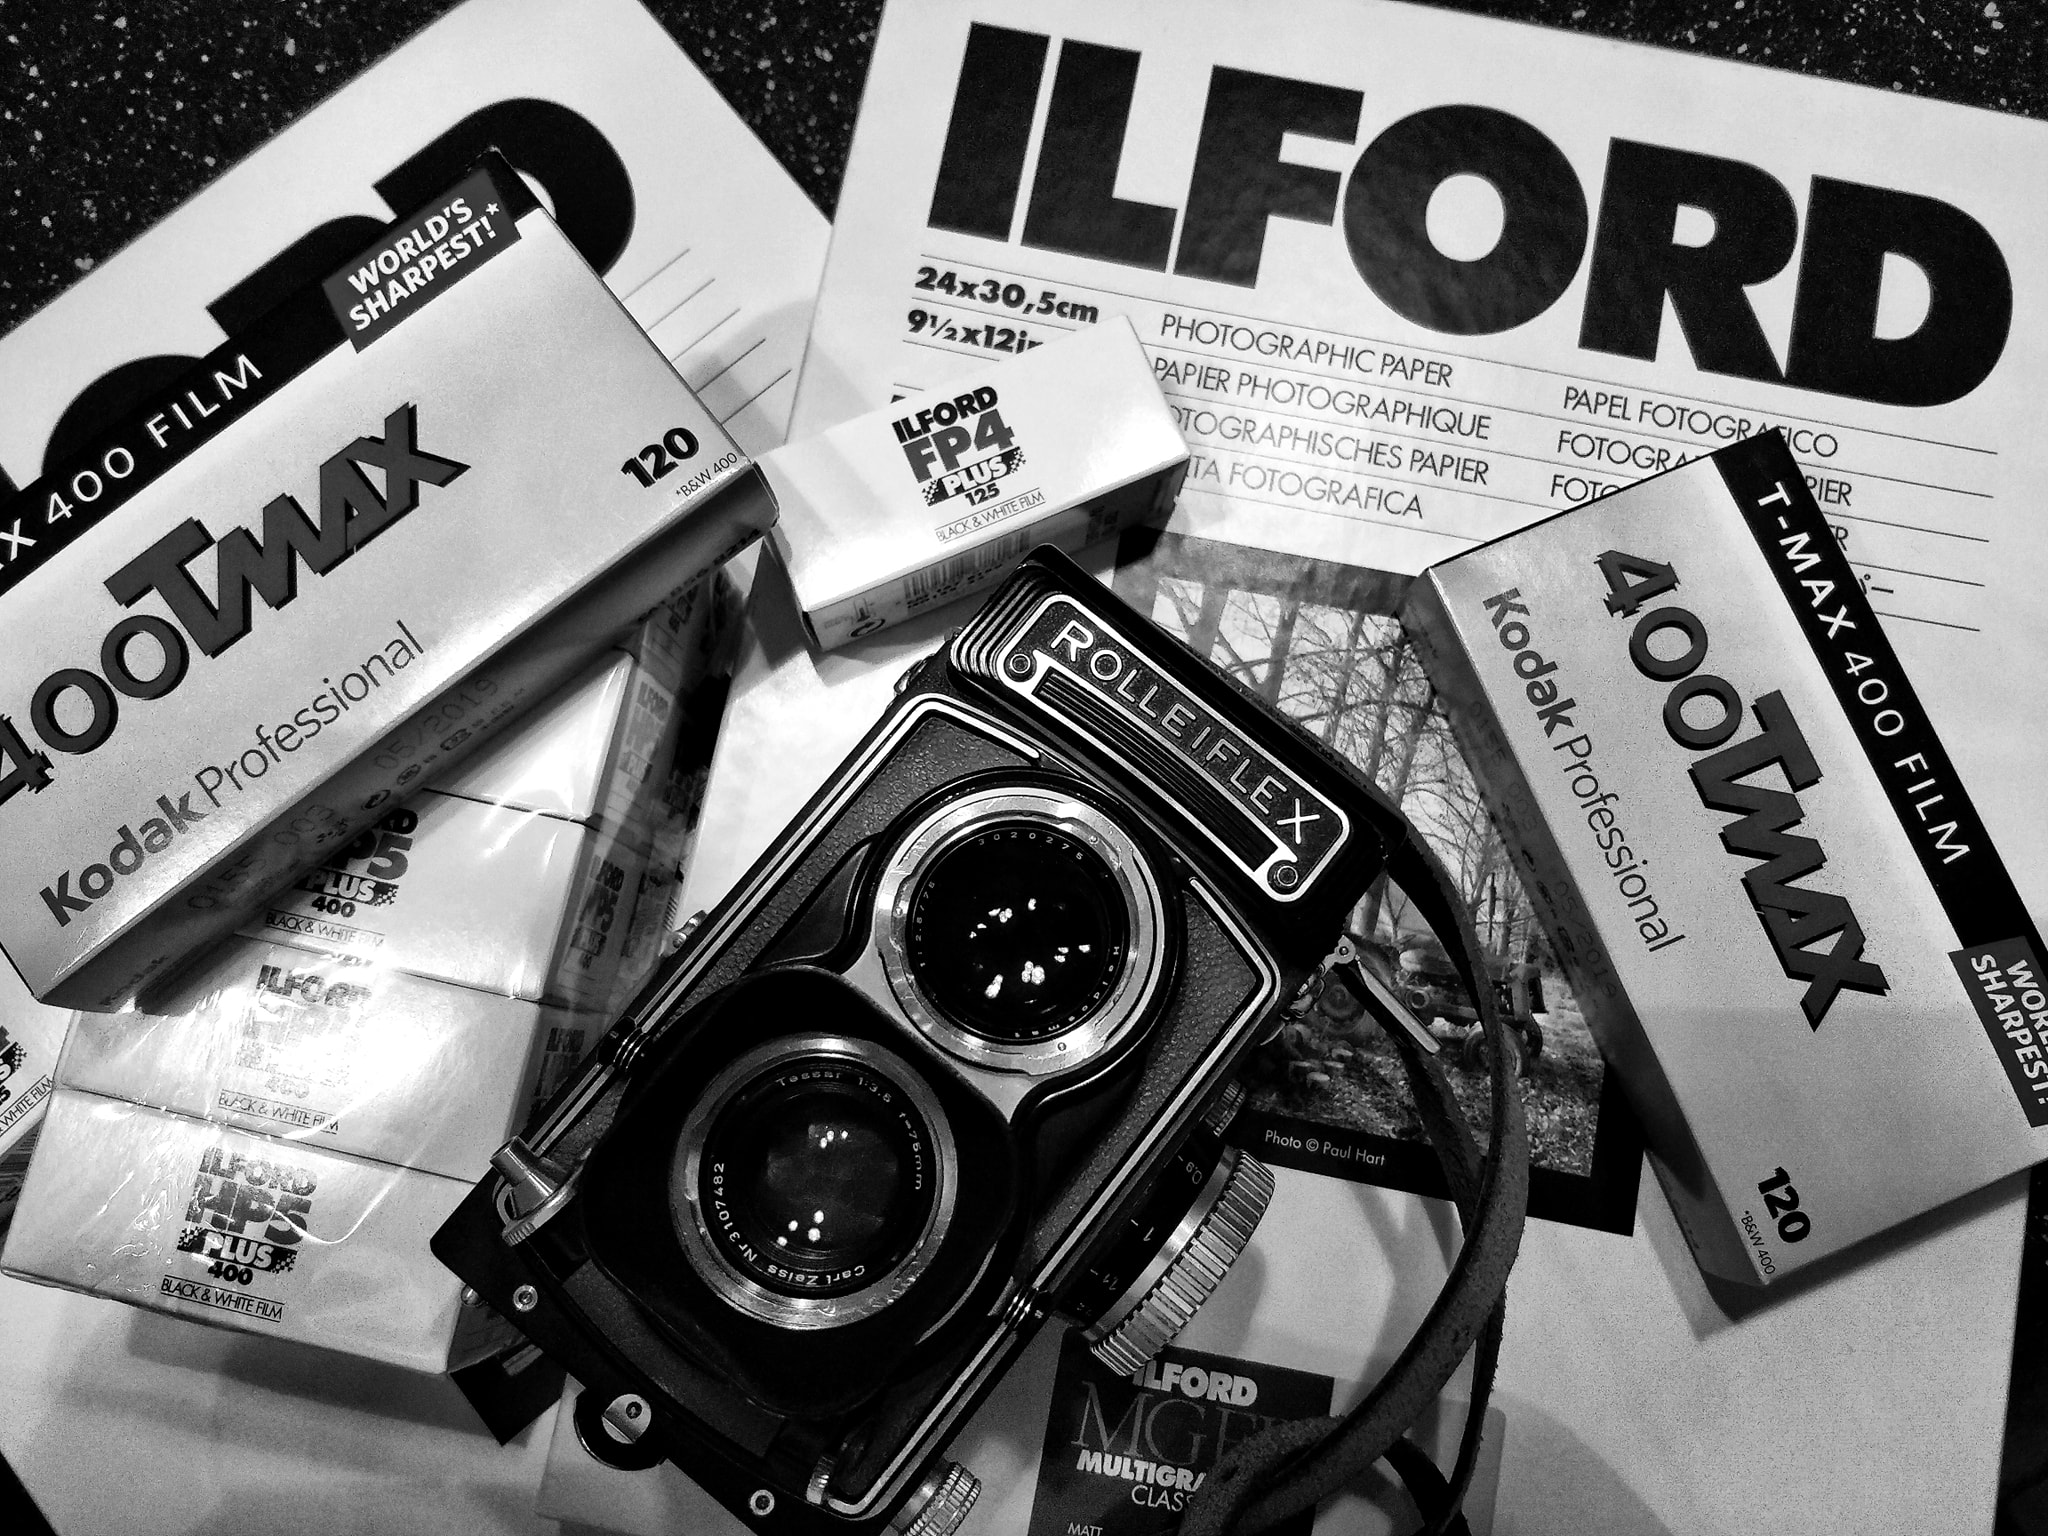
It comes with experience. You need to try for yourself and see how it turns out. If there are lots of shadows and light, I would probably go with black and white, such as HP5, Tri-X, TMax or XP2 Super since it usually emphasises the contrasts and shadows.
For colour, you could go for the classics like Ektar or Portra from Kodak. Or why not try Kodak Pro Image 100, Ektachrome E100 or ColorPlus 200.
When it comes to black and white, you have the golden oldie HP5 from Ilford Photo which produce really nice shadows and contrast. We also have XP2 Super which almost always works and is in my opinion difficult to fail with. Both of them have ISO 400, so they work almost for any occasion.
Kodak TMax 400 is also a film that you need to try. It’s a nice classic black and white film within analogue photography that has been in the market for years.
ISO – which one should I choose?
ISO is an important parameter that determines how bright your image will be, so if it’s bright and sunny, go for one with lower ISO such as ISO 50, 80 or 100. Cloudy or a bit darker? Then go for ISO 400 or 800. There are also films available with ISO up to 3200 for dark situations, but personally, I don’t really like shooting with that kind of film since the results look more or less like tar. But that’s my personal opinion.
ISO increases or decreases the brightness of a picture, but it also affects both grain/noise levels and dynamic range. At the lowest (base) ISO setting, your images will have the least amount of noise and the highest dynamic range, giving you the most flexibility in post-processing. So as the ISO is increased, noise levels increase and dynamic range typically decreases as well and unlike shutter speed and aperture.
But remember that ISO doesn’t change the amount of light coming into the camera when brightening or darkening the image. Rather, it determines how the camera deals with that already set amount of light after the exposure is done.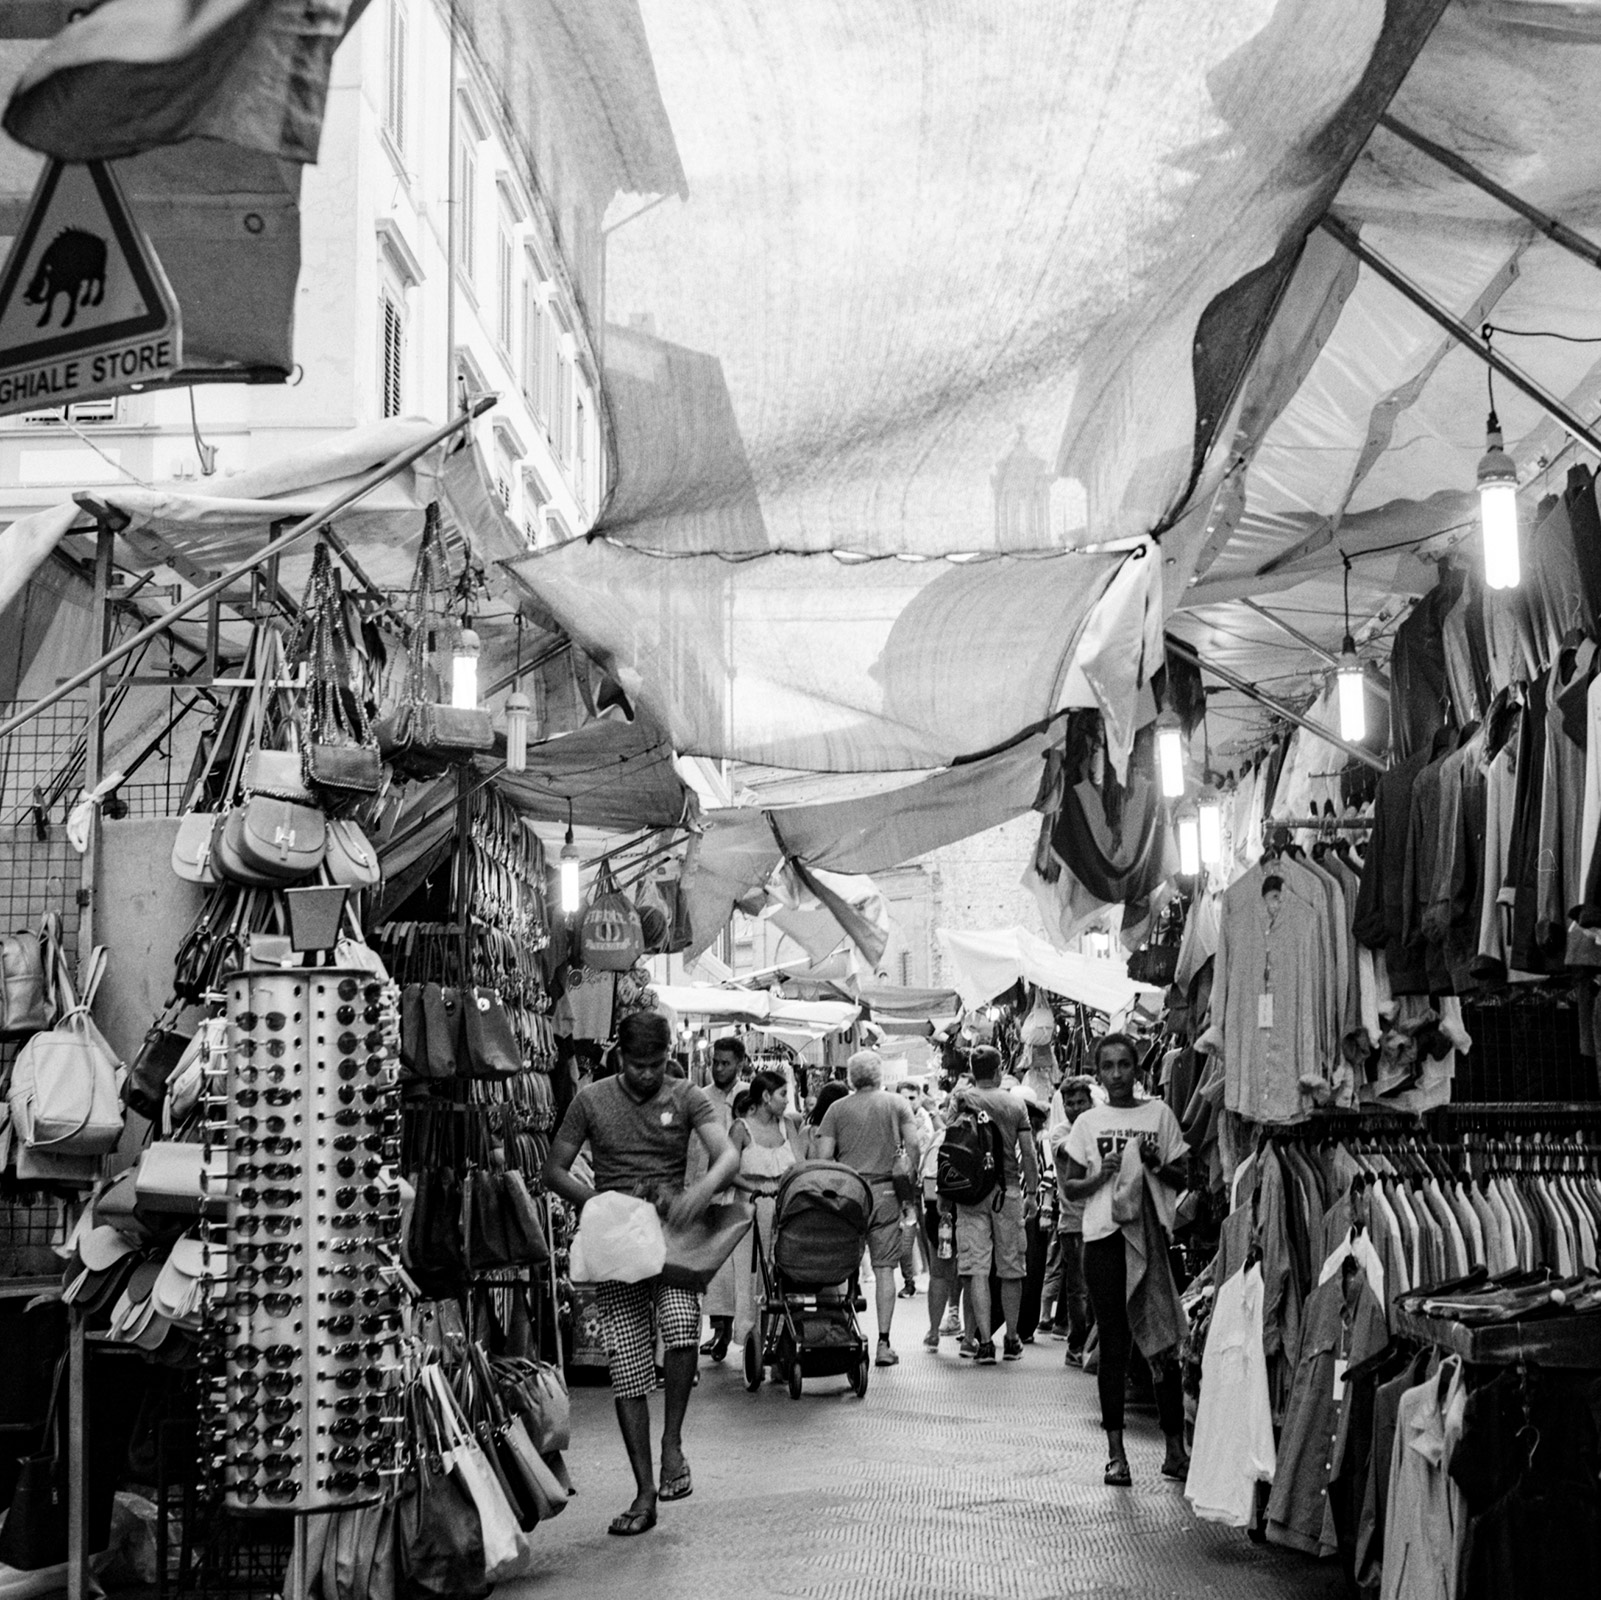
Developing the film
When it comes to the development of the film, you could do it by yourself or leave it at the nearest photoshop that offers this kind of service. If you choose to shoot with the black and white film Ilford XP2 Super, you can usually leave it to a photoshop that develops colour film instore since it uses the same development process (C-41). Films like Tri-X, TMax, HP5, PAN-F and so on need to be developed in a traditional manner, and there’s a chance that they cannot do it or need to send the rolls to an external partner.
We have the chemicals for the ones that know how to do it themselves. If you just wish to try it out with a roll of film or two you could either go with the Simplicity Kit from Ilford which comes with chemicals for the development of one or two rolls of film. We also have the Paterson Film Starter Kit from Ilford Photo, which is the perfect starter kit for anyone wanting to home develop black & white film. It contains everything needed to process your first rolls of film. From a developer, stop bath, fixer and wetting agent to the perfect sized developing tank and measuring cylinders for processing two rolls of 35mm film at a time (or one 120 roll).
Important note: If you choose to develop your film yourself, please remember that you are dealing with chemicals. This means that they need to be treated accordingly when it comes to disposal of them. Think about the environment and don’t pour the used chemicals in the drain. Bring them with you to your local recycling station so they can be disposed of correctly.
Slow down and focus on the composition
When it comes to analogue photography, you will be forced to slow down a bit. You need to think a little bit more about the composition and try to imagine the photo beforehand how it will be. Shooting with film isn’t that expensive, but it's not cheap either, so you will probably be a little bit pickier when choosing your motifs. Remember you only have 36 frames on a 135mm roll and 12 on a 120mm roll and you won’t be able to see the results until the roll is developed.
But most importantly, have fun, buy many rolls and try different types of films and see the difference between them.
Usable links
The Massive Devm Chart
Beginners guide to processing film
Or why not build your own camera? 15 DIY Cameras That’ll Blow Your Mind