Photo
Video

Tips and tricks for long exposure - a guide by Claus Andersen

2022-04-28
Photo: Claus Andersen

Long exposures are fun. It brings out something in the pictures that you do not usually get. Long stripes from car headlights, delicious soft water and effects that show people in motion. Photographer Claus Andersen shares the five most important tips and tricks to get started with long exposure photography.

Claus is a photographer and videographer based in Denmark. His most recent project, combine two passions, Coffee & Cameras, and tell stories about coffee from all over the world. More than 100 million people rely on the coffee industry and this project is a way to raise awareness about migration, fighting poverty, women’s rights and much more.

Sony a7RIV – Nisi 15mm F4 – 15 sek. – NiSi ND1000 – Bella Vista, Klampenborg

1. A good and solid stand

Make sure you have a good solid stand to avoid shaking. It’s alpha omega. I use different racks, all from Sirui and all cut stable. My favorite is a Sirui R-5214-X 10-layer carbon stand with a rock-solid K-40-X ball ballhead, also from Sirui. The ball head can be tightened so that the camera does not tilt suddenly when loosening the thumbscrew. It also makes it easy to make minor adjustments in all directions. The tripod also has a so-called center column, which makes it easy to move the camera up and down in height.


2. Filters

For long-term exposure, it is (almost always) necessary to use filters so that you can control the shutter speed without having to adjust the aperture and ISO. But why use a filter? Because even with aperture 22 and iso 100, your images will be overexposed already at 1/8 or 1/4 sec. I usually use one NiSi Nano IR ND1000 4×4 (100x100mm) filter. With that, I can get down to 30 sec. exposures at eg sunsets or on days when there is not too much sunshine. An ND1000 filter is a 10-stop filter, which means it dims 10 times. By making closing times as long as 20-30 sec, you can, for example, make the water become completely soft as in several of the pictures on this page. For example, the one just below. See more tips for settings under “4. Camera and settings” further down the page!

My NiSi V6 filter holder has 3 “tracks” and can therefore contain 3 filters because they can be stacked well. Ex etND filter and graduated filter so I can dazzle the brighter sky without changing the rest of the image. The filters have nanocoating on both sides and are therefore very repellent in relation to. dust, moisture, and greasy fingers. Should anything come on, it is easy to wipe off again. Remember to bring a handkerchief.

Sony a7RIV, Nisi 15mm f4 – 30 sek. @f5.6, NiSi ND1000 – Arne Jacobsens livreddertårne, Bellevue, Klampenborg

3. Good lenses

For long exposure, I usually shoot with wide angles. But in reality, all types of lenses can be used. However, it is important to say that the more zoom you have on, the more important it is that you have a stable tripod, to avoid shaking.

As I said, I shoot most often with wide angles. Preferably with 12 to 17 mm but also right depending on the motif. I use, among others, Samyang 12mm f2.0, Samyang XP 14mm f2.4, Samyang AF 14mm f2.8, Nisi 15mm f4, Samyang 35 and 50 f1.4 or Tamron’s 17-28 or 28-75 f2.8 lenses. Have yet to make long-term exposure with eg min 70-180mm f2.8 from Tamron. I have to go out and try it soon.

Sony a7RIV, Samyang AF 14mm f2.8, 1.6s @f16 – Ørestaden, Plaza Hotel, København.

4. Camera and settings

When it comes to the camera, you can use what you have. Even analog cameras can be used for long exposure. (see picture from my Hasselblad X-Pan below) I’m using my Sony a7RIV now. When you are going to start long-term exposure, remember to turn off any stabilization in the camera. There is no need for stabilization and this can result in some poor images with low sharpness. It is as if the active stabilization actually creates small vibrations when the camera is on a tripod and you are exposed for a long time. So remember to turn it off.

When focusing, use autofocus, but turn it off when focus is found. Then you are ready to take the picture when the subject is in place. Then the camera does not need to focus again.

Exposure times, aperture and ISO
When you need long-term exposure, here are a few tips for exposure times, aperture and iso. If you use a mirrorless camera, you can more or less see how your image will be on the screen before you press the shutter button. I usually use ISO 100 or lower, as this way I avoid noise in the image. Aperturically, I am most often between 7.1 and 13-16. Do not go higher up as most lenses are not good over aperture 16. Conversely, you can use low aperture numbers if you achieve bokeh in the background or blur certain parts of the image.

The shutter speed is now what decides the image look, it determines how much the car headlights are blurred, how soft the water becomes or put another way; how much motion blur is coming. That is, how much the moving parts of the image move while the camera is “open”. For beach pictures and the desire for soft water, I usually use 20-30 sec. exposure time. In pictures with car headlights 1-2 sec, depending on how many cars drive by. Many cars can handle longer exposures. But try it out and see how it works. It’s super fun to play with!

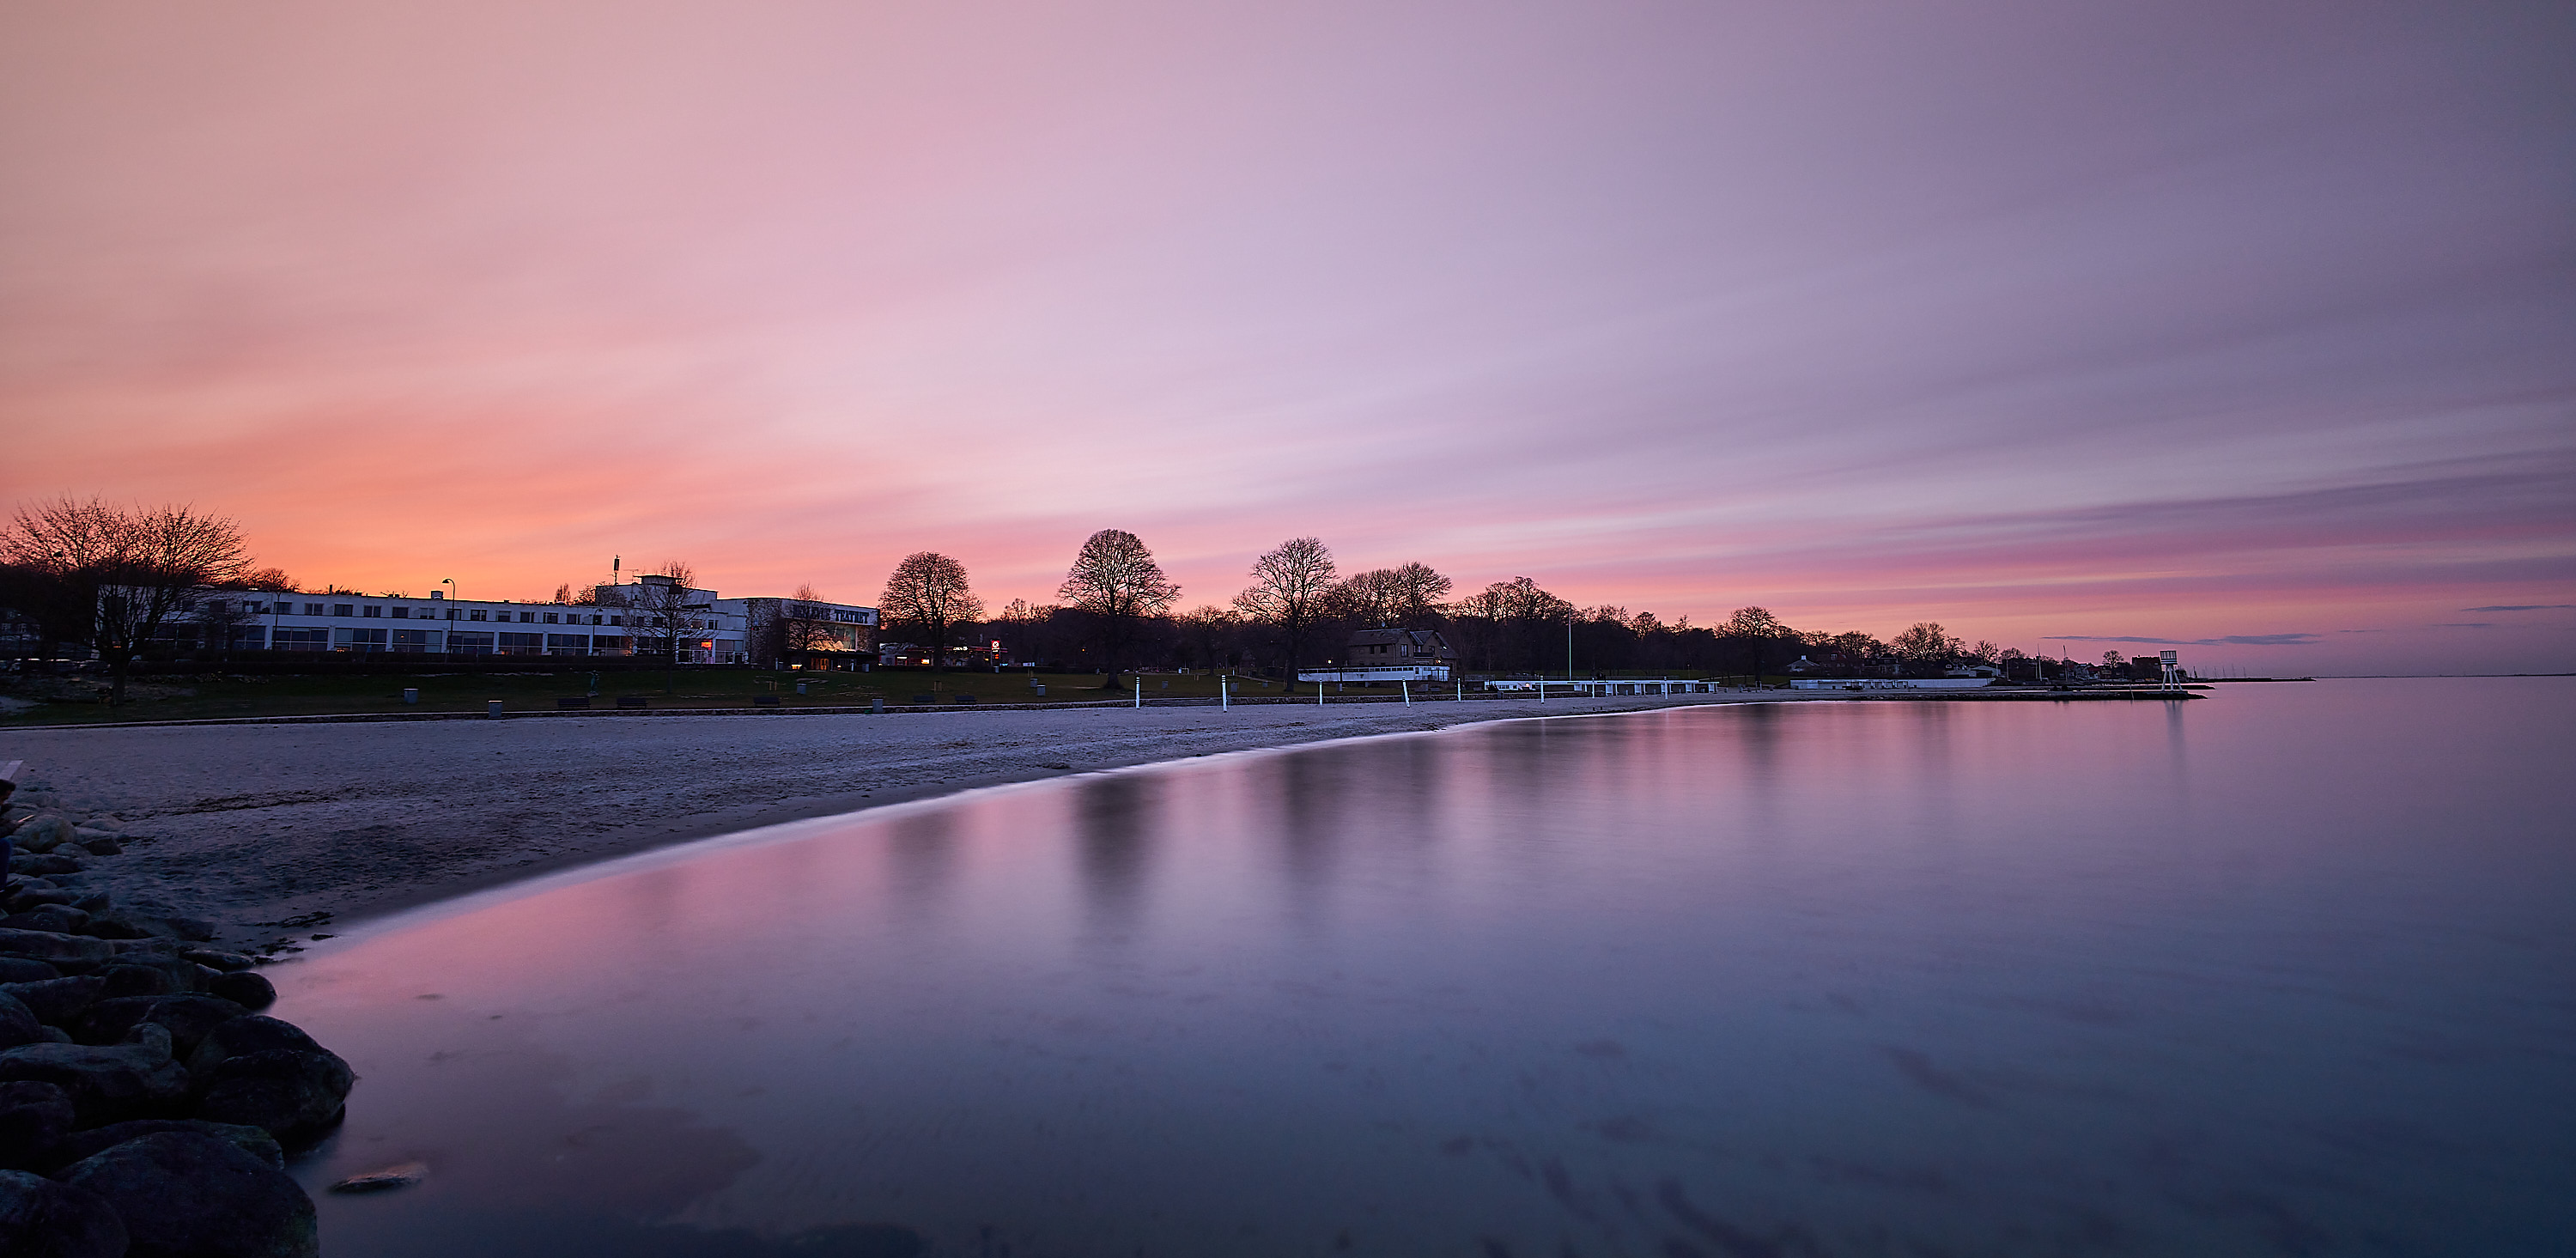
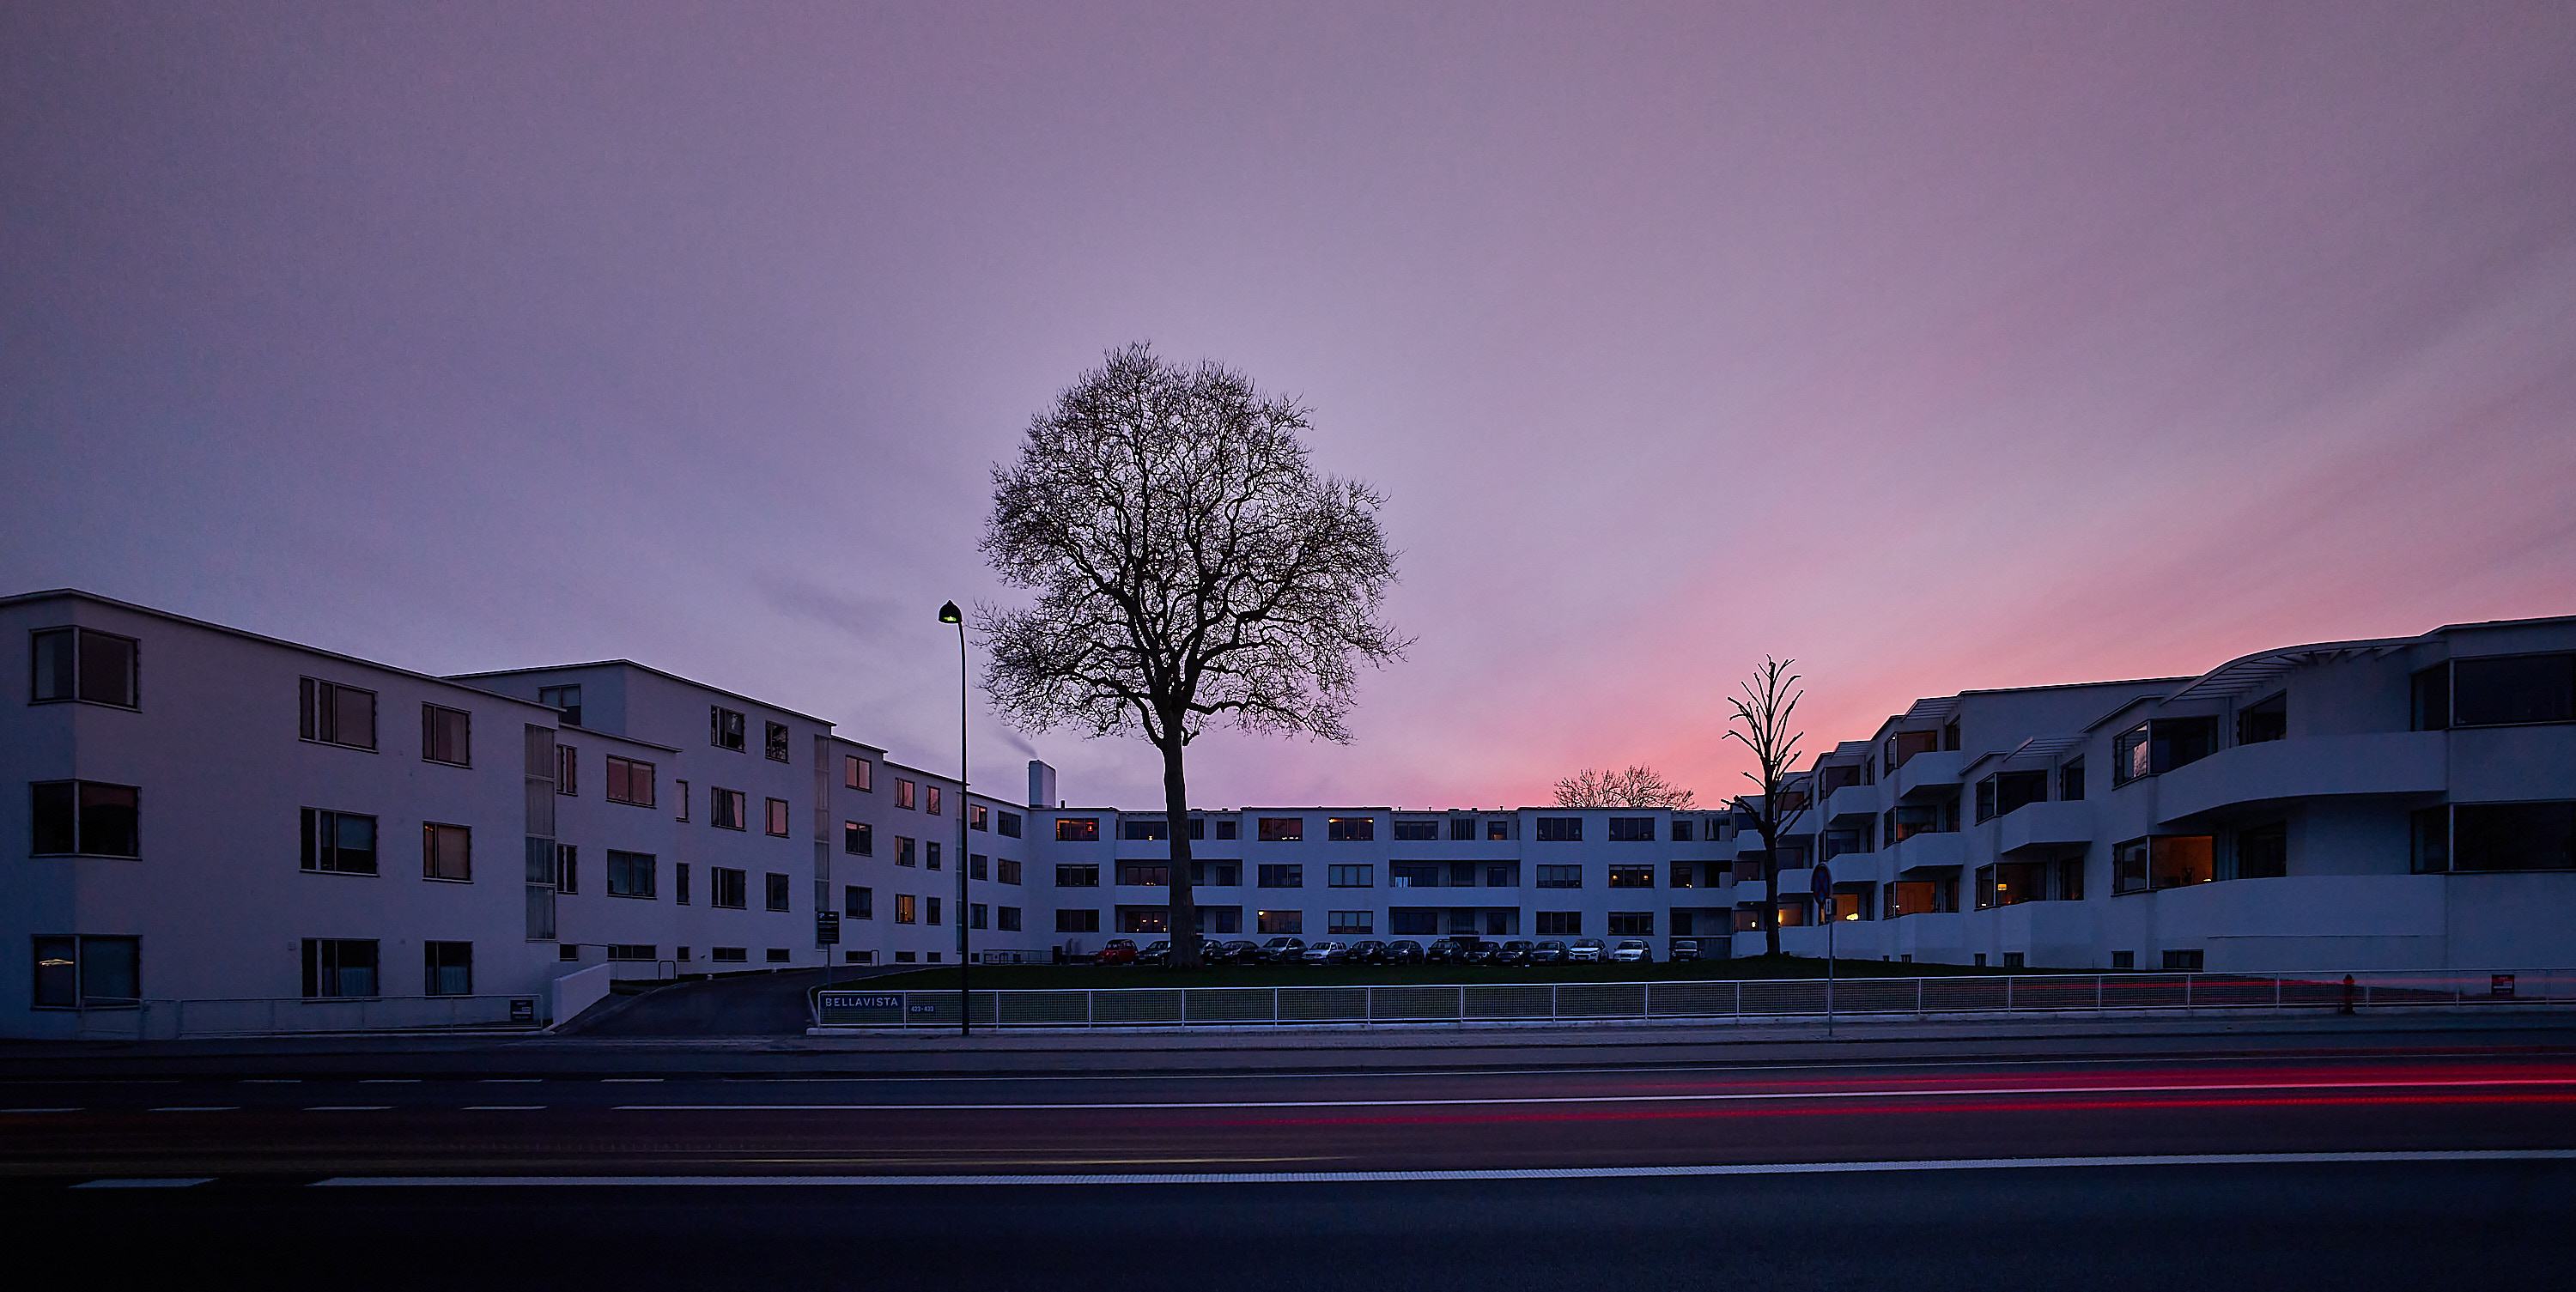
Sony a7RIV, Nisi 15mm f4 – 30 sek. f5.6, NiSi ND1000 – Arne Jacobsens Belle Vista og Bellevue Theatret, Klampenborg


5. Other good gear for long-term exposure

Cable release or wireless remote to avoid shaking when you press the shutter button. They are also super useful in “bulb mode” where it is closed from the moment you press the shutter button, hold it down and release it again … especially if you are out in exposures that last 1-2 minutes.

Apps; there are various apps for long-term exposure such as. Nisi’s own app and Photopills. However, it is not something I use. But google them and see what others are doing. It may be something for you.

The last tip is to make sure a little good to eat and drink if you have to be out for a long time. It takes a little longer than regular snapshots. A sandwich and some coffee, tea or water are always good to bring.


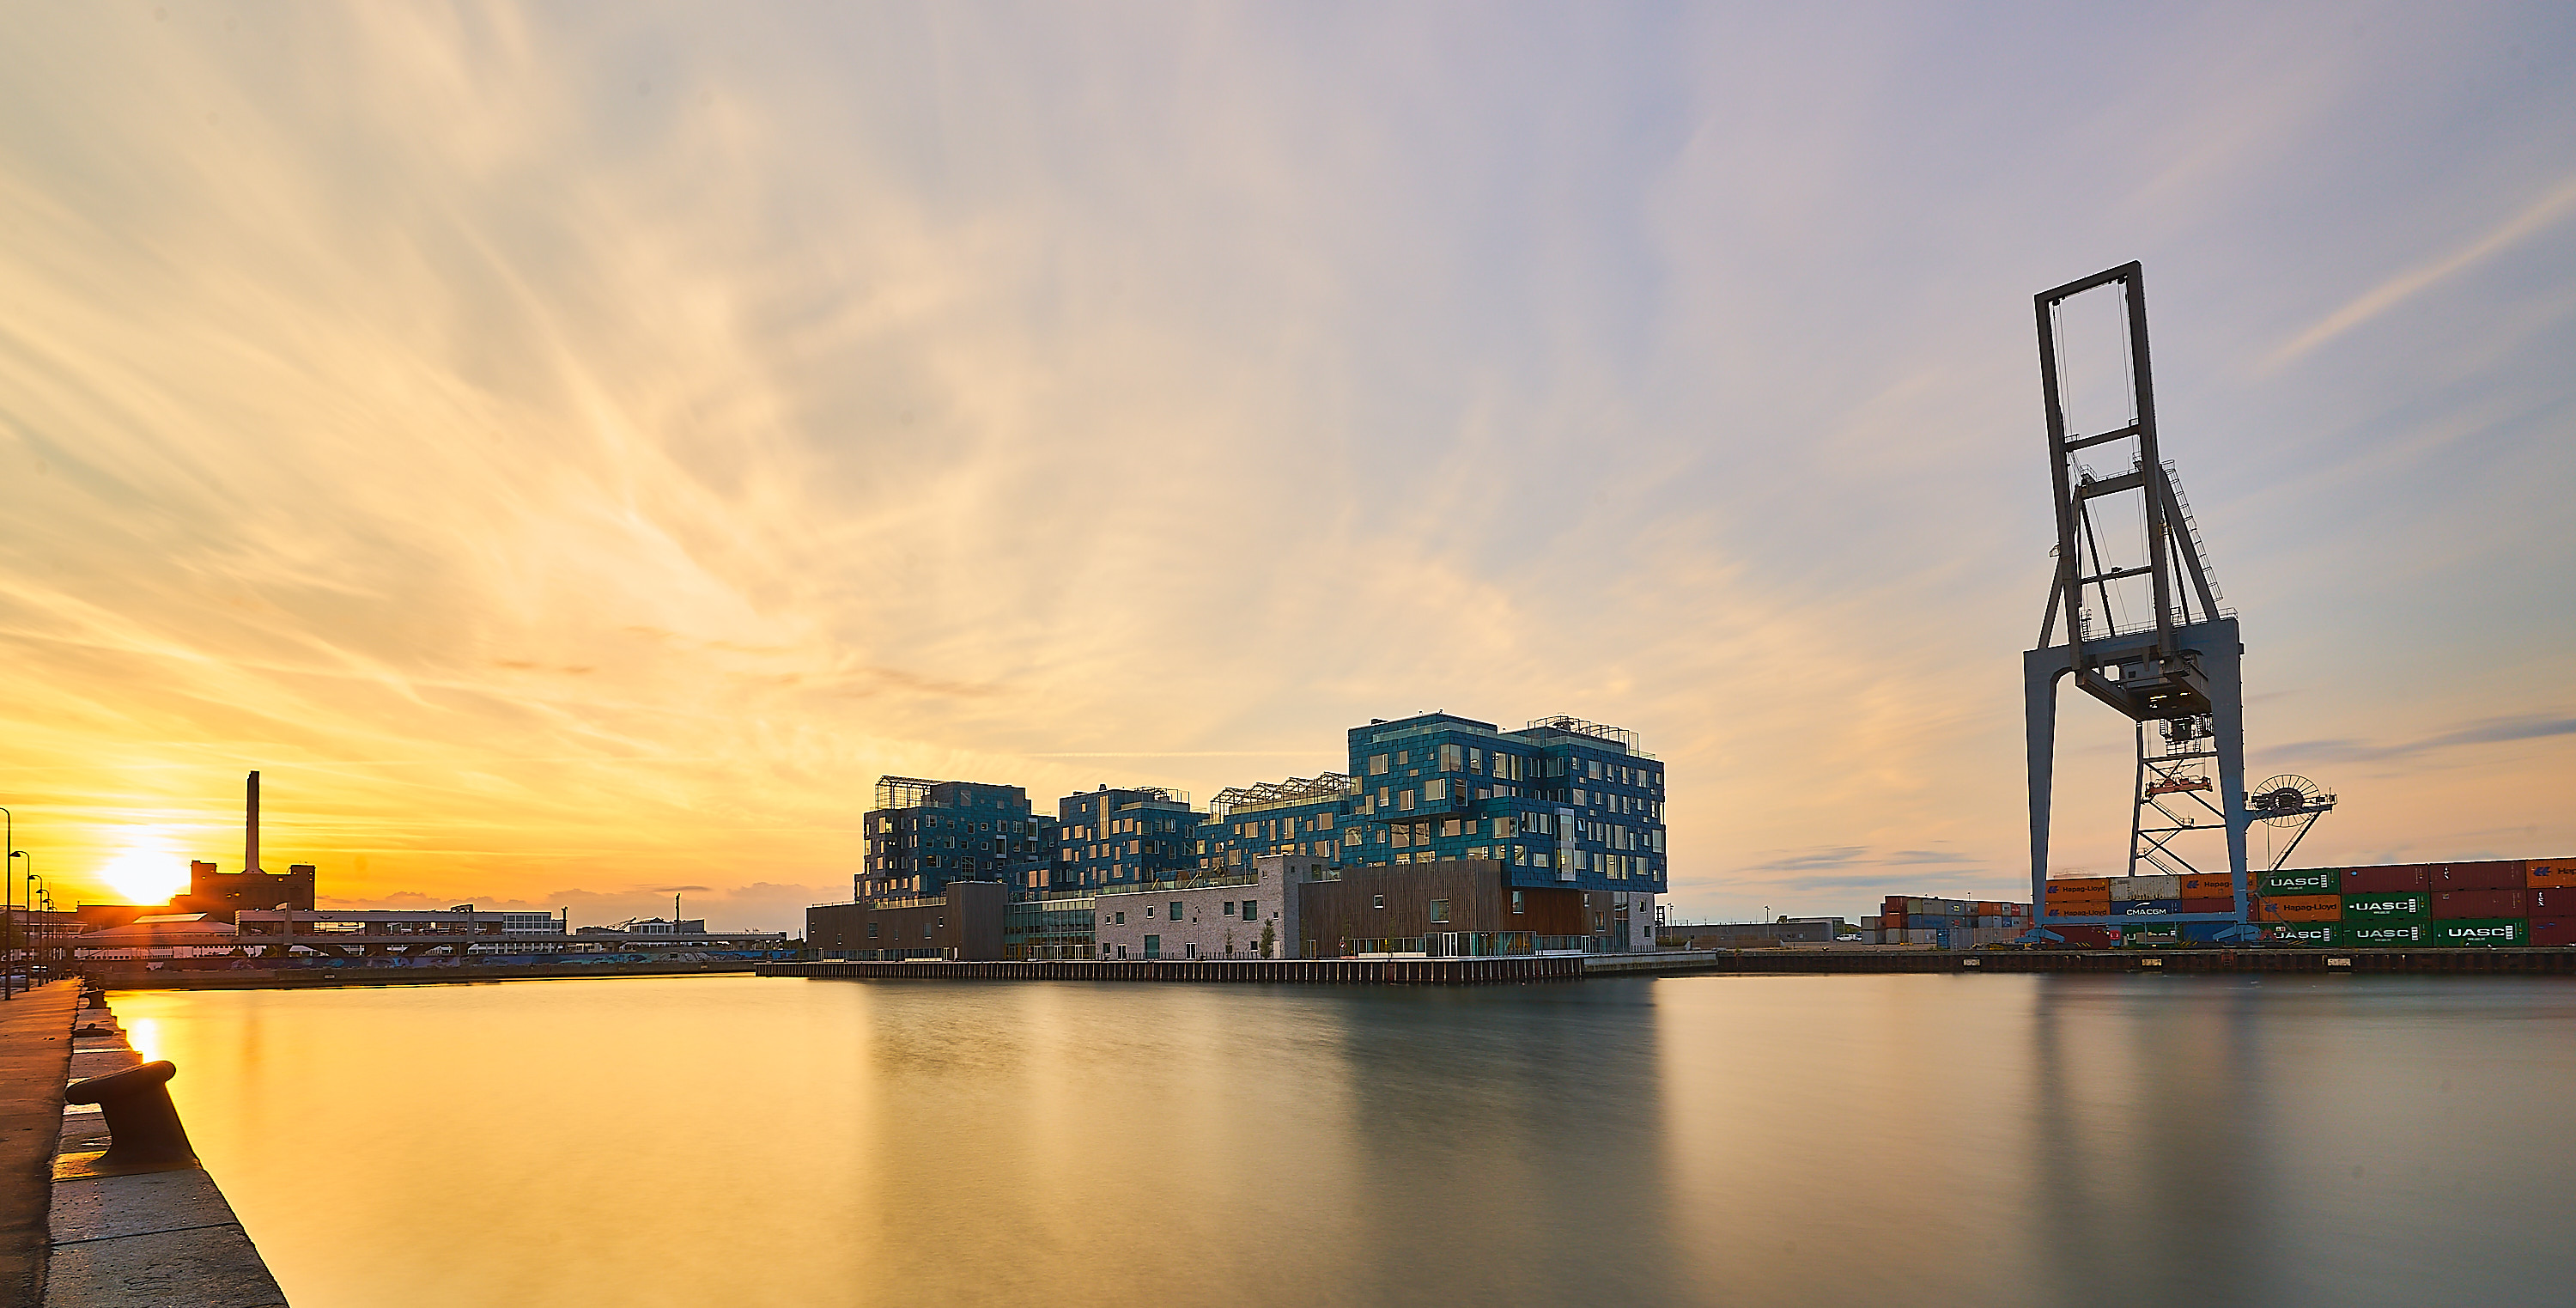
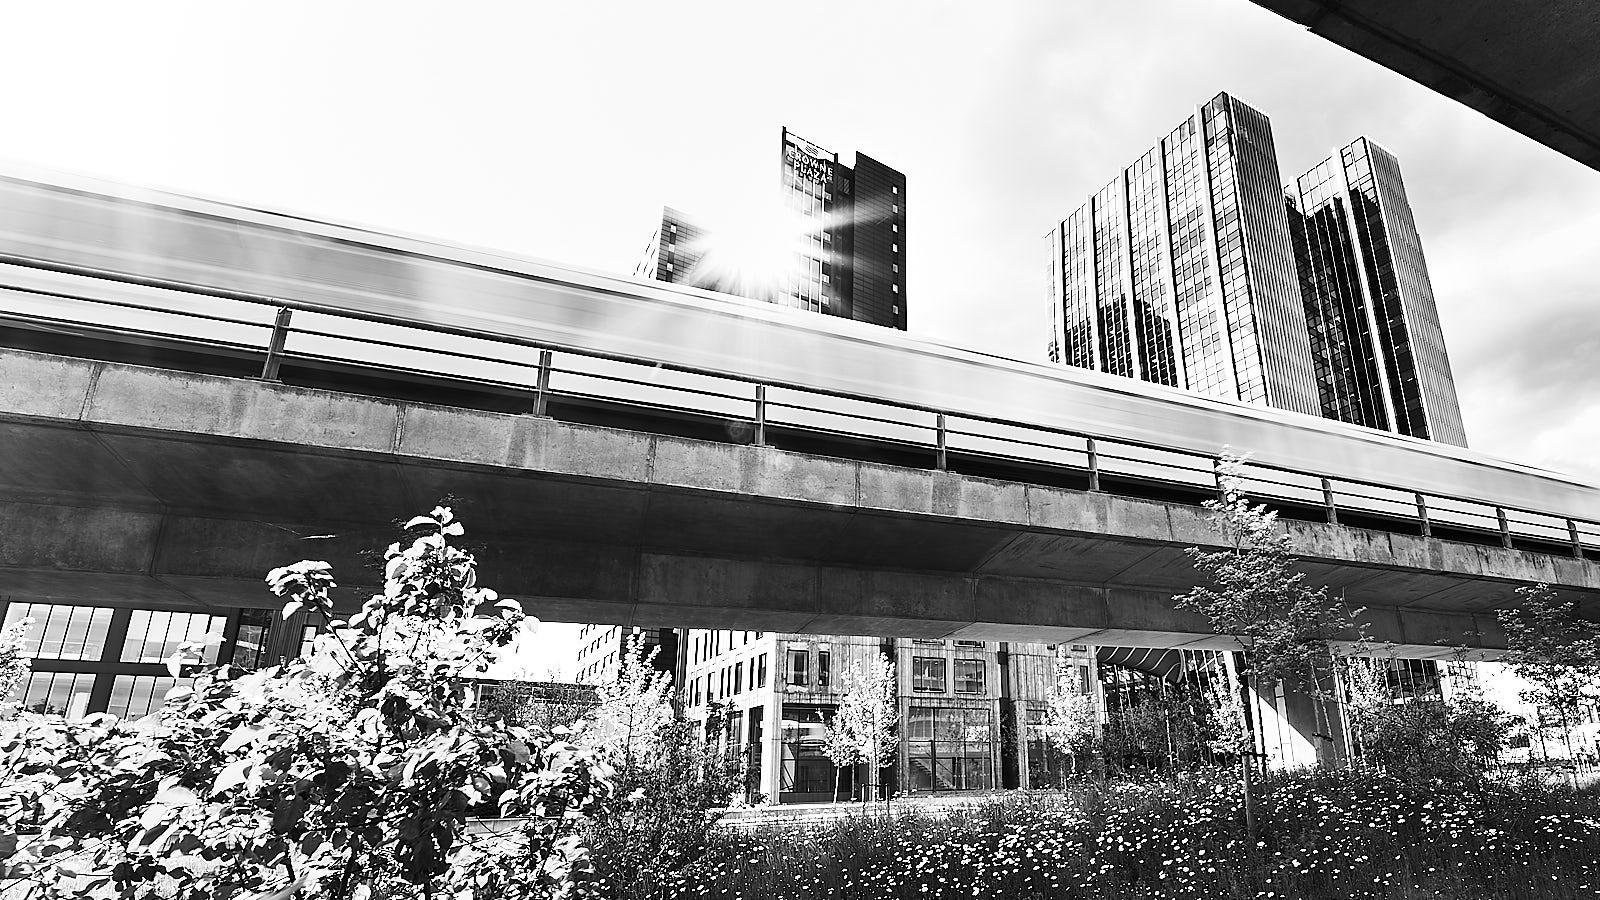
Sony a7RII, Sony Carl Zeiss 16-35, 20 sek. f14 – Copenhagen International School, Nordhavn, København


Sony a7RII, Carl Zeiss Batis 18mm, 30sek, F13 – Nisi ND64 + Cir. Pol – Islands Brygge, København


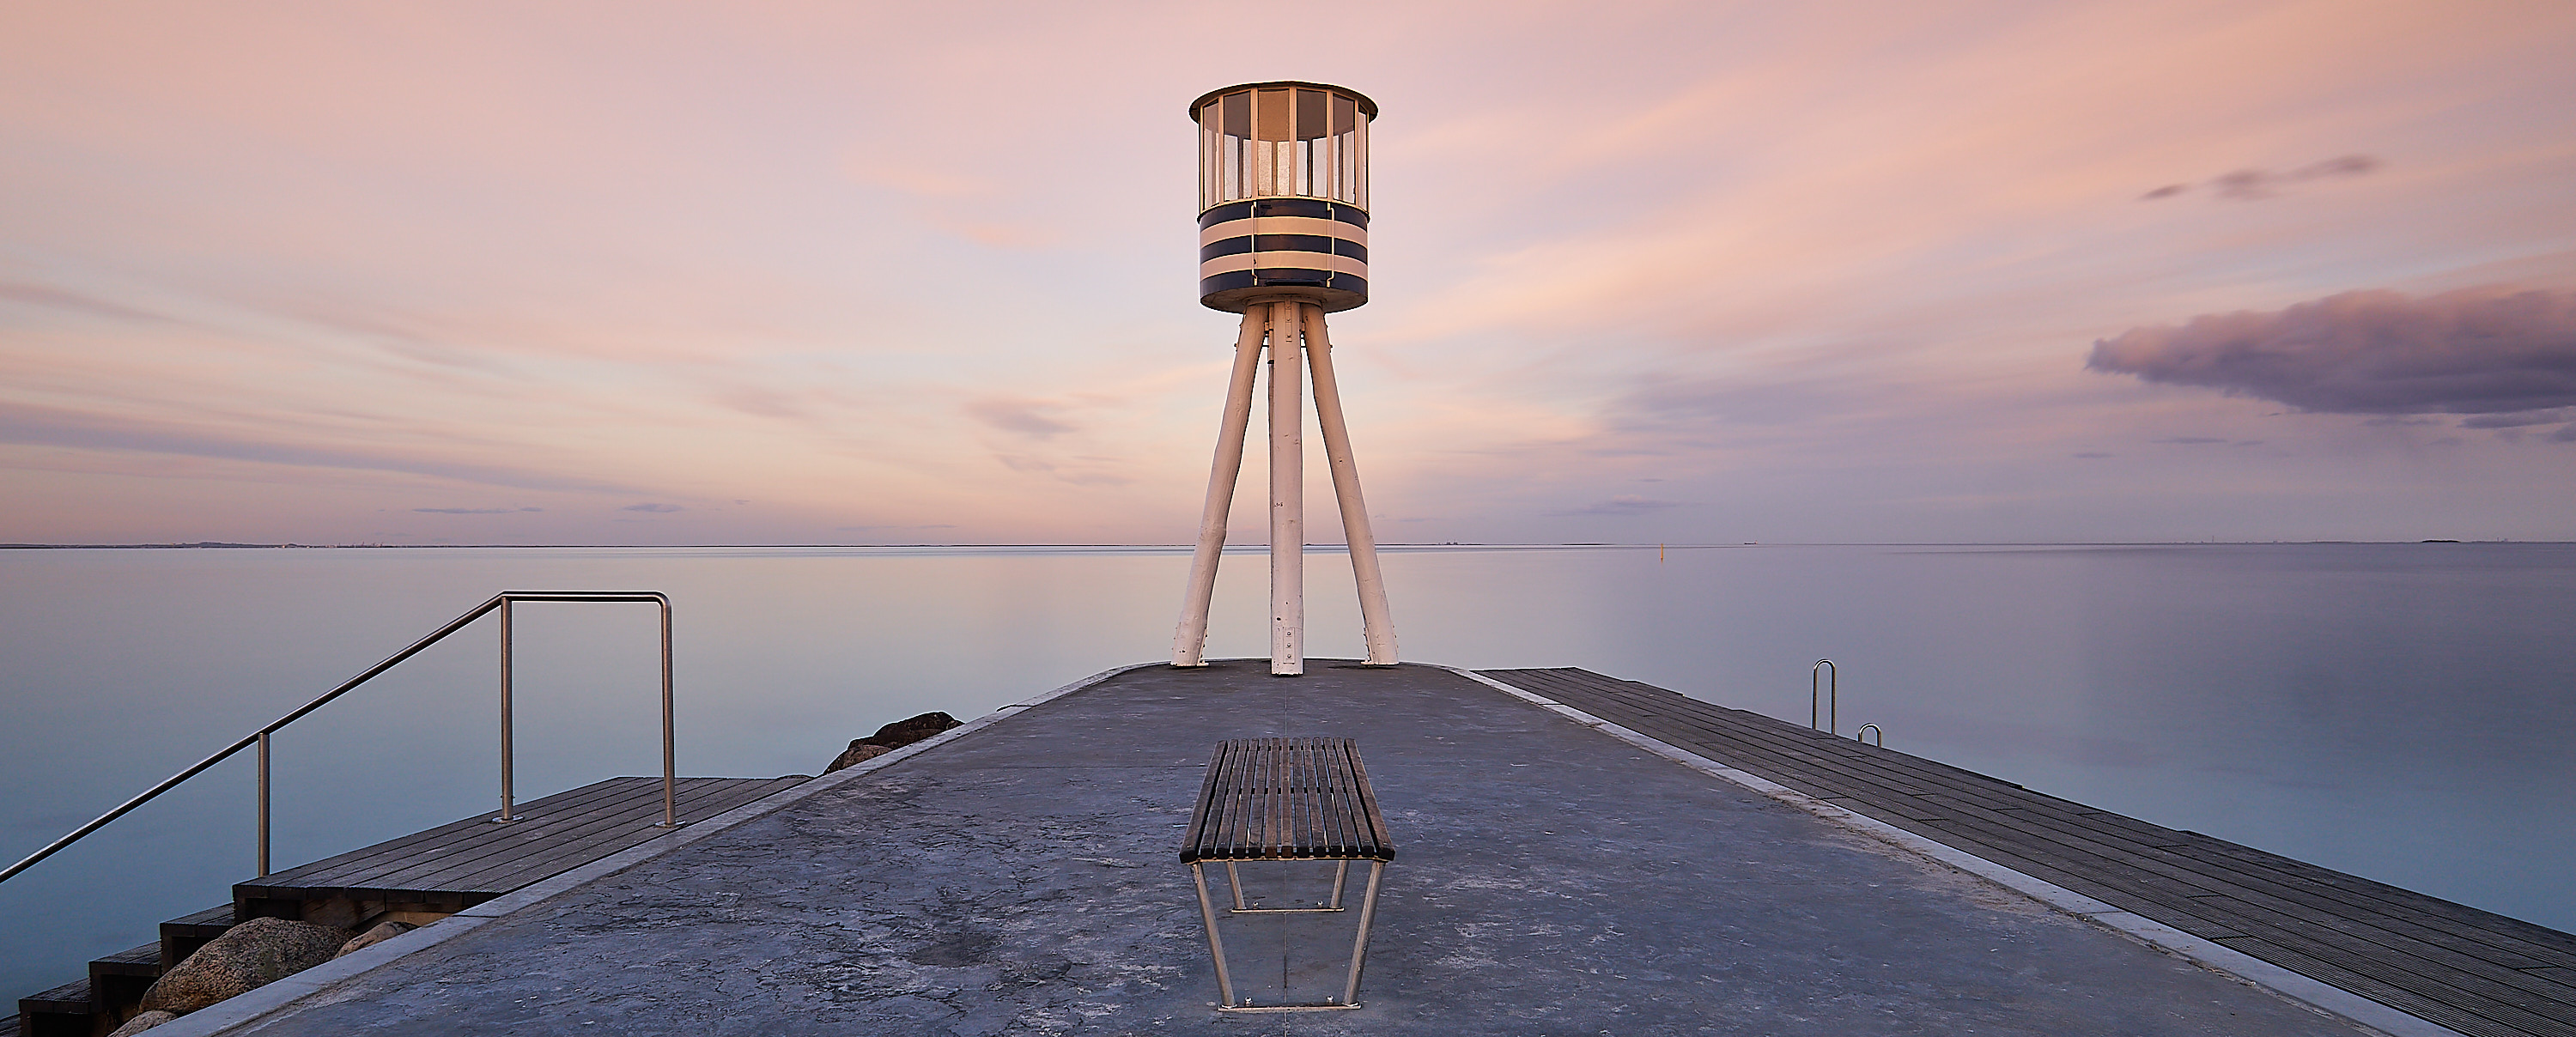
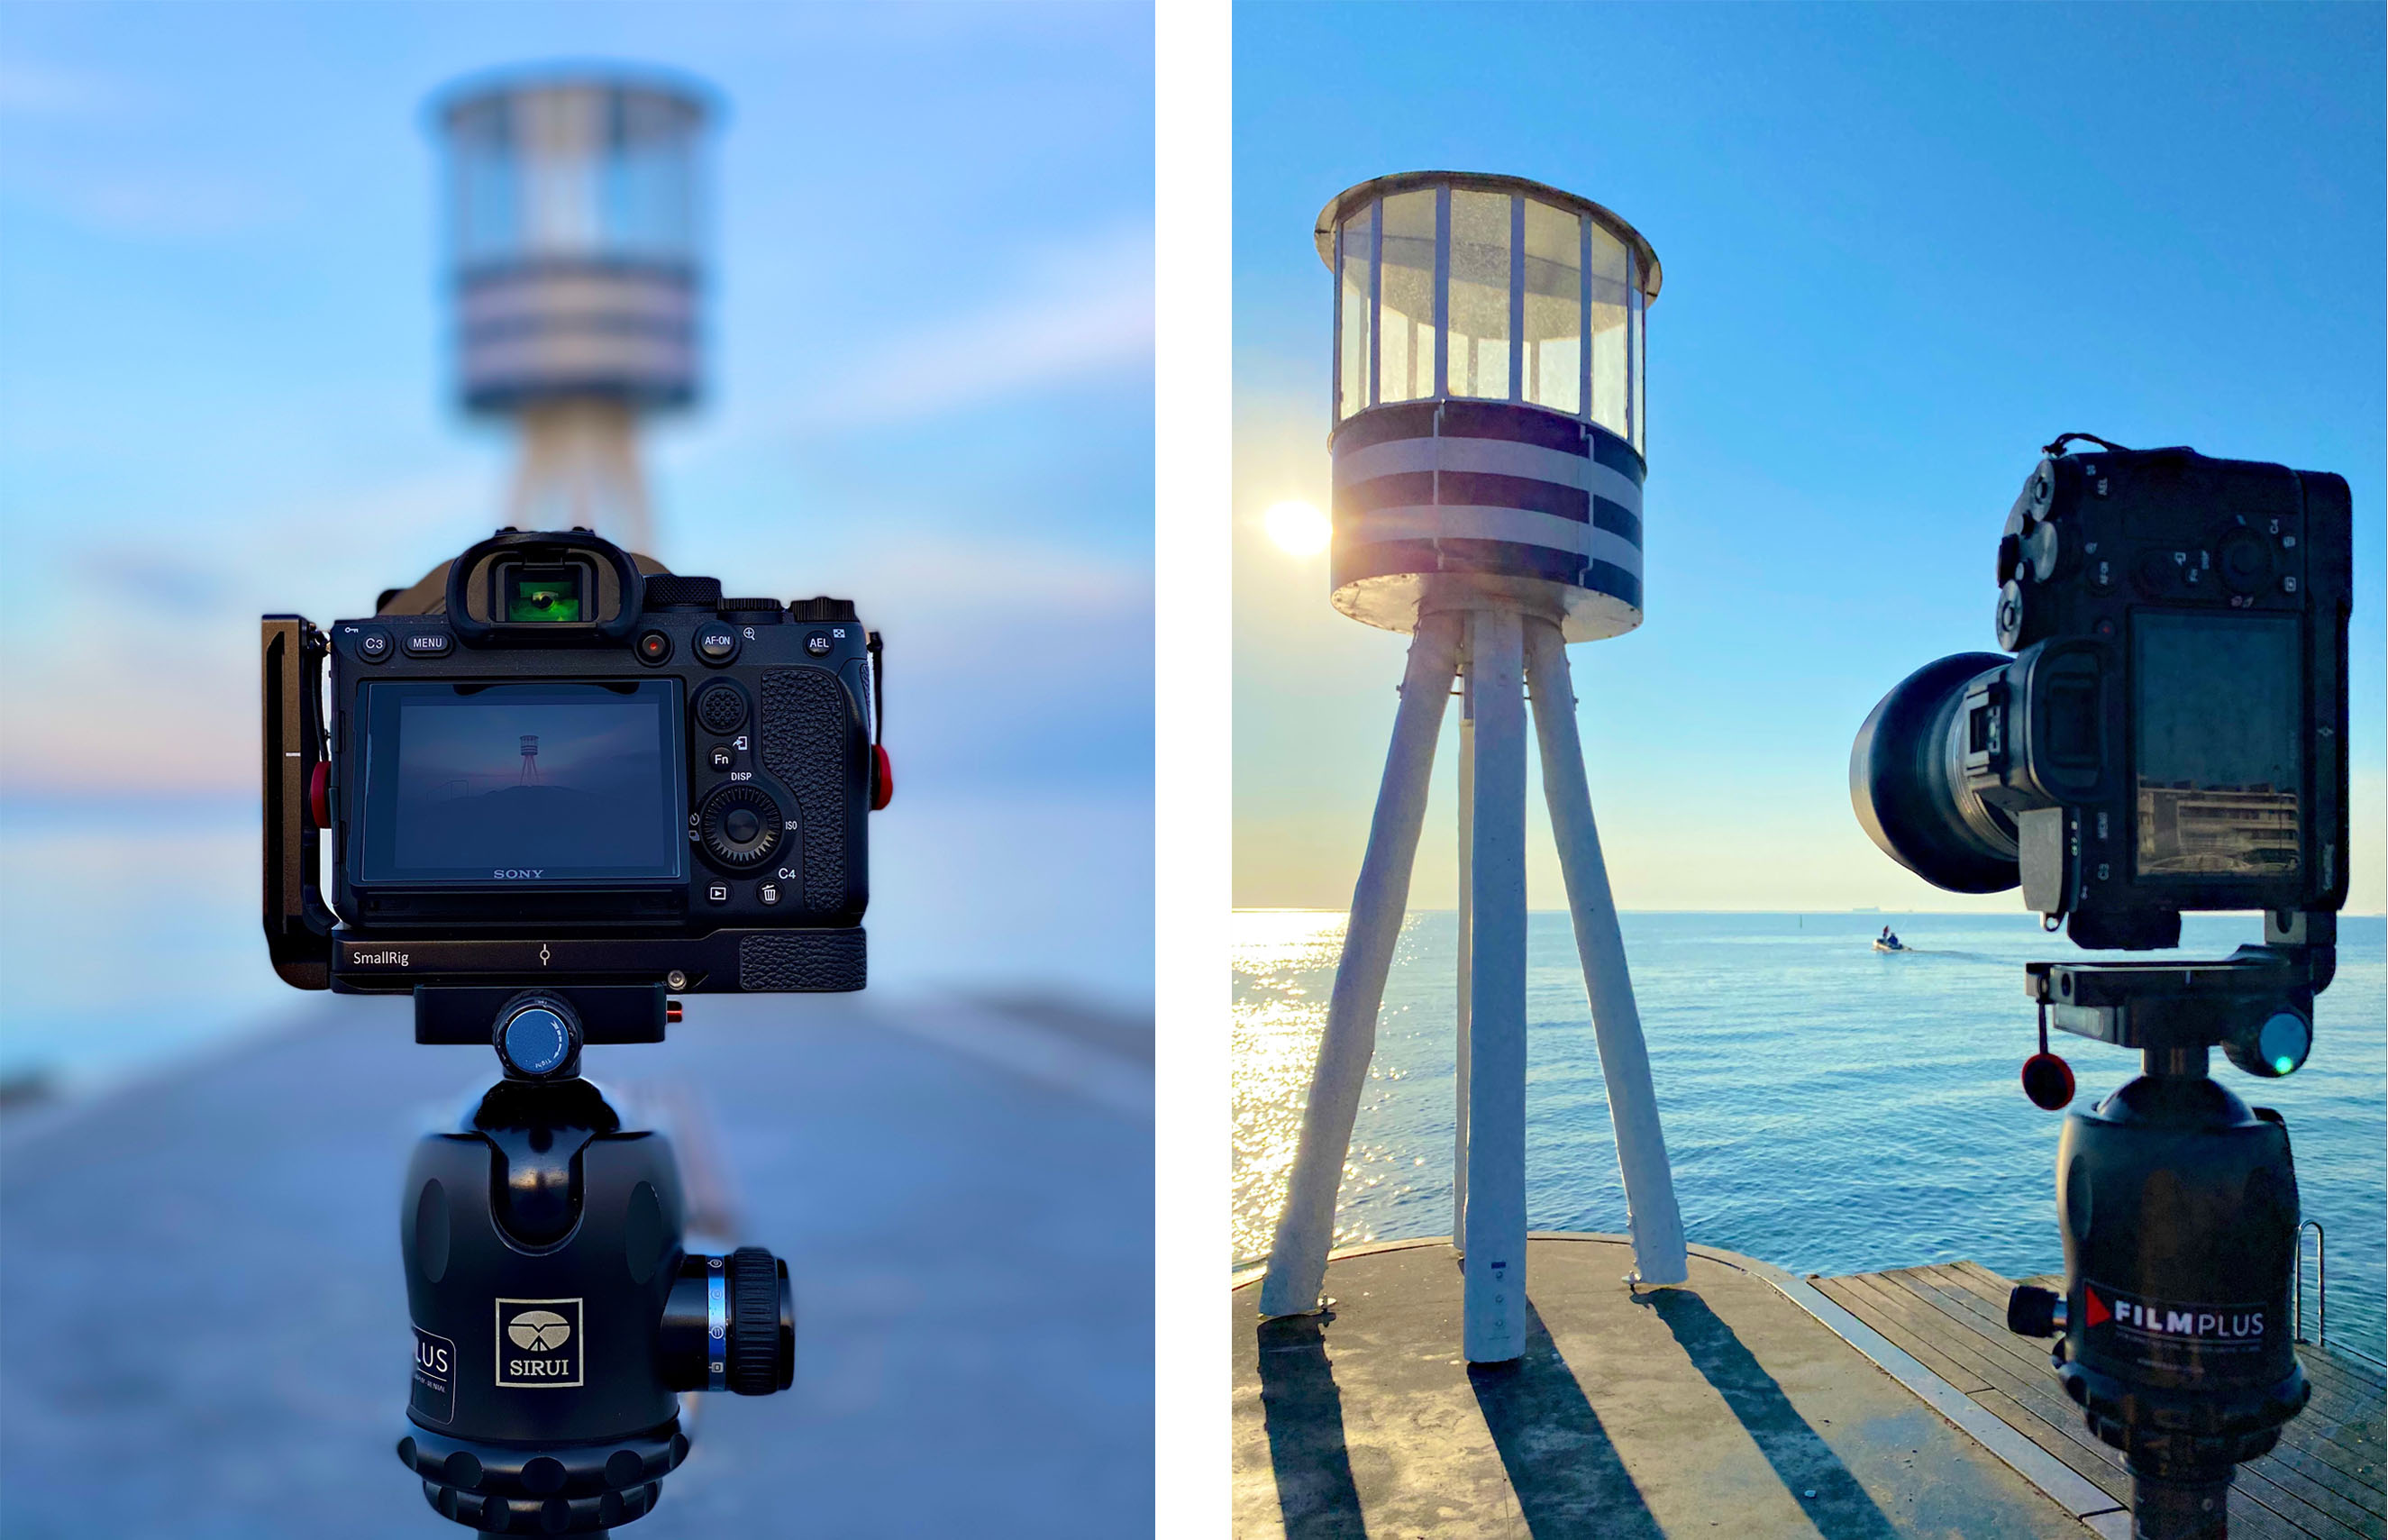
Sony a7RIV, Samyang 12mm F2, 30 sek @f5.6 – NiSi ND1000 – Arne Jacobsens livreddertårne, Bellevue, Klampenborg


Håndholdt Hasselblad X-Pan, Fujifilm Provia 100F,  45mm Carl Zeiss, f4, 1 sek. – Nørreport Station, København


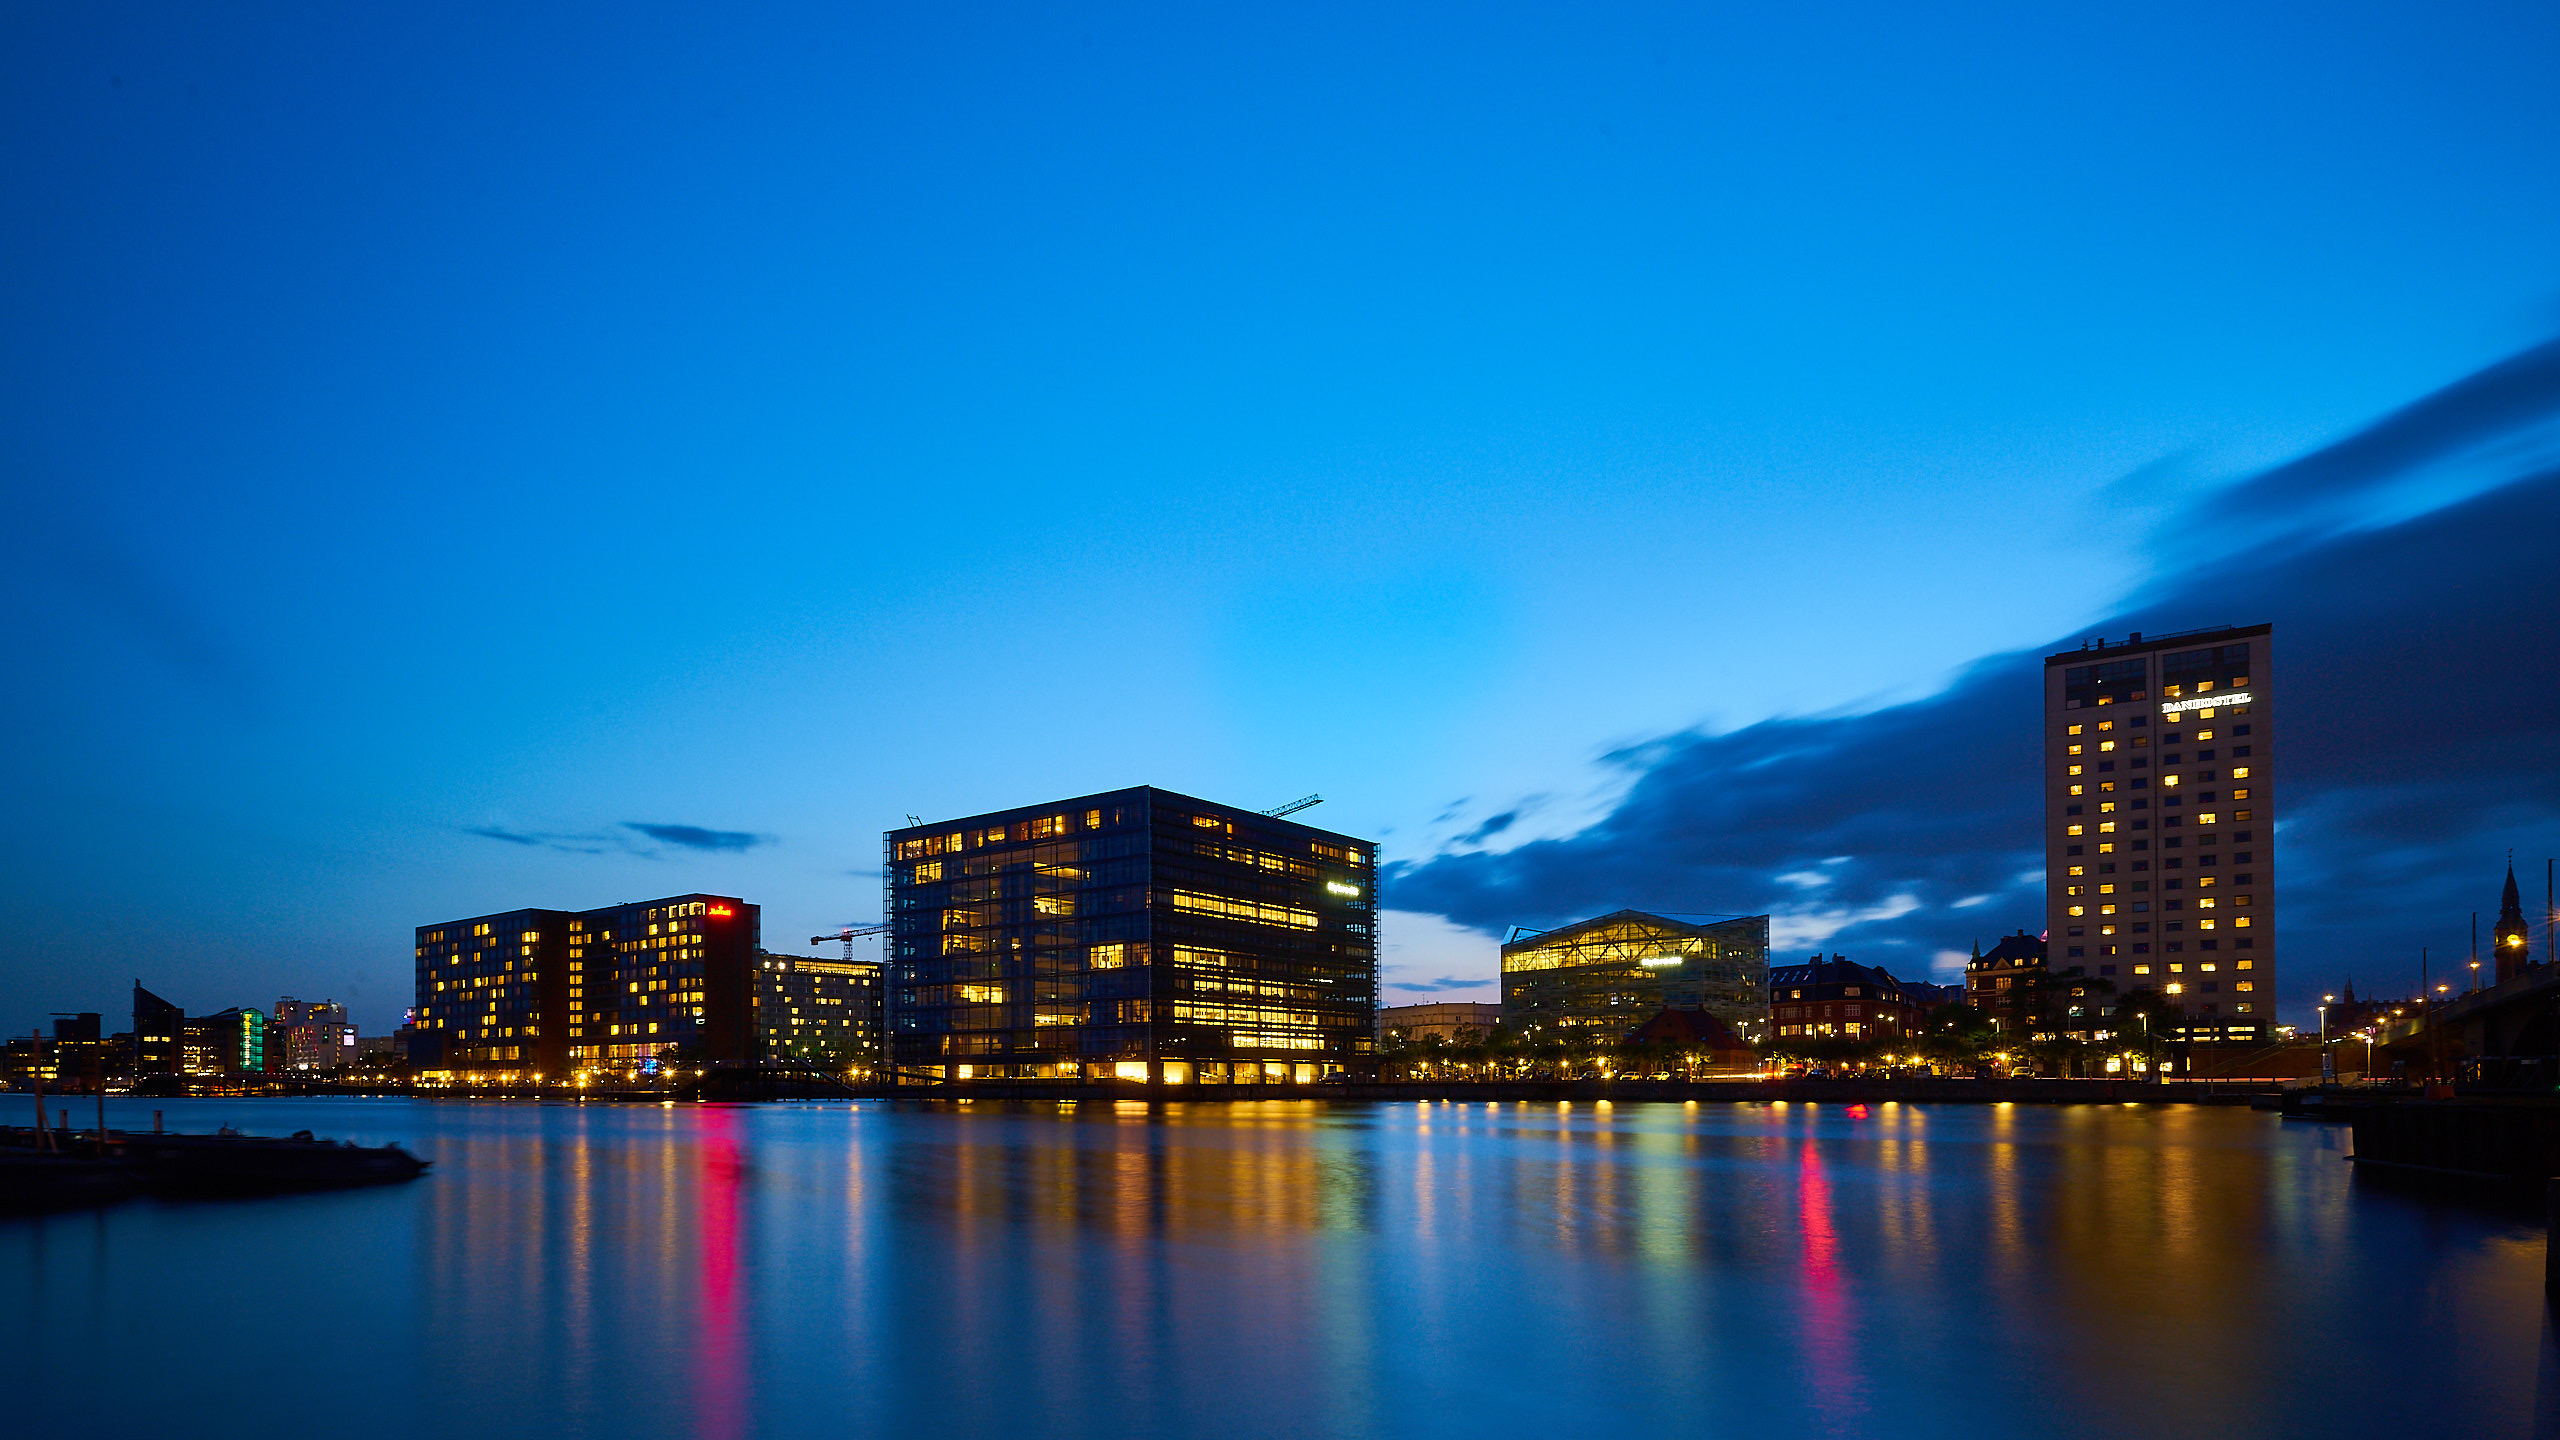
Sony a7RII – 40mm Carl Zeiss Batis, 3,2sek, F11 – Metropolis, Sluseholmen, København


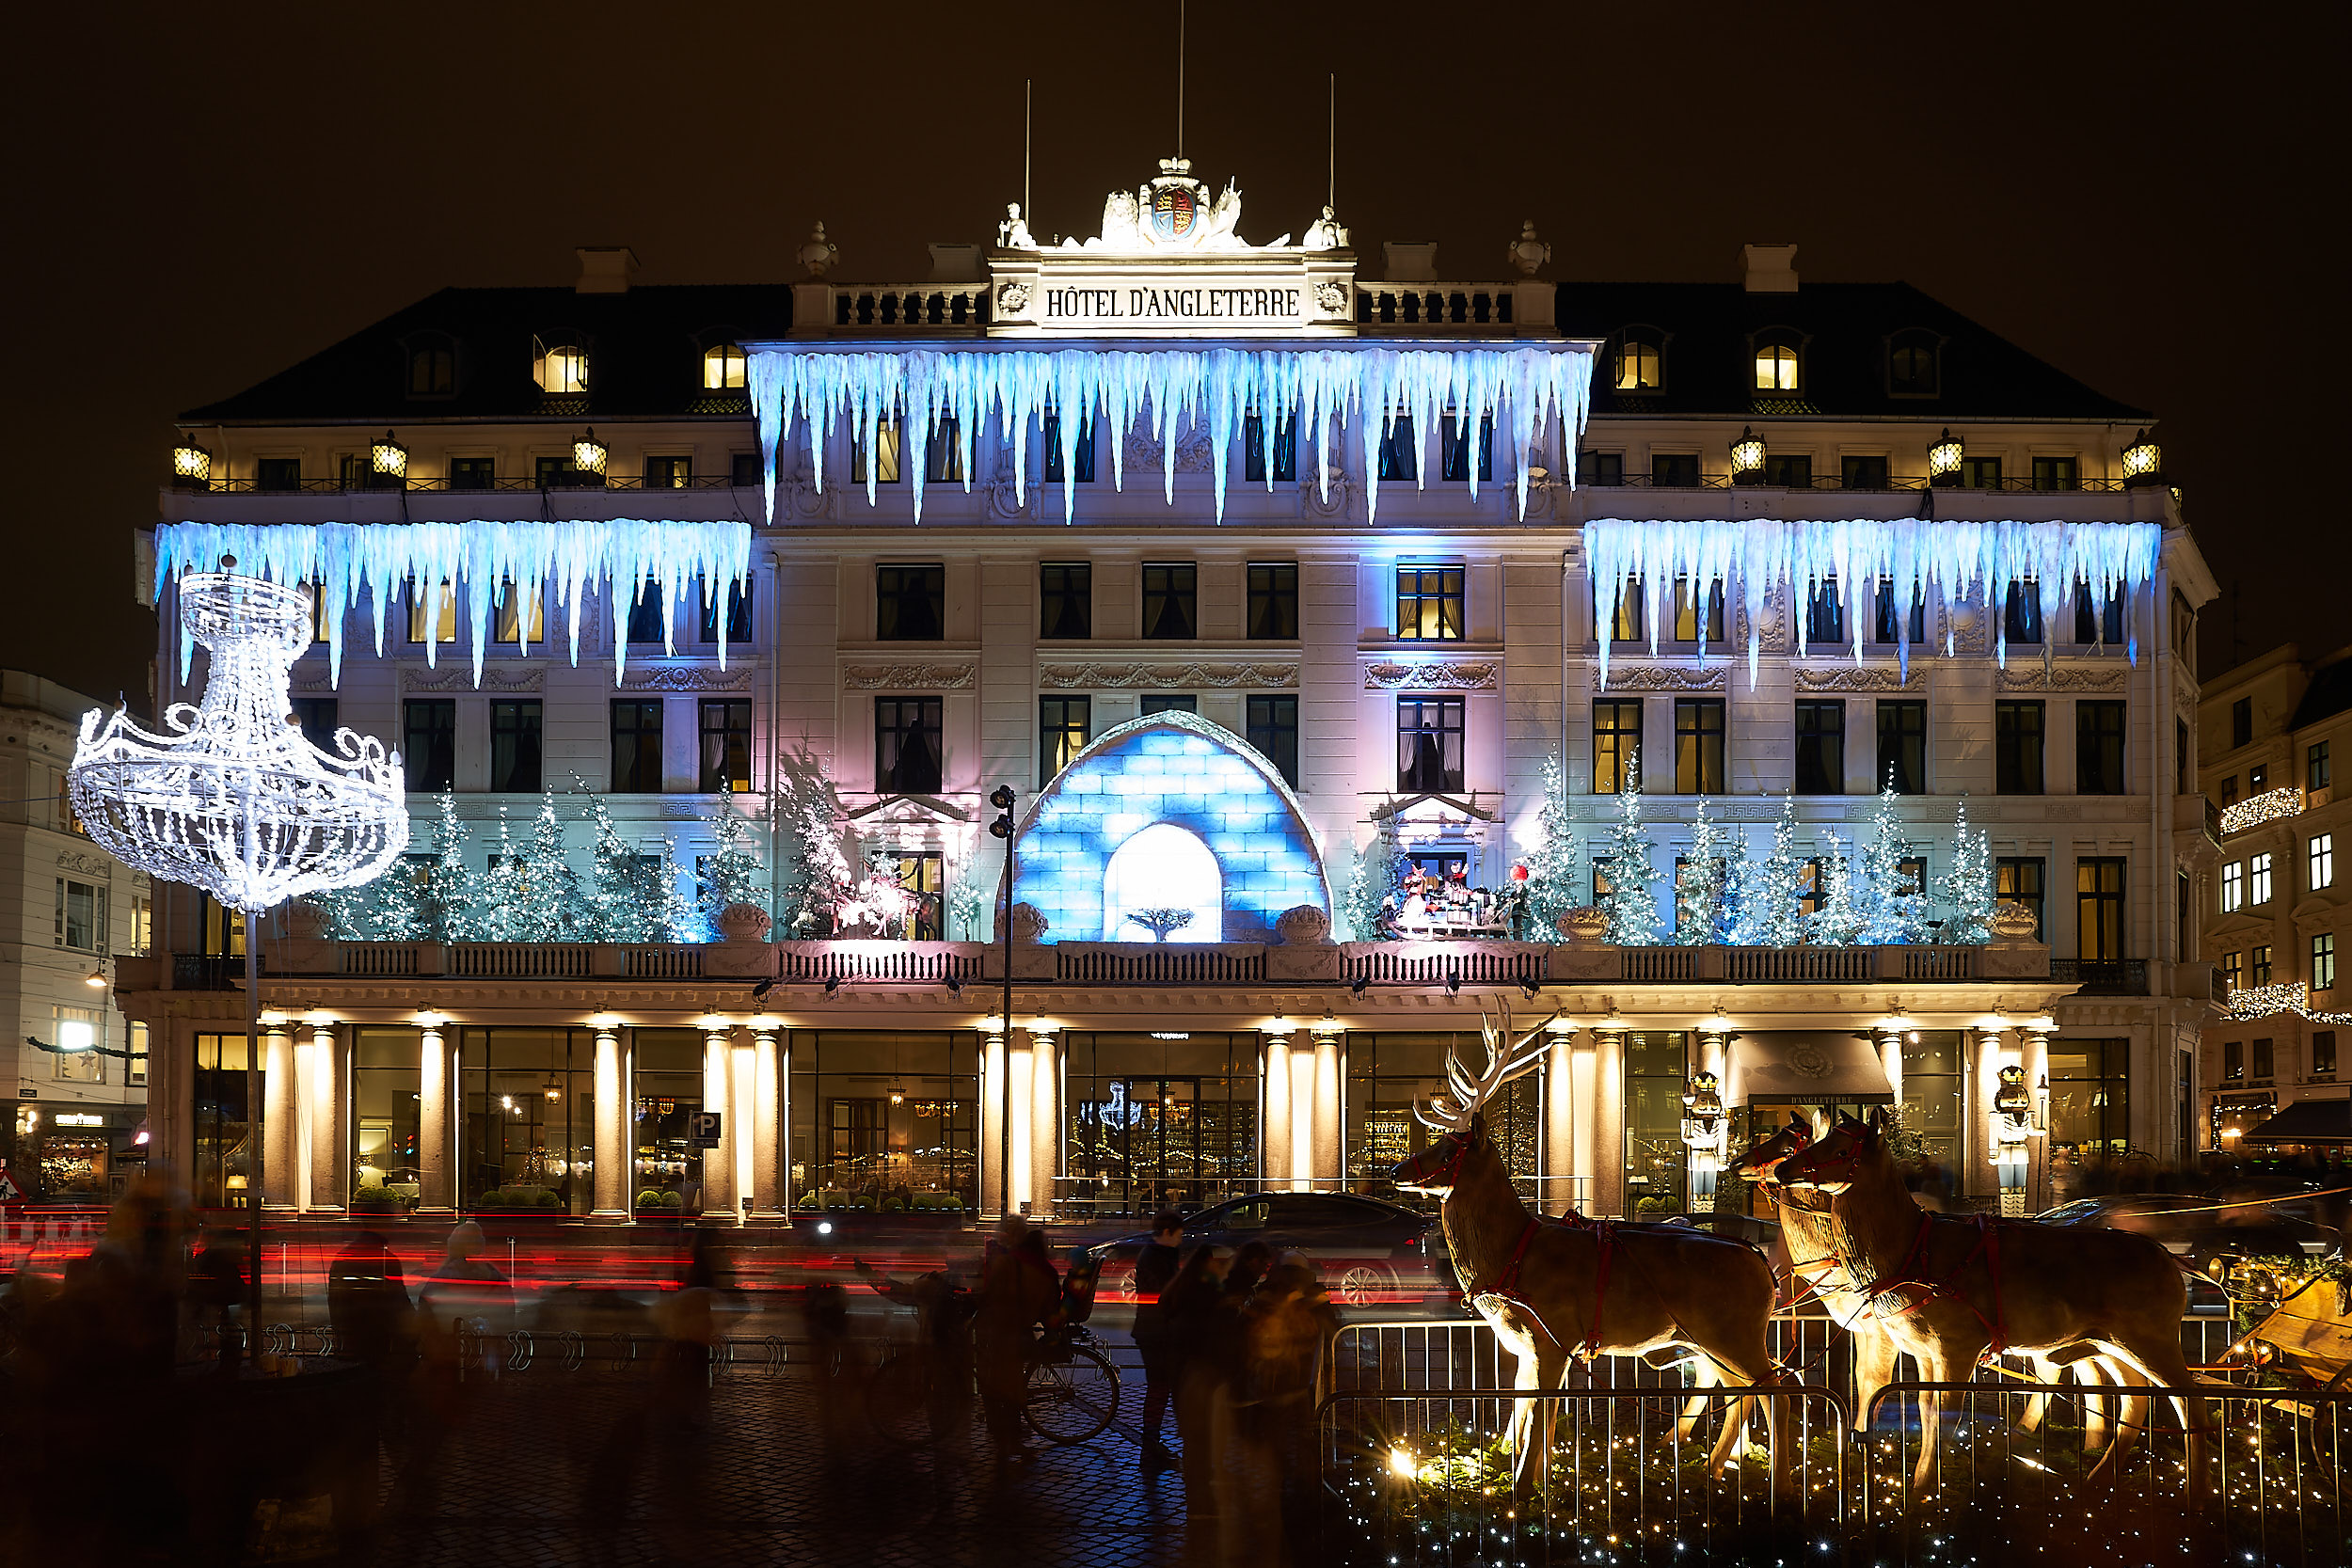
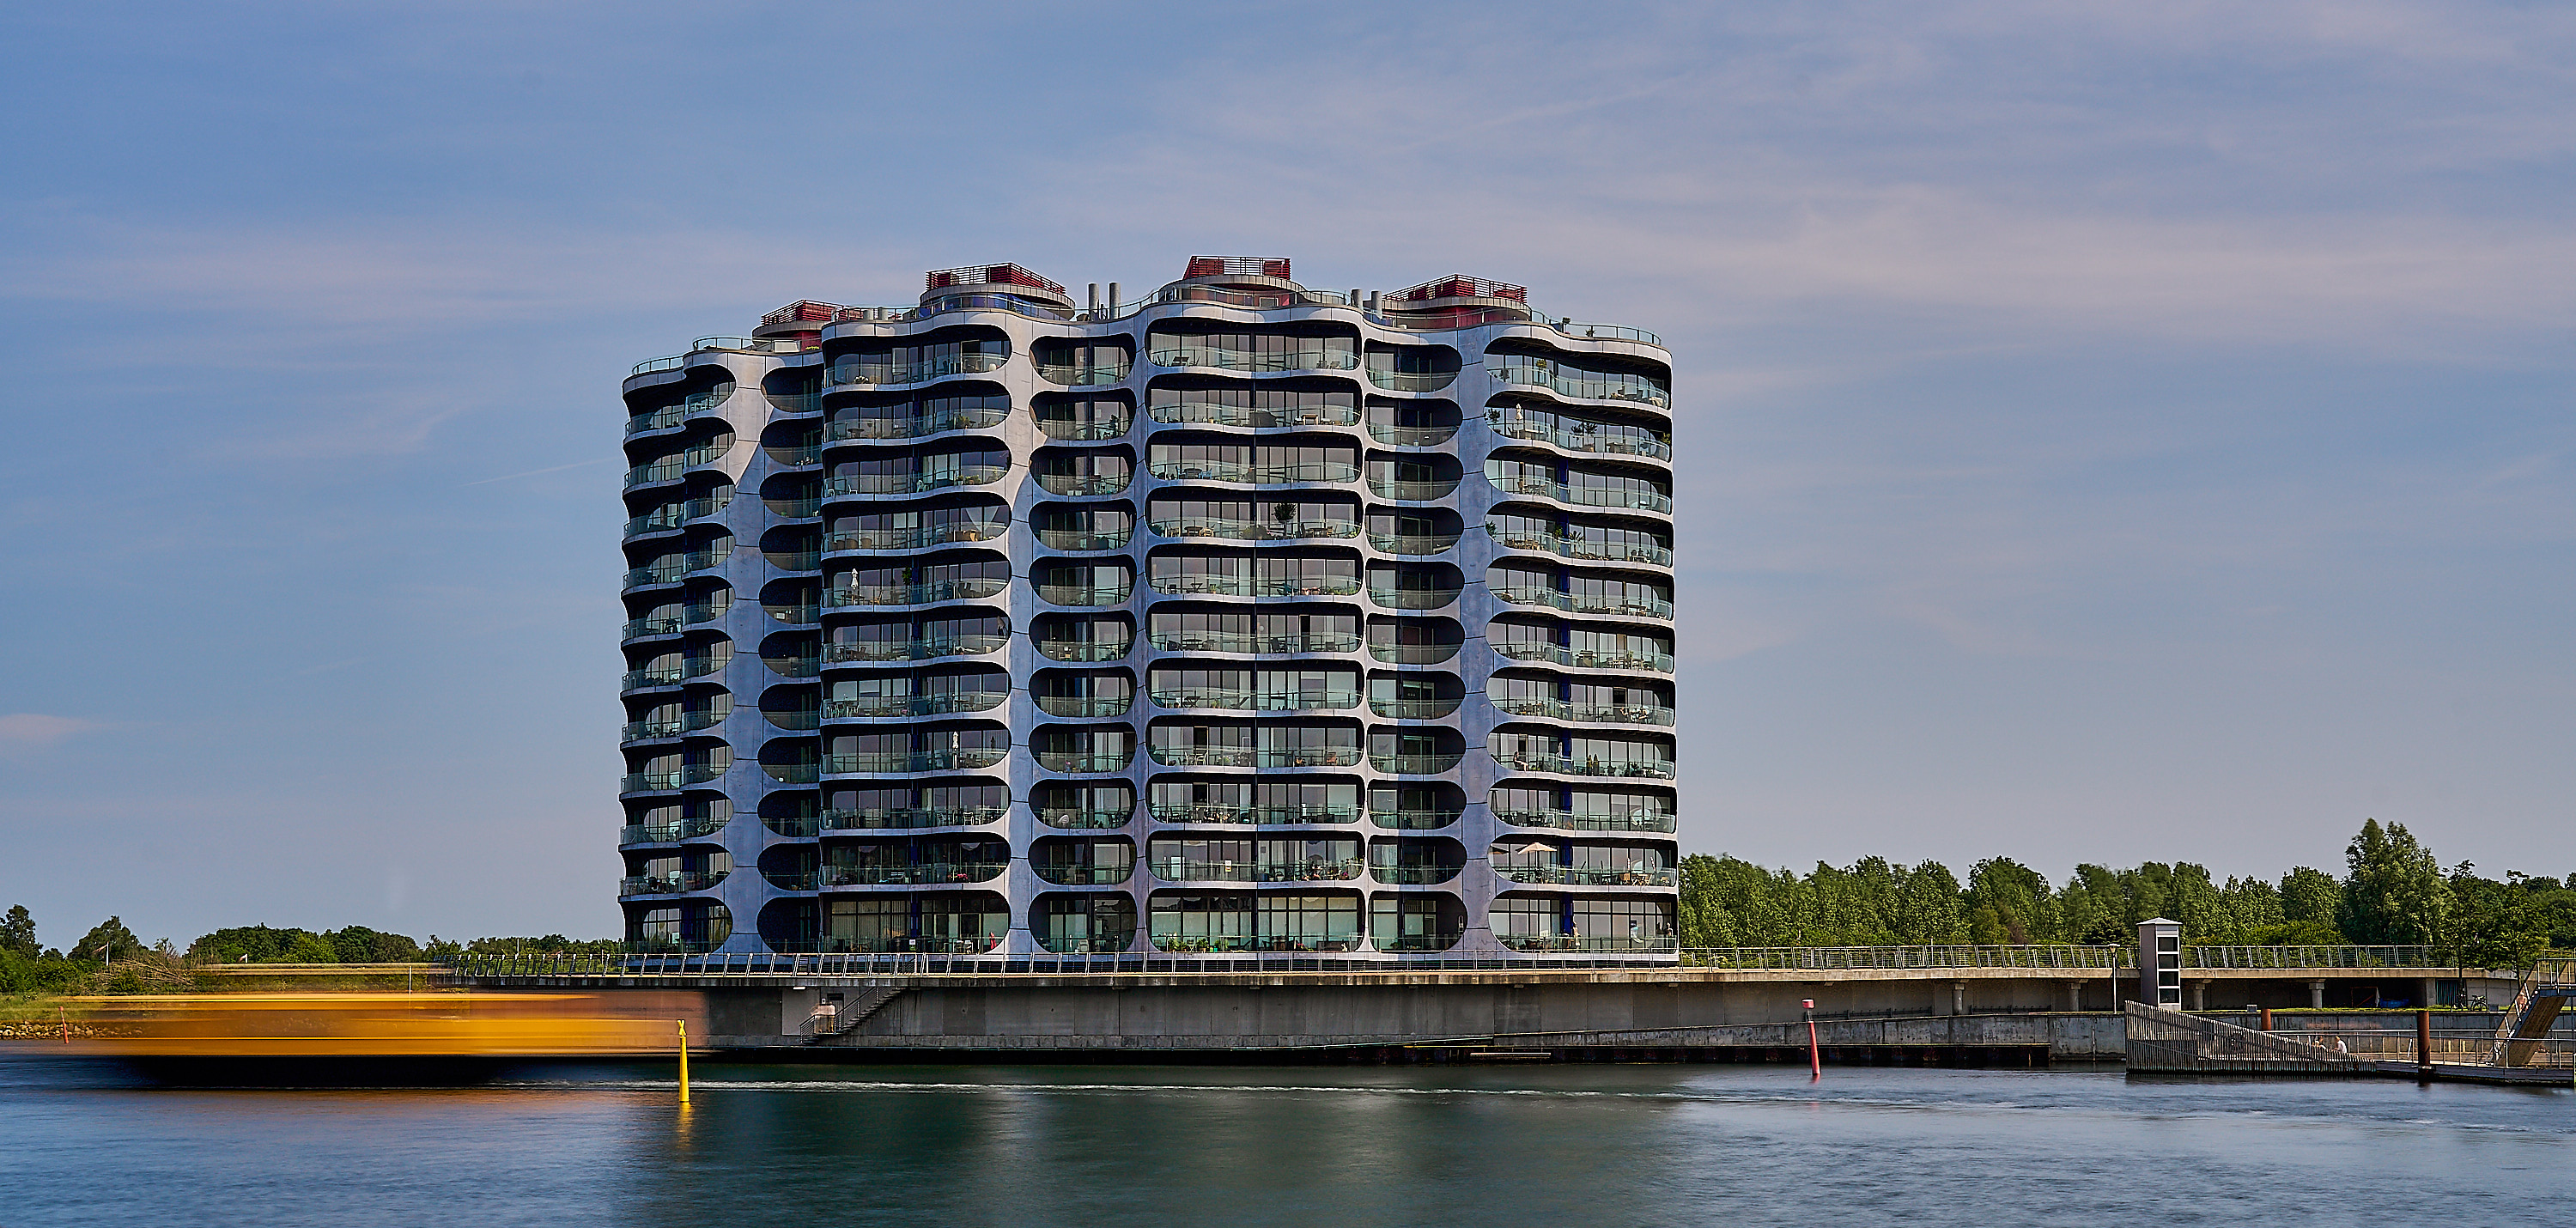
Sony a7III, Tamron 17-28mm f2.8 – 30s @F16 – Hotel D’Angleterre, København

Claus Andersen, Denmark

Subscribe to newsletter

Get the latest product news, inspiration and special offers.